Drive a rover in a square using the Viam TypeScript SDK.
Prerequisites
- Sign up for a free Viam account, and then sign in to the Viam app
What You'll Learn
- How to drive a rover in a square using the Viam TypeScript SDK
- How to use environment variables with your Viam machine
What You'll Need
- A Linux, macOS or Windows computer that can run SDK code
- VS Code installed, or your preferred code editor
- Node installed
What You'll Build
- A working demo of a TypeScript application to control a machine in Viam.
Watch the Video
Follow along with the step-by-step video.
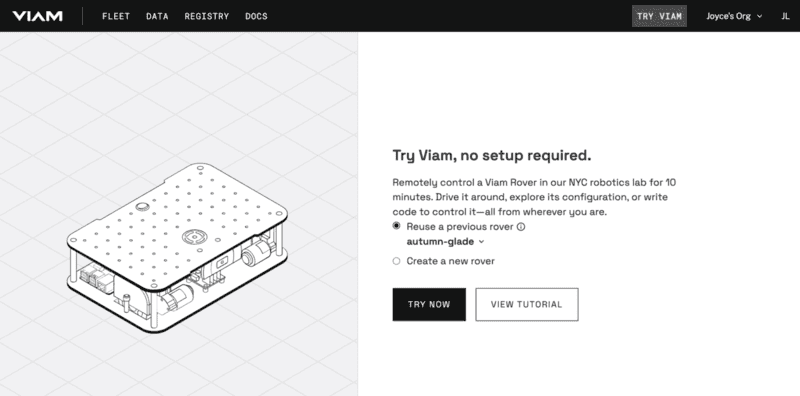
- Go to Try Viam in your web browser to remotely control a rover pre-configured with components in the NYC Viam robotics lab. This may take up to 30 seconds.
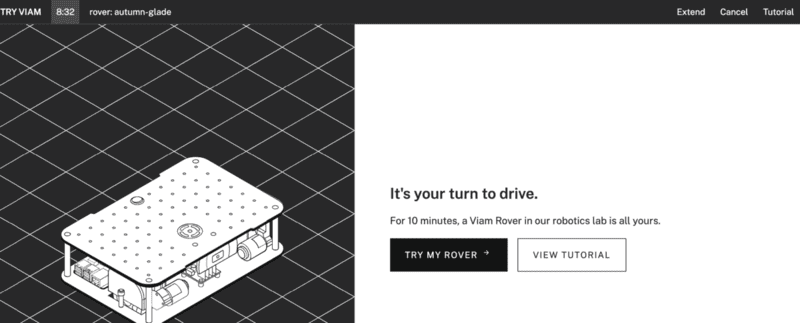
- Once your rover is configured and online, click Try My Rover.
- Under the CONFIGURE tab, review the configuration details. Notice the components in the left sidebar, such as the
viam_baseandoverhead-camera. - Find the CONTROL tab. This is where you can control your Viam rover. Find the
viam_basein the left sidebar, and click on it. Notice the components in the left sidebar correspond to a more detailed view on the right side of the page.
- Within the
viam_basecard, toggle on the Keyboard control so that you can control the rover using keyboard keys WASD.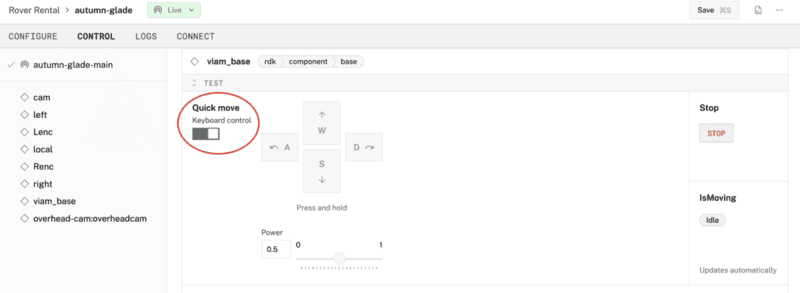
- To see the rover move, find the
overhead-cam. Select Live from the dropdown options to see a live feed of the rover in the robotics lab. And then use the WASD keys to control the rover in real-time.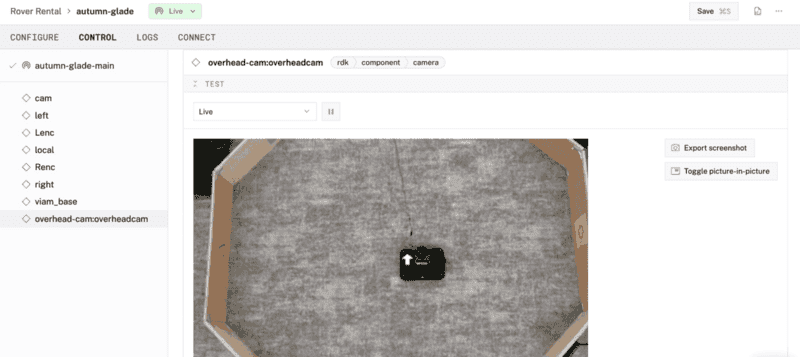
If you want more time to keep playing with your borrowed rover, hit the Extend button in the top right of the page.
Now that you know how to manually control the rover using the Viam app, let's control the rover programmatically with code.
- From the command line within your terminal window, let's use a command line utility to quickly set up a new TypeScript project. Input the following command:
$ npm create robot-app - At the command-line prompt, input your project name. Or hit Enter to accept the default project name,
my-viam-project.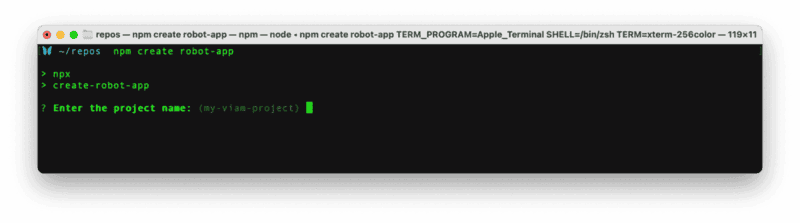
- Select the project template
controlRover, and hit Enter. - Once the project setup is completed, follow the command-line instructions. Navigate into your new project directory. In the example shown below, we are using the default project name
my-viam-project.$ cd my-viam-project - In the Viam app, find the CONNECT page, select the TypeScript SDK, and turn on Include API key to reveal your machine credentials within the code sample. Use these machine credentials to update the
.envfile in your new project directory, and save your changes.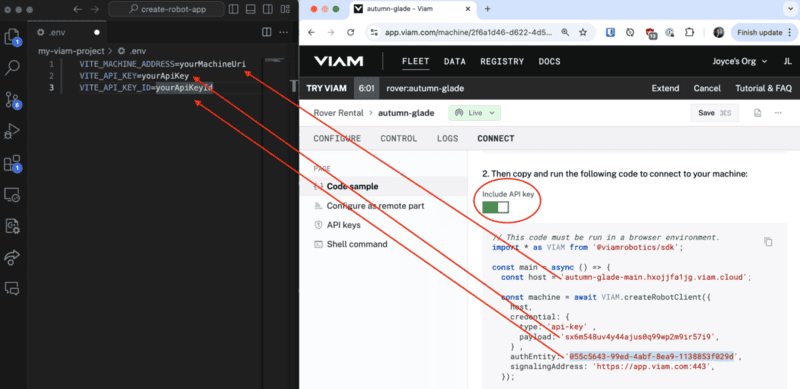
- Start the application server. Your web app should be running at
http://localhost:5173/$ npm start - Open your browser's devtools, for example, by right-clicking and selecting Inspect, to see the browser's console logs. And position the browser window so you can once again see the
overhead-camin the CONTROL tab within the Viam app. Press the Click me button in the web application to see the console logs and camera feed of the rover in the robotics lab at the same time.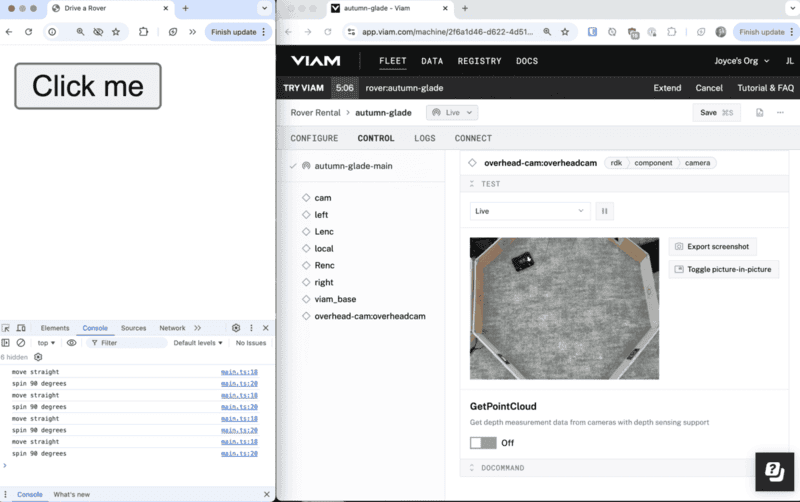
- In your IDE, edit
src/main.tsto change the logic being run. Editindex.htmlto change the layout of the web application.
What You Learned
- How to drive a rover in a square using the Viam TypeScript SDK
- How to use environment variables with your Viam machine
Related Resources
- Detect people with a webcam: use the borrowed rover's webcam or the webcam on your own laptop to deploy and use a machine learning model with a vision service
- Explore other Viam SDK libraries, besides TypeScript for backend, frontend, and mobile development.