Home Assistant is one of the most popular smart home platforms in the world with a vast ecosystem of integrations to monitor and automate the devices around our homes. The Viam community integration makes it possible to collect images and sensor data from those existing connected devices, train custom machine learning models, and run them locally as part of an automation workflow.
In this codelab, you'll learn how to install the integration through the Home Assistant Community Store (HACS) and use a vision service to detect people from a camera connected to Home Assistant.
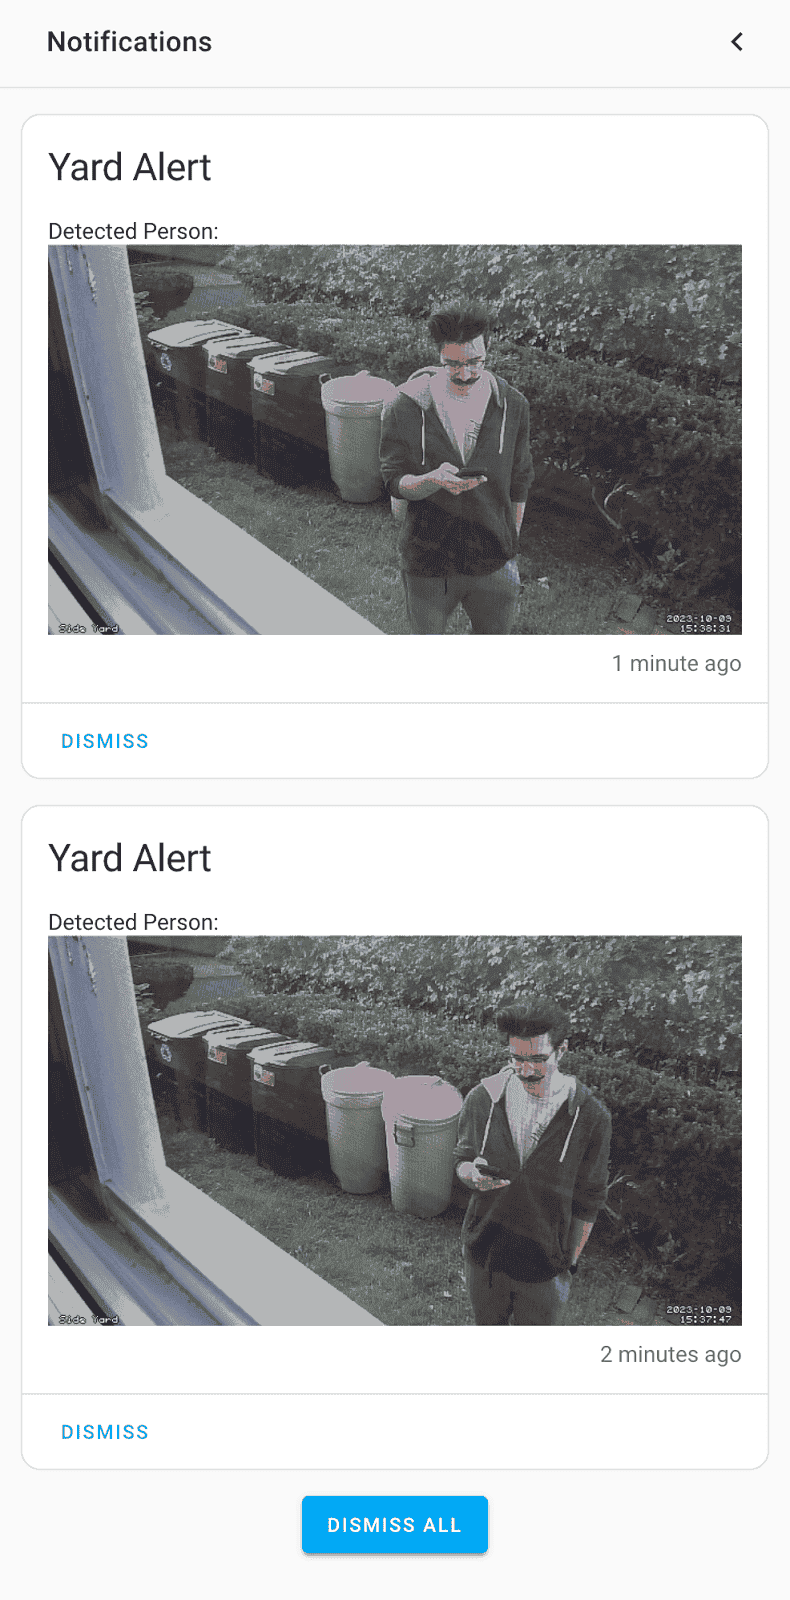
What You'll Build
- a machine running a local ML model
- a smart home automation for people detection notifications
Prerequisites
- A computer with MacOS, Windows, or Linux to flash your Raspberry Pi and configure the device's components using the Viam app
- Hardware and supplies:
- 1 - Raspberry Pi 5
- Follow the Raspberry Pi setup guide to make sure your Pi is flashed with a Viam-compatible operating system, and that you are able to SSH into it.
- 1 - microSD card to use with your Pi
- 1 - power supply for your Pi
- 1 - Raspberry Pi 5
What You'll Need
- All the hardware components listed in prerequisites.
- A Home Assistant instance with a camera integration and HACS installed
- Sign up for a free Viam account, and then sign in to the Viam app
What You'll Learn
- How to use a vision service in Viam
- How to install a community integration in Home Assistant
- How to configure an automation in Home Assistant
Watch the Video
See a demonstration and overview of the integration in this video.
Create your machine
- In the Viam app under the LOCATIONS tab, create a machine by typing in a name and clicking Add machine.

- Click View setup instructions.

- To install
viam-serveron the Raspberry Pi device that you want to use to communicate with and control your webcam, select theLinux / Aarch64platform for the Raspberry Pi, and leave your installation method asviam-agent.
- Use the
viam-agentto download and installviam-serveron your Raspberry Pi. Follow the instructions to run the command provided in the setup instructions from the SSH prompt of your Raspberry Pi.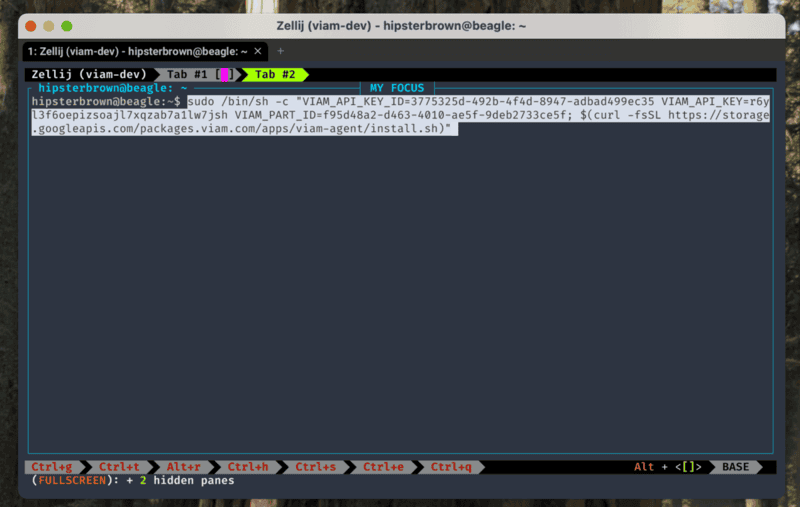
- The setup page will indicate when the machine is successfully connected.

Add an ML model service
- In the Viam app, click the + icon in the left-hand menu and select Service, and then
ML model.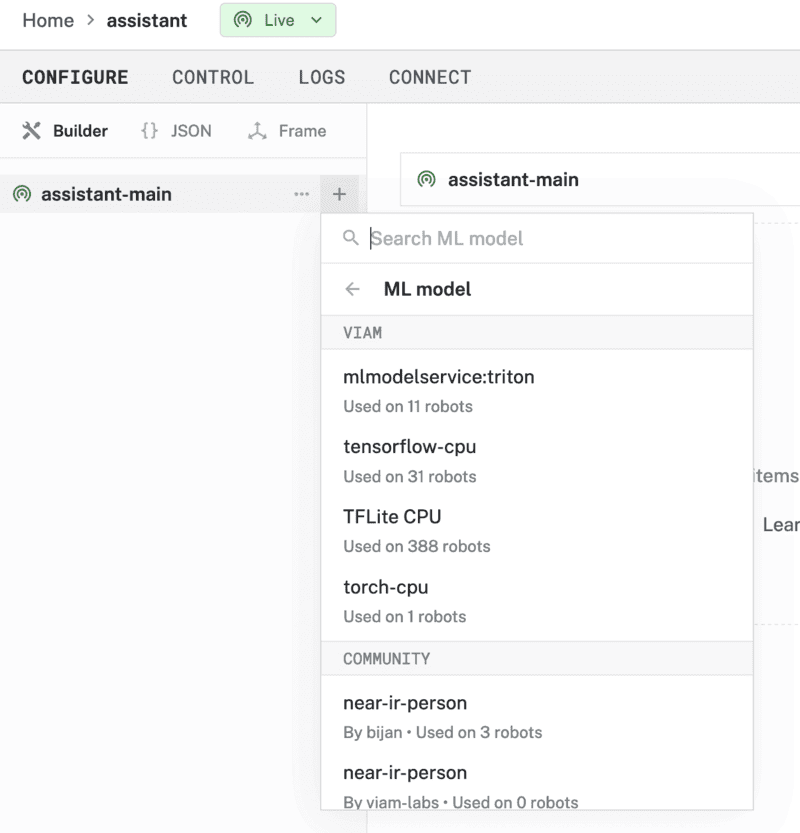
- Search for a module called
TFLite CPU. Then click Add module, and Create a new ML Model service calledmlmodel-1. This provides the ability to run Tensorflow Lite, a.k.a LiteRT, models on the machine.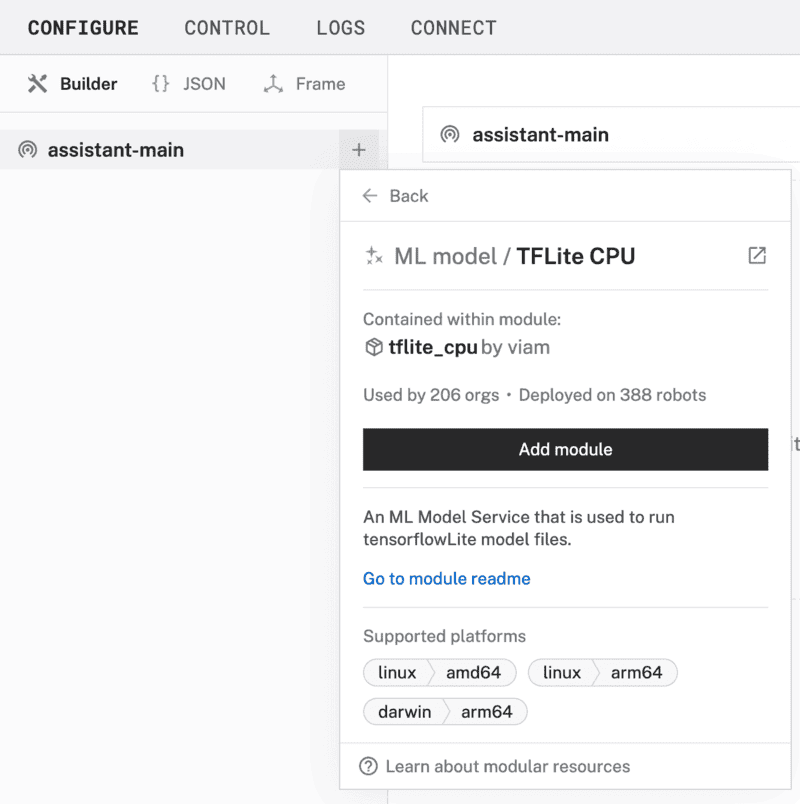
- Notice this creates two new items in the left sidebar. The first is your new ML Model service called
mlmodel-1, and the second is thetflite_cpumodule from the Registry. - In the
mlmodel-1panel, click "Select model" in the Model section, search for "COCO" under the Registry tab, and select the "EfficientDet-COCO" model from the list. This is a general object detection model that is very efficient, as the name implies, for resource-constrained devices like a Raspberry Pi.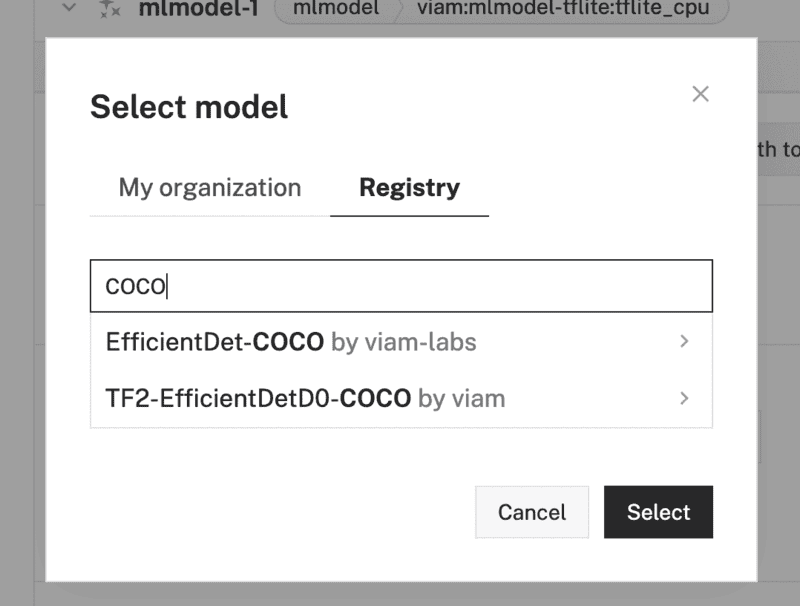
- Click Save in the top right to save and apply your configuration changes.
Add a vision service
- In the Viam app, click the + icon in the left-hand menu and select Service, and then
vision.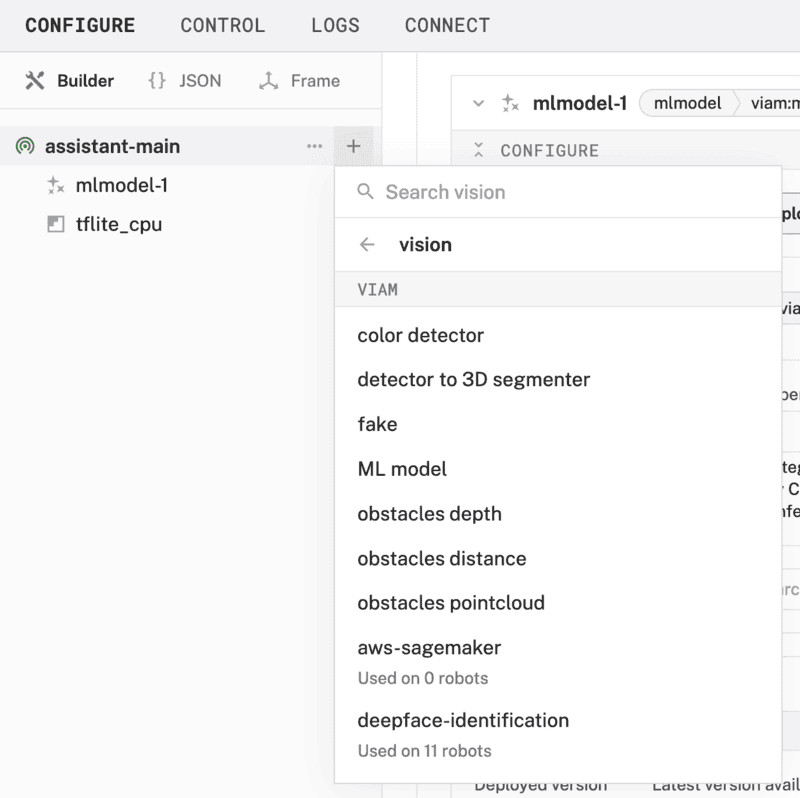
- Search for a module called
mlmodel. Then click Add module, and Create a new Vision service calledvision-1.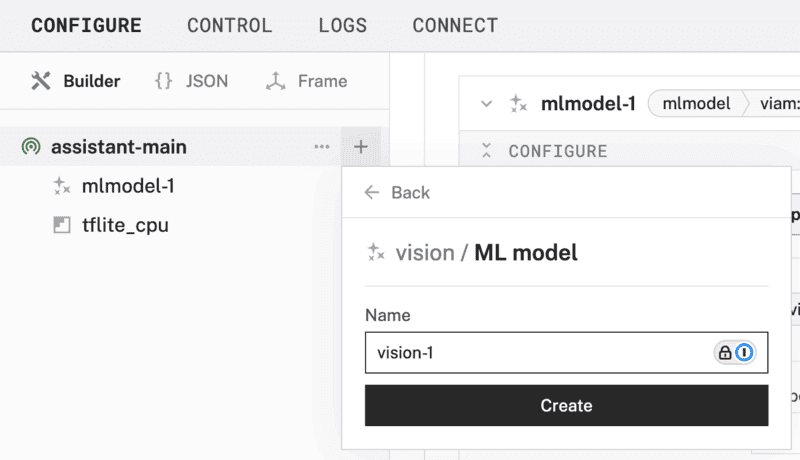
- Notice adding this service adds the vision service called
vision-1. From the ML Model section of the panel, selectmlmodel-1.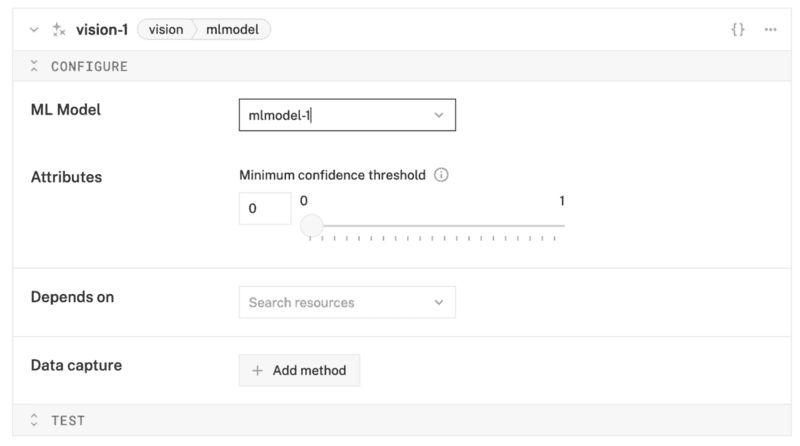
- Save your changes in the top right and wait a few moments for the configuration changes to take effect.
As a community integration, Viam is available through the Home Assistant Community Store (HACS). After getting started with HACS, you can add the Viam integration from the store.
- From the HACS dashboard in Home Assistant, search for Viam at the top, and select the top result.
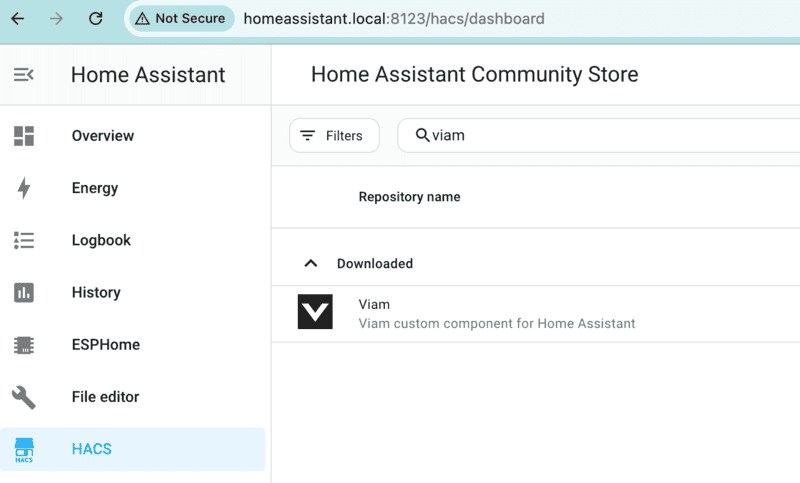
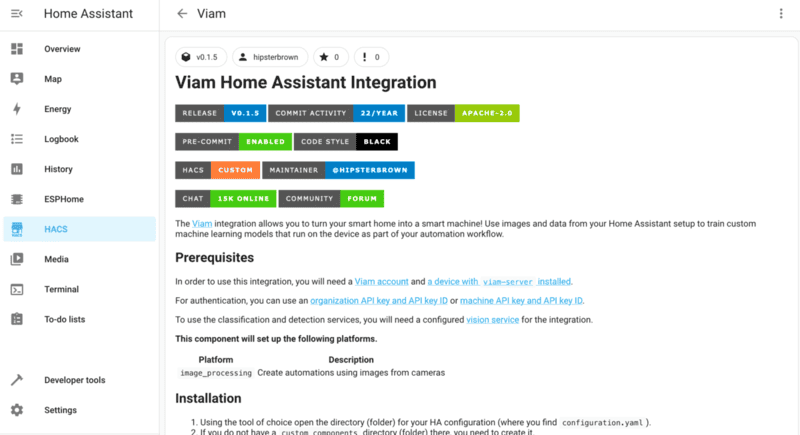
- The integration documentation will be displayed. Click on the blue "Download" button in the bottom right to install the code onto your Home Assistant device.
- Once the installation is complete, go to the "Settings" page and select "Devices & services" to view the integrations dashboard.
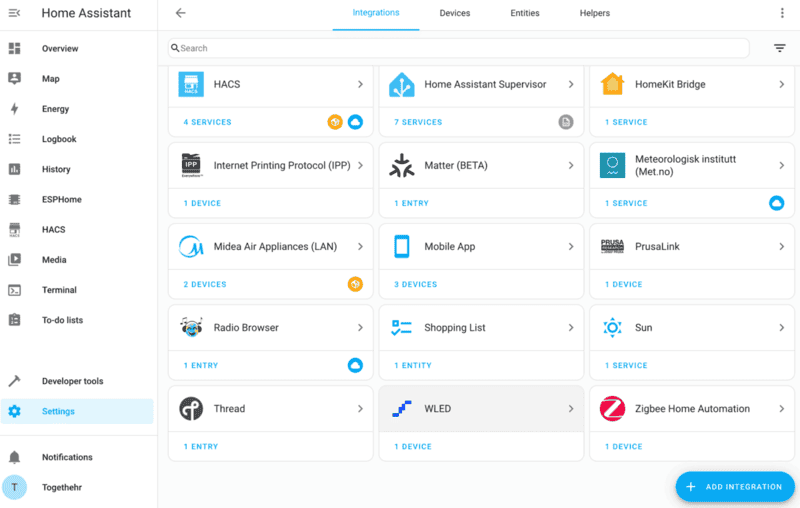
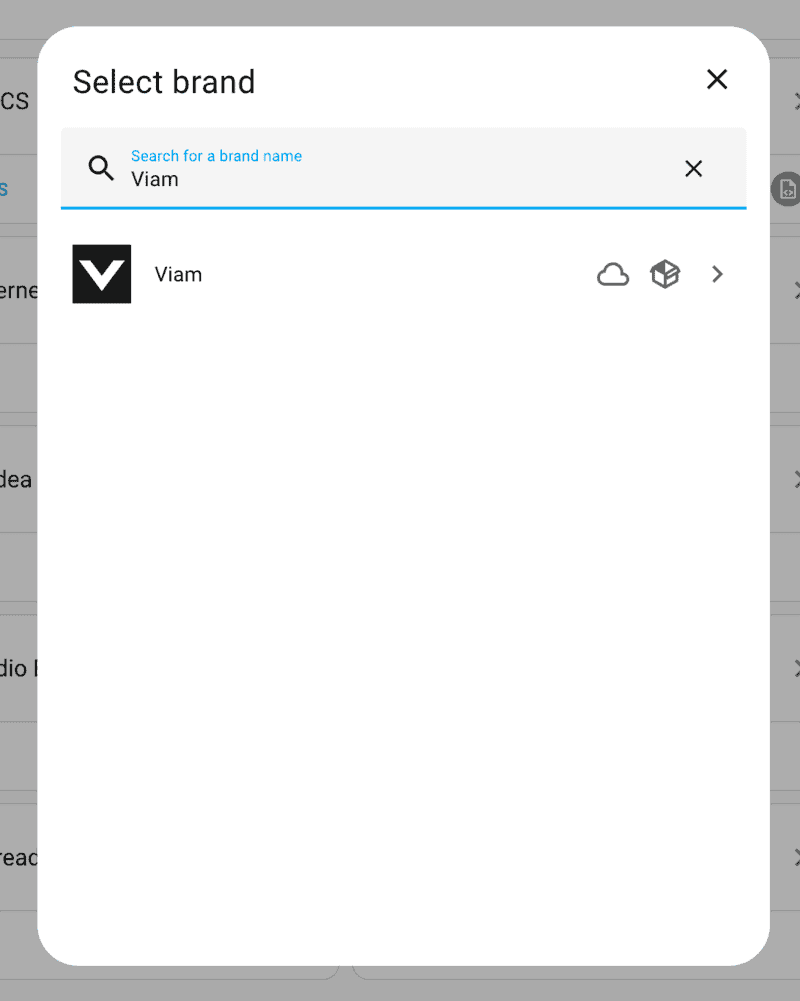
- Click on "Add Integration", search for Viam, and select the top result.
- In the configuration form, enter the API key ID and API key for the machine you set up earlier. You can find those values under the "Connect" tab in the Viam app, in the API keys section.

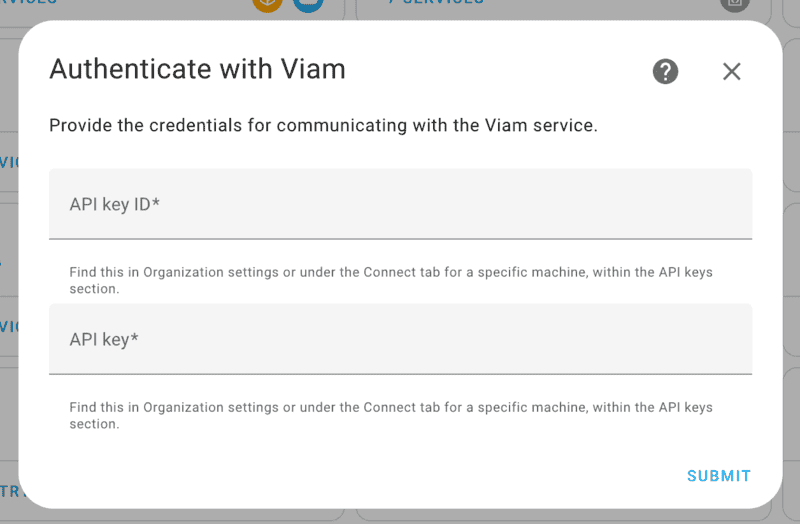
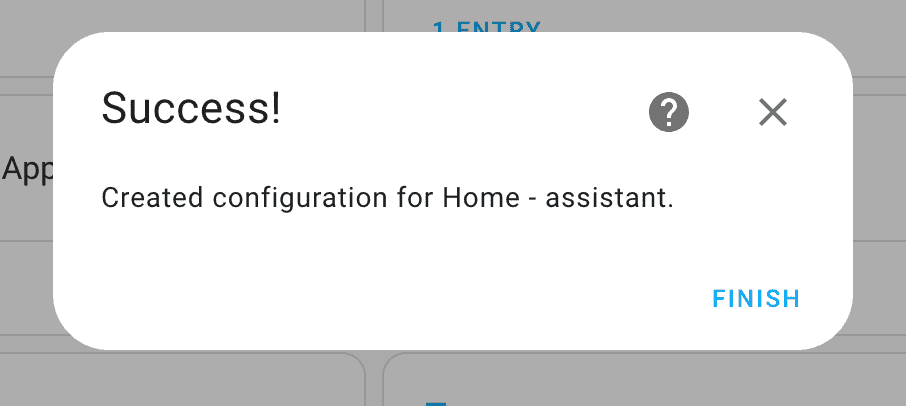
- Click "Submit" to create the connection between Home Assistant and the Viam app. Click "Finish" when the success message appears to confirm the setup is complete.
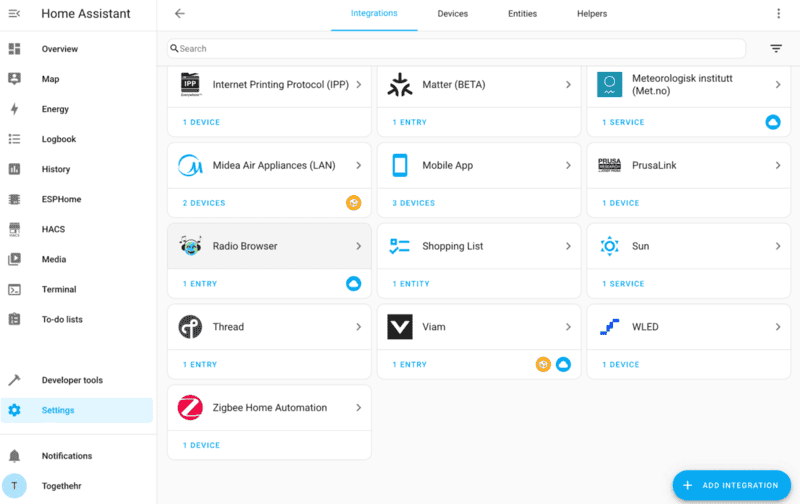
- The Viam integration should now appear on your Integrations Dashboard.
The Viam integration provides a few services that can be used in Home Assistant automations. For this codelab, you'll use the object detection service to intelligently notify when people have been detected by existing cameras connected to your home.
- In the Home Assistant app, go to the "Settings" page and select "Automations & scenes" to view the Automations Dashboard.
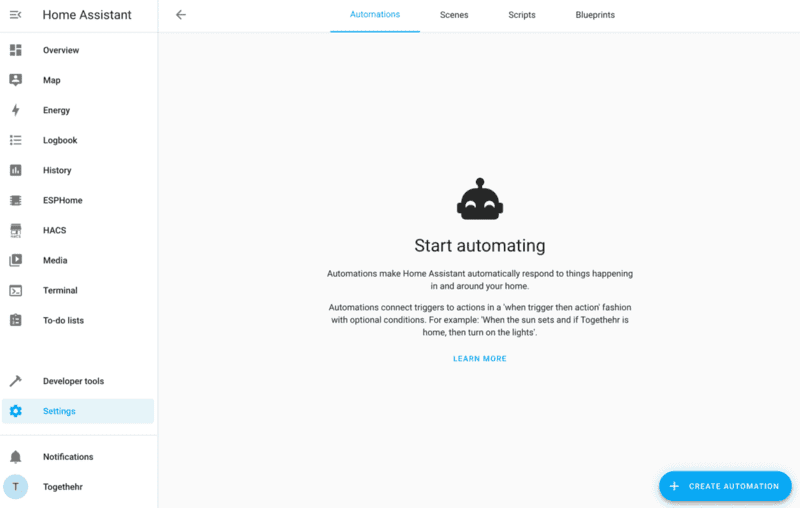
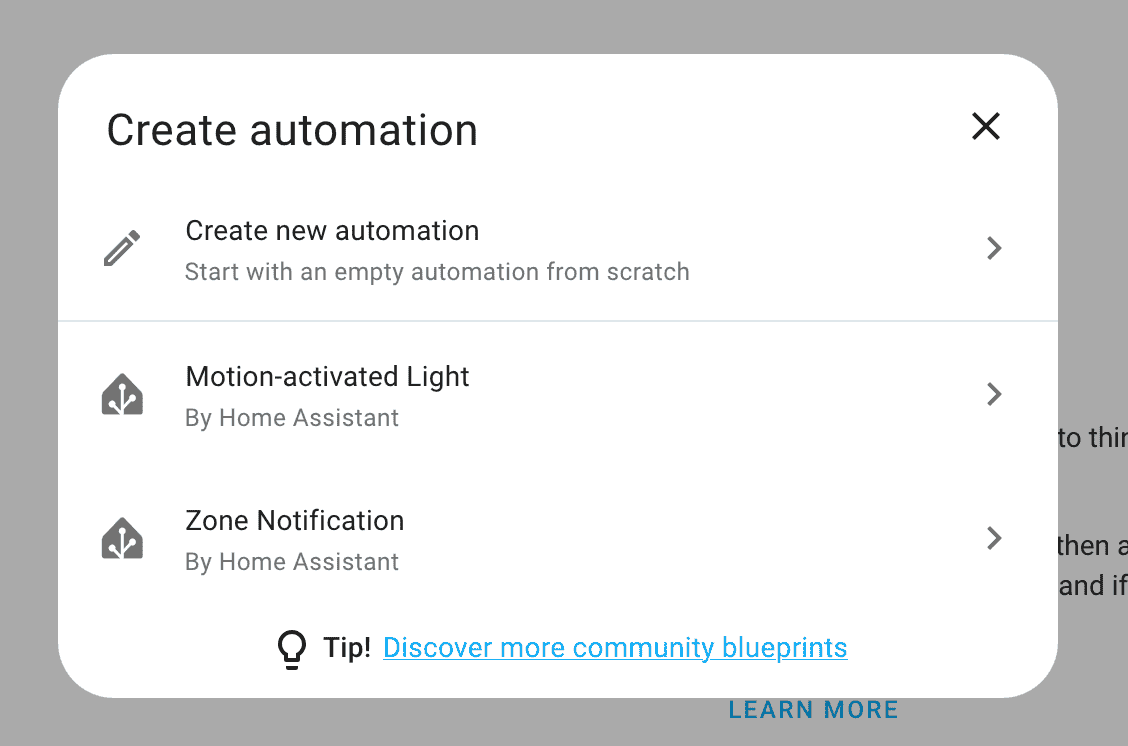
- Click "Create Automation" and select "Create new automation" from the options in the modal.
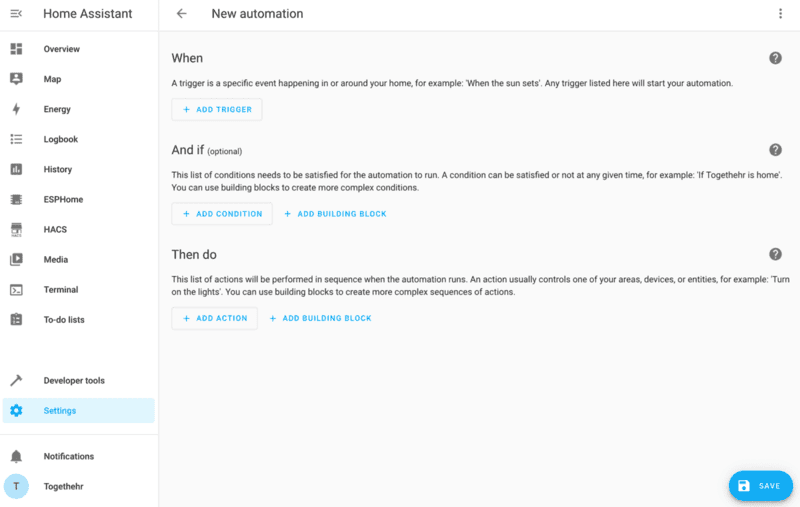
- The "New automation" page will include sections for "When", "And if", "Then do" to configure for the workflow.
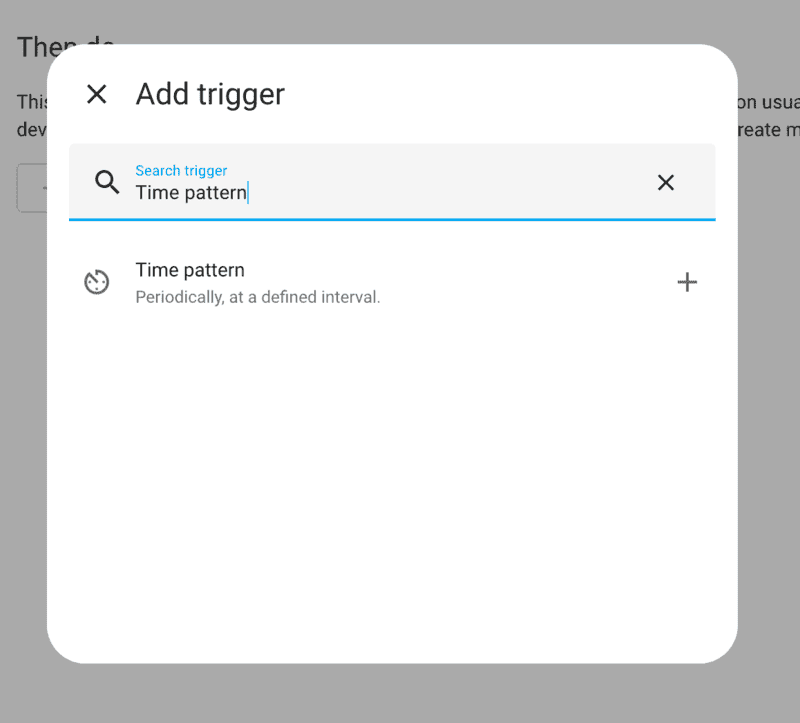
- Click "+ Add Trigger" to open the selection modal, then search for "Time pattern" and select the top result.
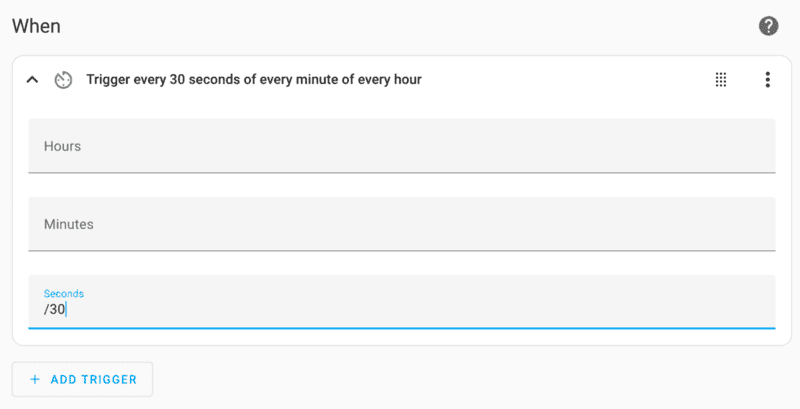
- Enter "/30" in the "Seconds" field to trigger the automation every 30 seconds. You can configure different patterns if you wish to check more or less frequently.
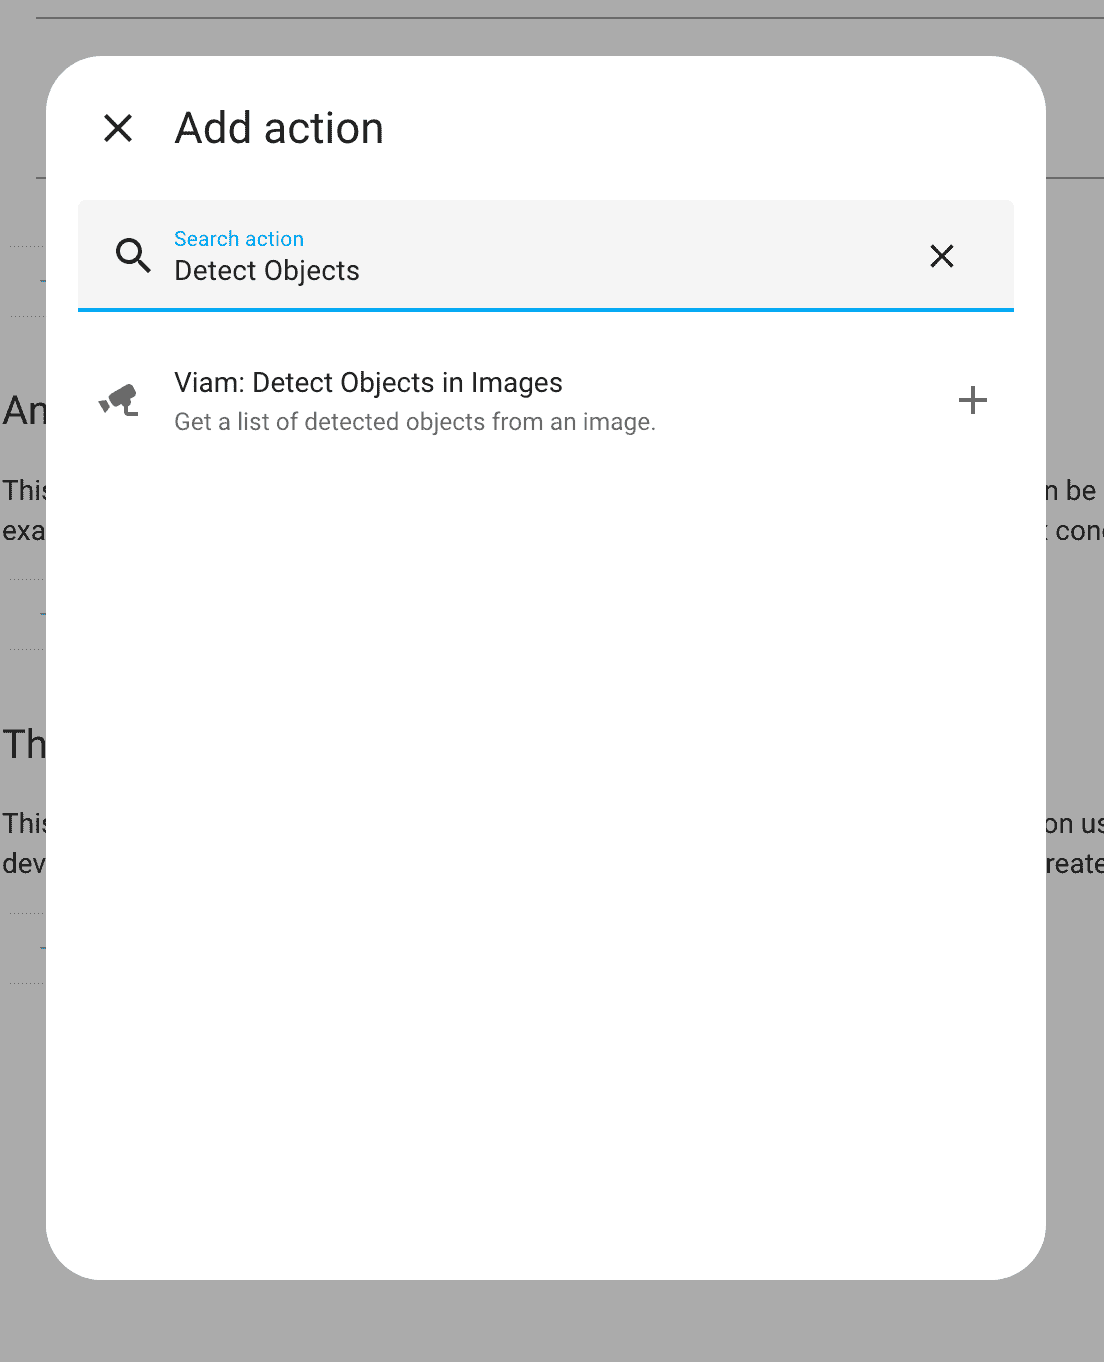
- Click "+ Add Action" to open the selection modal, then search for "Detect object" and select the top result.
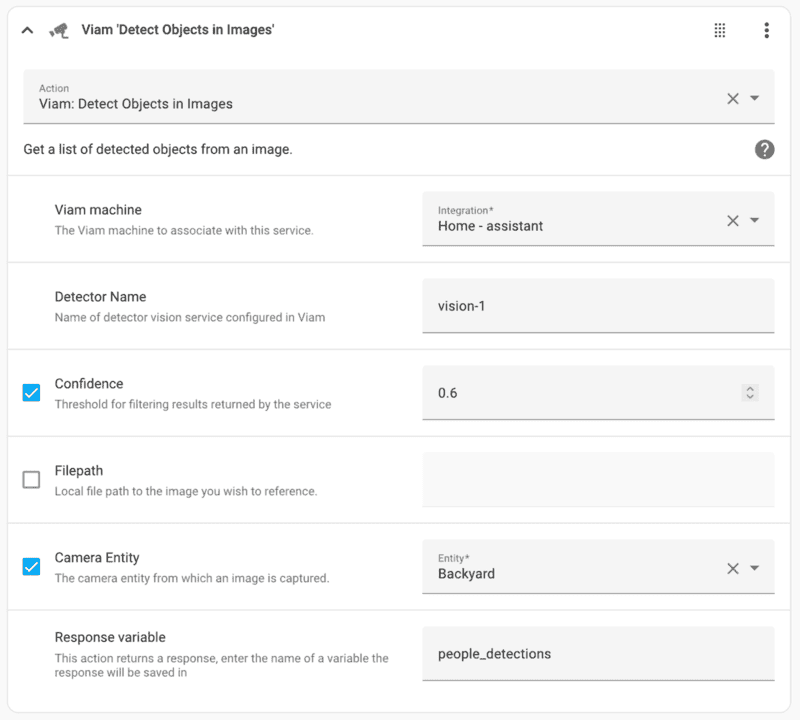
- In the "Viam machine" field, select the configured machine from earlier. Enter the name of the vision service, "vision-1", in the "Detector Name" field. Check the "Camera Entity" box and select the connected camera you would like to use for this automation. Then set the "Response variable" to "people_detections".
- Click "+ Add Action" to open the selection modal, then search for "Condition" and select the top result.
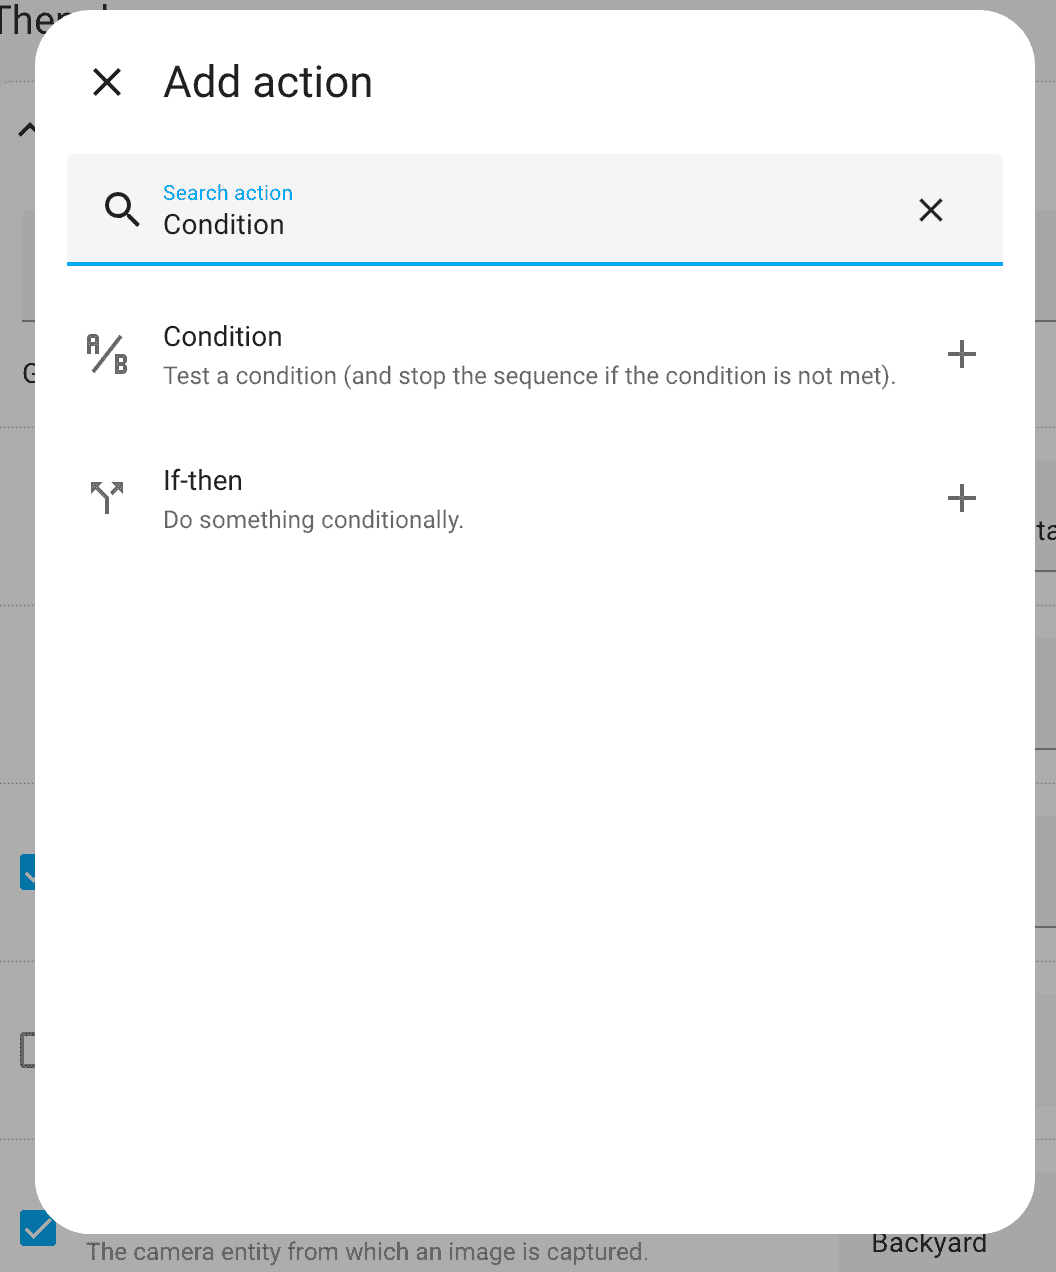
- Select "Template" for the "Condition type" and enter the following into the "Value template" field:
{ { people_detections.detections|count > 0 } }
- Click "+ Add Action" to open the selection modal, then search for "Persist" and select the top result.
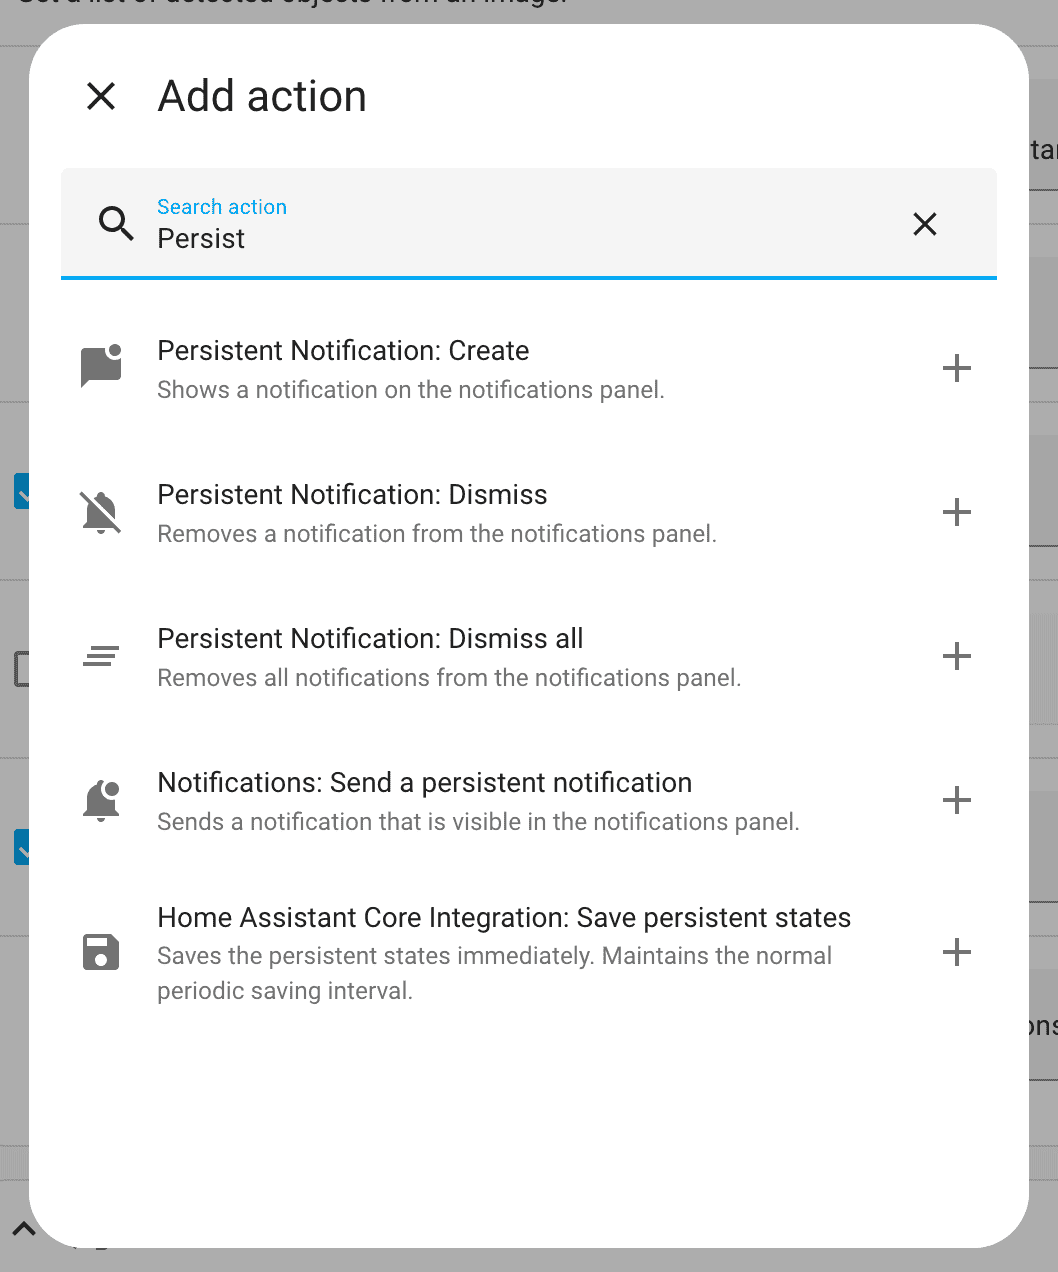
- Click the action menu (three vertical dots) on the new "Persistent Notifications: ‘Create'" card, and select "Edit in YAML" to display the YAML editor for creating templated notifications. Replace the
data: {}line with the following code:
This will create a notification with a list of detected people and the associated image.data: title: People Alert message: > Detected {{ people_detections.detections|join(", ", "name")|default("nothing", true) }}: 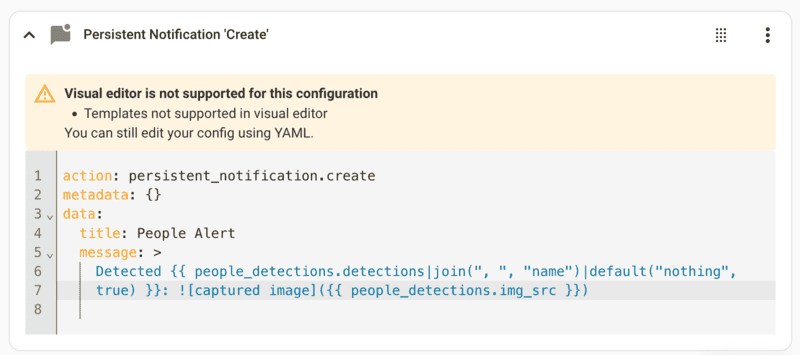
- Click the "Save" button in the bottom-right corner to enter a name for the automation and complete the setup.
Congratulations, you now have automated people detection for your smart home! Building on this experience you can do the following to make it even smarter:
- automatically collect images or sensor data from your Home Assistant devices in Viam
- use that data to train and deploy a custom vision model to detect and classify other objects besides people, or even identify specific people
- visualize the collected sensor data using tools like Grafana
What You Learned
- How to use a vision service in Viam
- How to install a community integration in Home Assistant
- How to configure an automation in Home Assistant