Edge computing has revolutionized how we deploy AI models by moving computation closer to the data source, reducing latency, and enhancing privacy. One challenge when working with edge devices like the Raspberry Pi is optimizing neural networks to run efficiently with limited resources.
NCNN is an open-source, high-performance neural network inference framework optimized for mobile platforms. Created by Tencent, it's specifically designed for edge devices with limited computing power and memory, making it perfect for Raspberry Pi deployments.
In this codelab, you'll learn how to set up and use the ncnn runtime to perform real-time computer vision inference on a Raspberry Pi. By the end, you'll have a working system that can classify objects using a webcam - all running efficiently at the edge!
What You'll Build
- A Raspberry Pi-based system running AI inference at the edge
Prerequisites
- A computer with MacOS, Windows, or Linux to flash your Raspberry Pi and configure the device's components using the Viam app
- Hardware and supplies requirements
- 1 - Raspberry Pi 4 (or Raspberry Pi 5 for better performance)
- 1 - microSD card to use with your Pi
- 1 - power supply for your Pi
- 1 - USB webcam
What You'll Learn
- How to set up a Raspberry Pi with Raspberry Pi OS and Viam
- How to configure a webcam component
- How to configure the ncnn mlmodel service
- How to run inference on the model with the mlmodel vision service
- Best practices for optimizing AI models on edge devices
What You'll Need
- All the hardware components listed in prerequisites
- Sign up for a free Viam account, and then sign in to the Viam app
The Raspberry Pi boots from a microSD card. You need to install Raspberry Pi OS on the microSD card that you will use with your Pi. For more details about alternative methods of setting up your Raspberry Pi, refer to the Viam docs.
Install Raspberry Pi OS
- Connect the microSD card to your computer.
- Download the Raspberry Pi Imager and launch it.
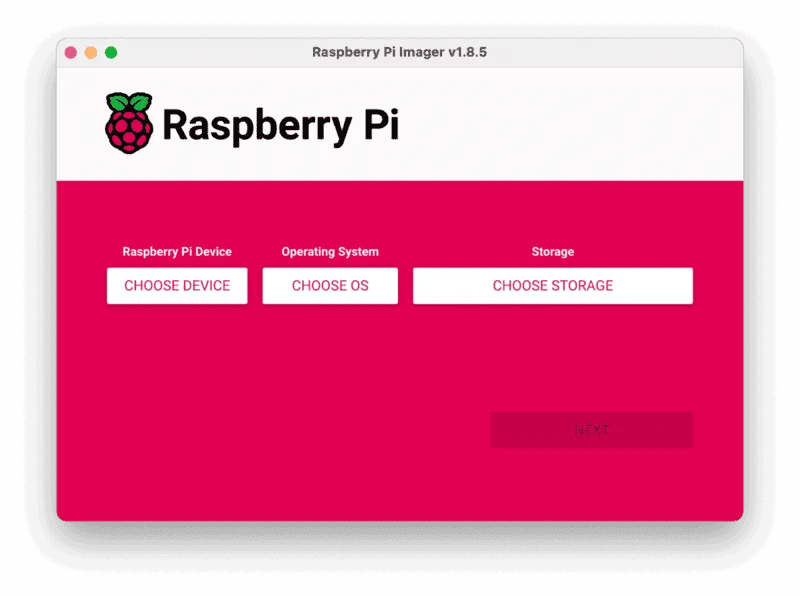
- Click CHOOSE DEVICE. Select your model of Pi, which is Raspberry Pi 4 (or 5 if you're using that).
- Click CHOOSE OS. Select Raspberry Pi OS (64-bit) from the menu.
- Click CHOOSE STORAGE. From the list of devices, select the microSD card you intend to use in your Raspberry Pi.
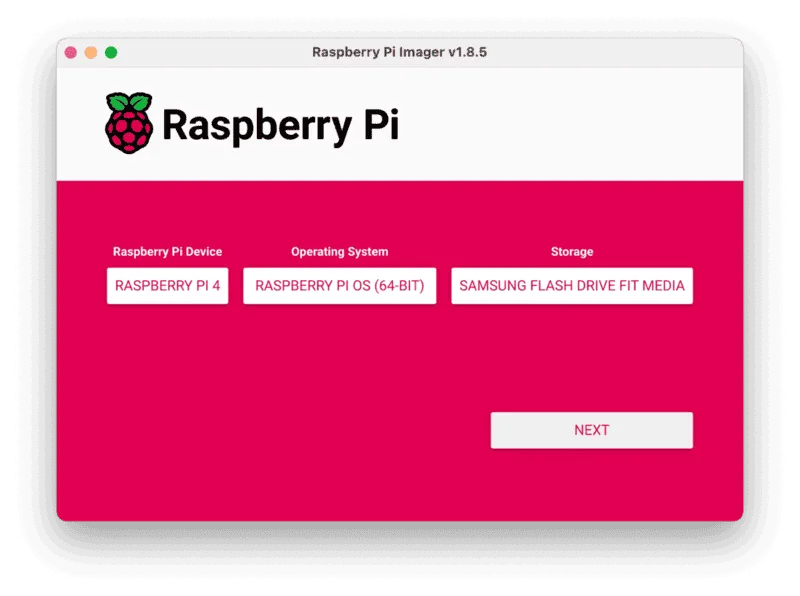
- Configure your Raspberry Pi for remote access. Click Next. When prompted to apply OS customization settings, select EDIT SETTINGS.
- Check Set hostname and enter the name you would like to access the Pi by in that field, for example,
ncnn-pi. - Select the checkbox for Set username and password and set a username (for example, your first name) that you will use to log into the Pi. If you skip this step, the default username will be
pi(not recommended for security reasons). And specify a password. - Connect your Pi to Wi-Fi so that you can run
viam-serverwirelessly. Check Configure wireless LAN and enter your wireless network credentials. SSID (short for Service Set Identifier) is your Wi-Fi network name, and password is the network password. Change the sectionWireless LAN countryto where your router is currently being operated.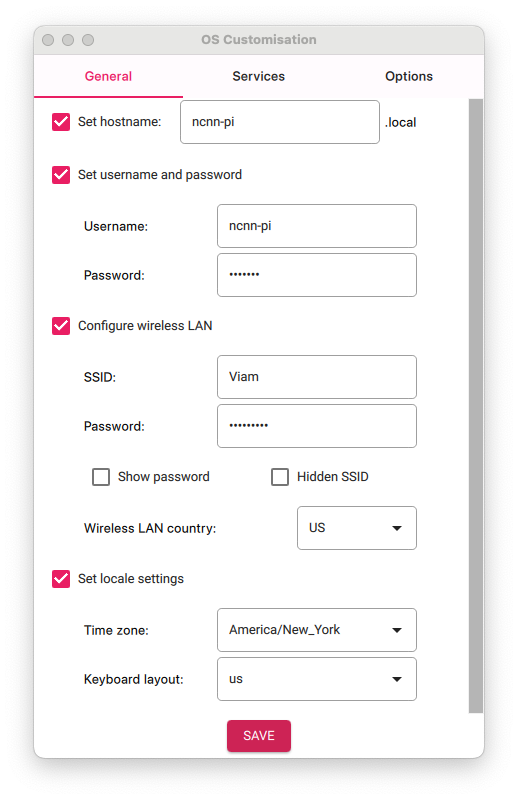
- Select the SERVICES tab, check Enable SSH, and select Use password authentication.
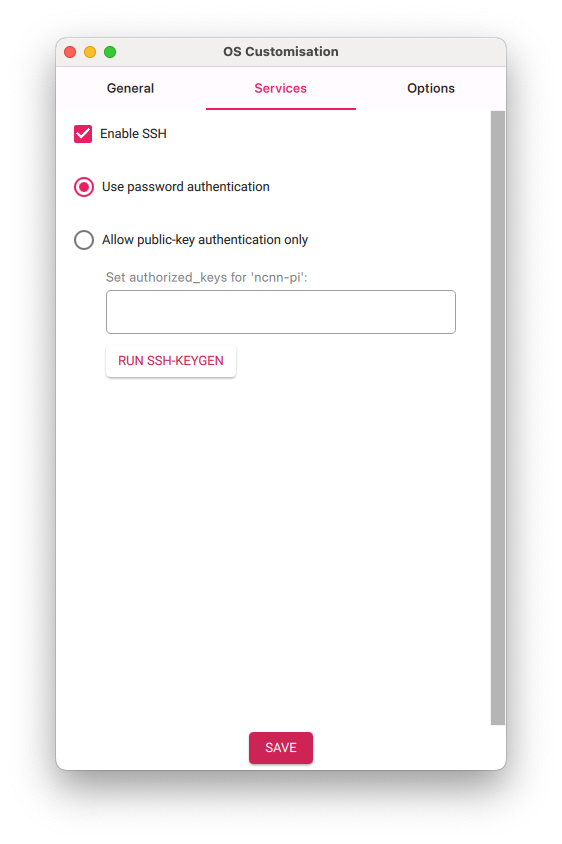
- Save your updates, and confirm
YESto apply OS customization settings. ConfirmYESto erase data on your microSD card. You may also be prompted by your operating system to enter an administrator password. After granting permissions to the Imager, it will begin writing and then verifying the Linux installation to your microSD card. - Remove the microSD card from your computer when the installation is complete.
Connect with SSH
- Place the microSD card into your Raspberry Pi and boot the Pi by plugging it in to an outlet. A red LED will turn on to indicate that the Pi is connected to power.
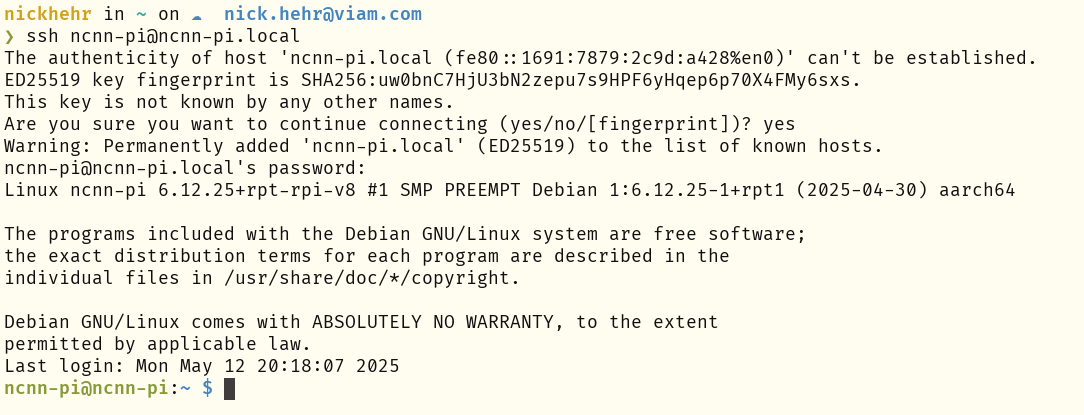
- Once the Pi is started, connect to it with SSH. From a command line terminal window, enter the following command. The text in <> should be replaced (including the < and > symbols themselves) with the user and hostname you configured when you set up your Pi.
ssh <USERNAME>@<HOSTNAME>.local - If you are prompted "Are you sure you want to continue connecting?", type "yes" and hit enter. Then, enter the password for your username. You should be greeted by a login message and a command prompt.
- Update your Raspberry Pi to ensure all the latest packages are installed
sudo apt update
sudo apt upgrade -y
Connect your webcam
- Connect the webcam to any USB port on your Pi.
Configure your machine in Viam
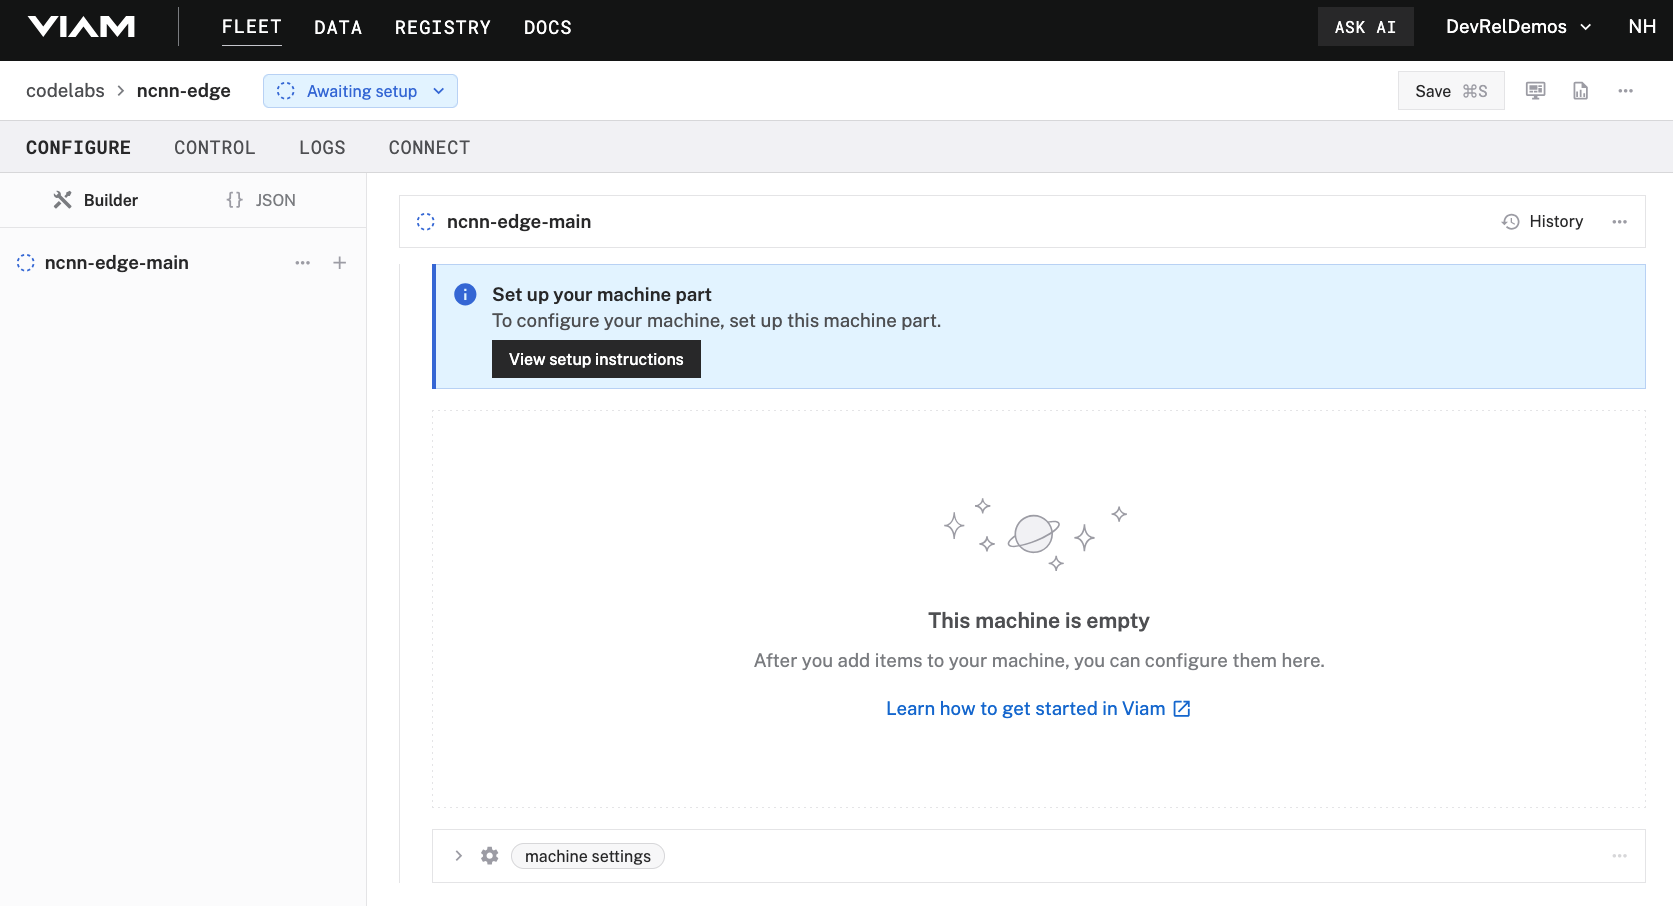
- In the Viam app under the LOCATIONS tab, create a machine by typing in a name like "ncnn-edge" and clicking Add machine.

- Click View setup instructions.
- To install
viam-serveron the Raspberry Pi device that you want to use, select theLinux / Aarch64platform for the Raspberry Pi, and leave your installation method asviam-agent.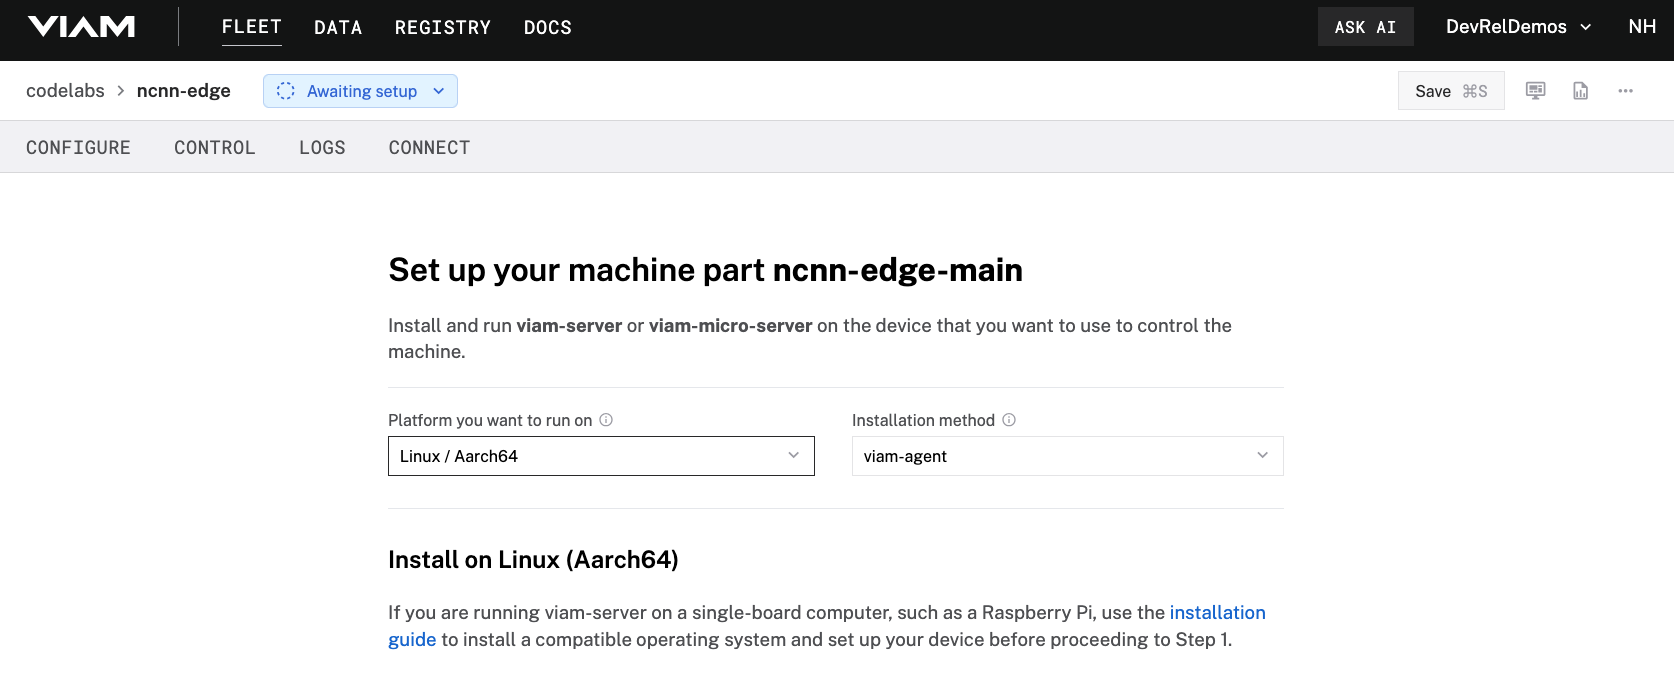
- Use the
viam-agentto download and installviam-serveron your Raspberry Pi. Follow the instructions to run the command provided in the setup instructions from the SSH prompt of your Raspberry Pi.
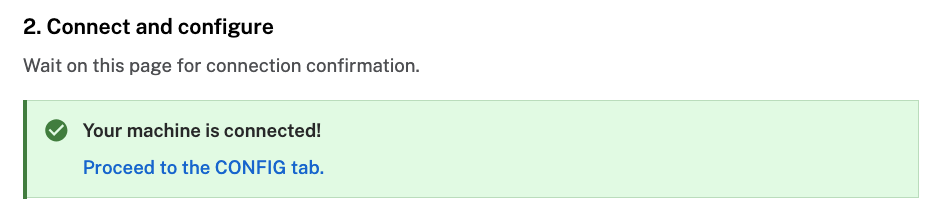
- The setup page will indicate when the machine is successfully connected.
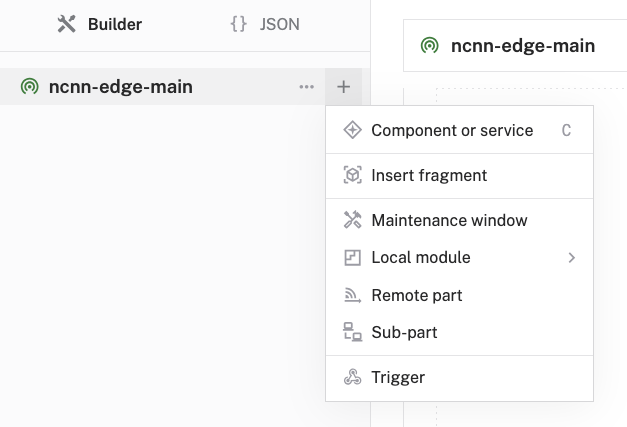
- In the Viam app under the CONFIGURE tab, click the + icon in the left-hand menu and select Component or service.
- Select
camera, and find thewebcammodule. This adds the module for working with a USB webcam. Leave the default namecamera-1for now.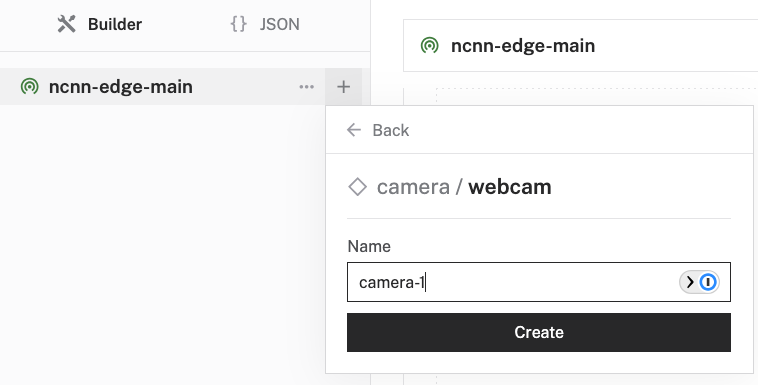
- Notice adding this component adds the webcam hardware component called
camera-1. From the Configure section of the panel, switch to the JSON configuration mode using the{}icon in the top-right: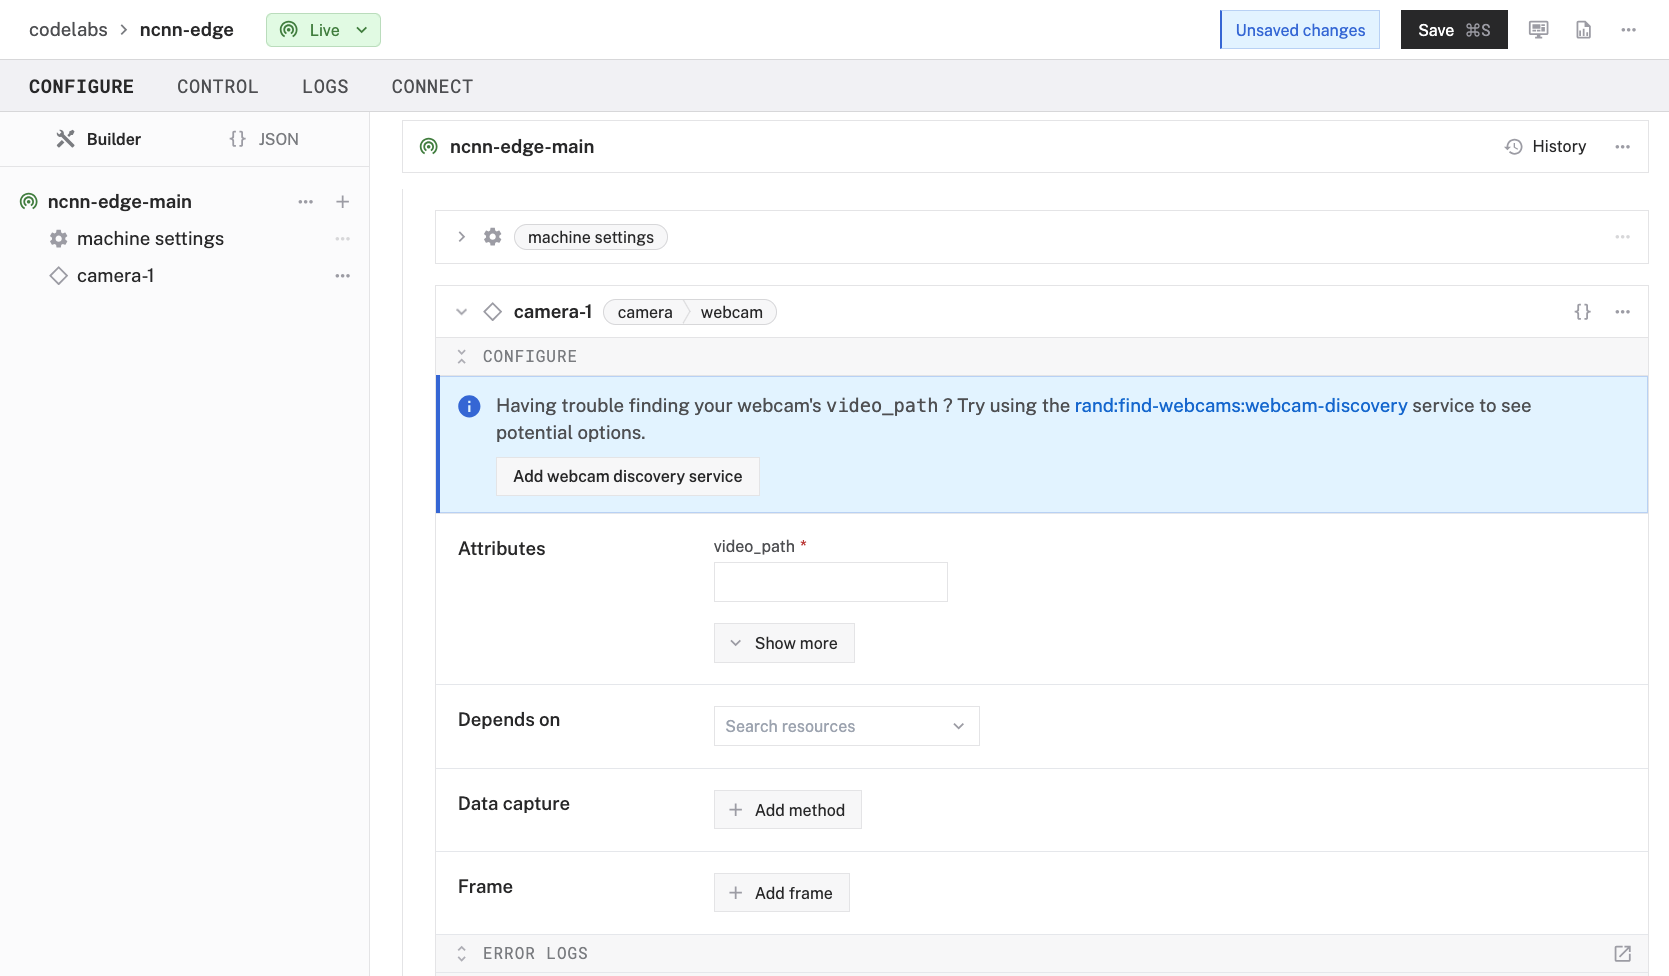

- In this mode, configure your component with the following JSON in the CONFIGURE field. This will tell the component to look for the default camera connected to the device, which will be the USB webcam.
{
    "video_path": ""
}
- Click Save in the top right. This may take a moment to apply your configuration changes.
- At the bottom of the
camera-1panel, expand the TEST section to ensure you have configured the camera properly and see a video feed.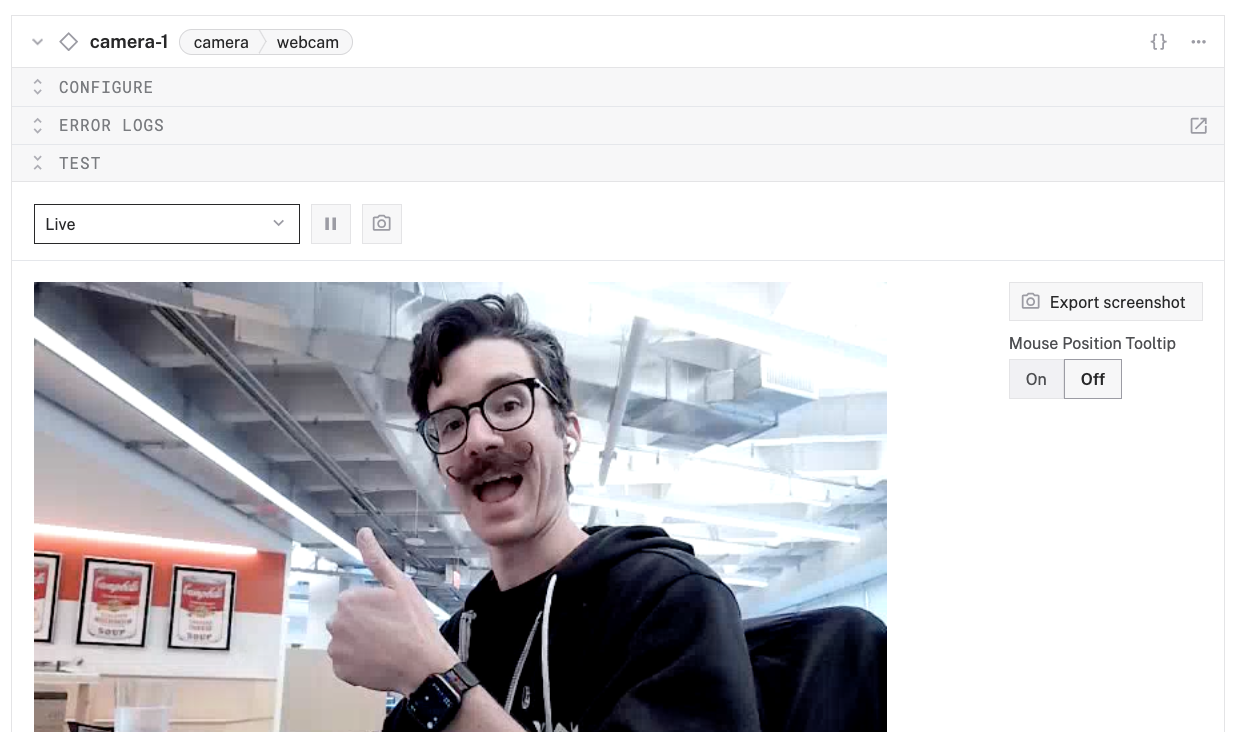
Now, let's add the ncnn ML model service to our machine. This will let us run optimized neural networks for computer vision.
Add the ML model service
- In the Viam app under the CONFIGURE tab, click the + icon in the left-hand menu and select Component or service.
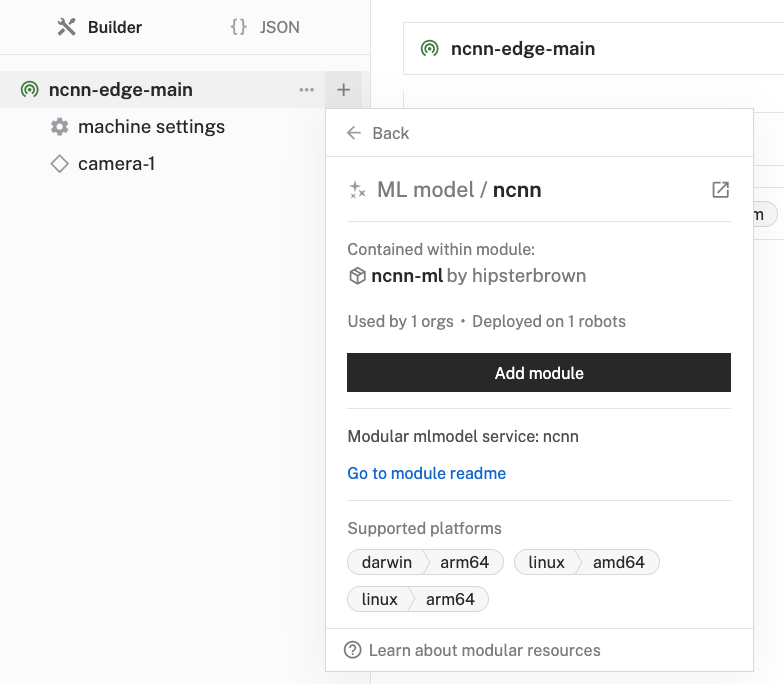
- Select
ML Model, and find thehipsterbrown:mlmodel:ncnnmodule. This adds the module for running optimized neural networks with ncnn. Leave the default namemlmodel-1for now.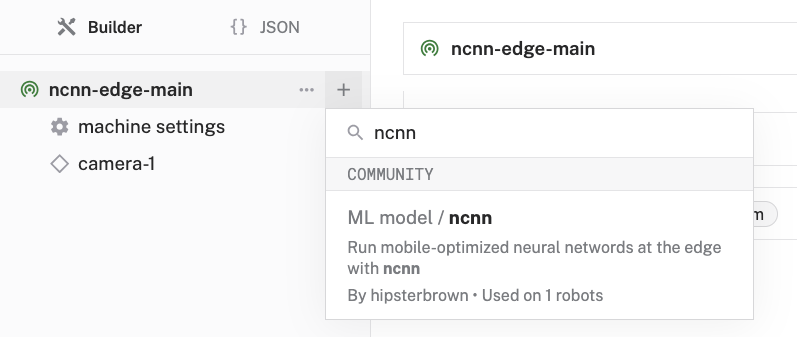
- Notice adding this service adds the ML model service called
mlmodel-1.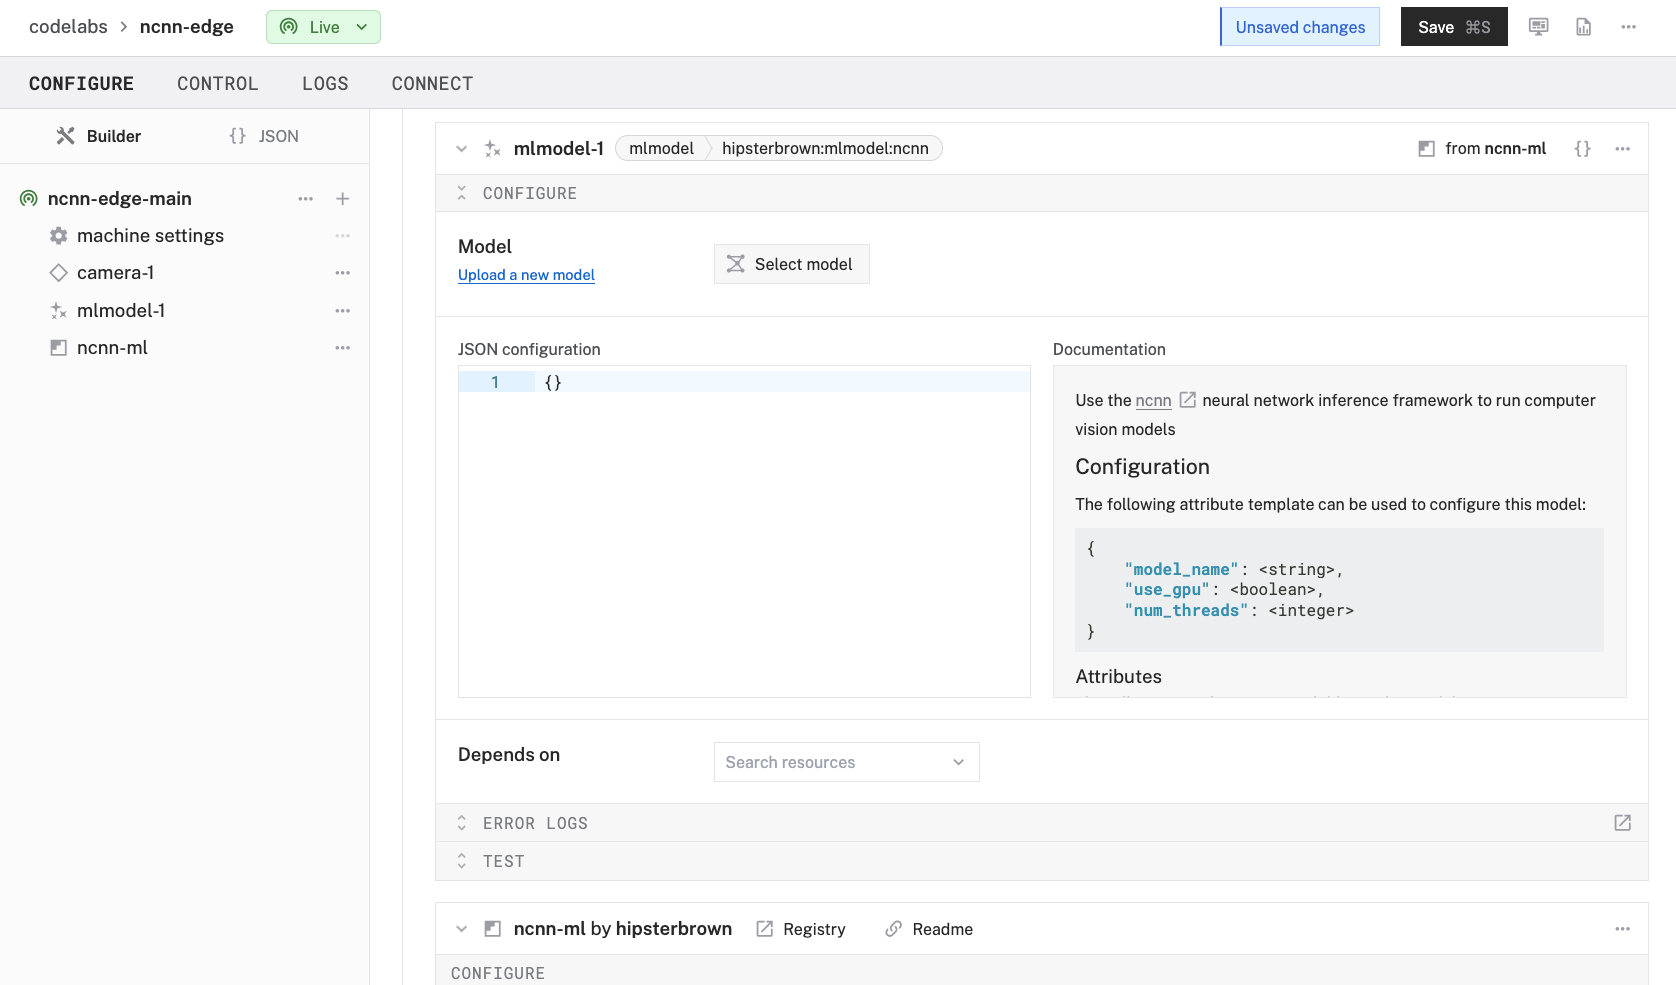
- In the new
mlmodel-1panel, configure your service with the following JSON in the JSON configuration section:
This tells the ML model service to use the pre-trained "squeezenet_ssd" model from the ncnn model zoo and allocates 4 CPU threads for inference.{ "model_name": "squeezenet_ssd", "num_threads": 4 } - Click Save in the top right to save and apply your configuration changes.
Now, let's add a vision service that will use our ML model to perform object detection on images from the webcam.
- In the Viam app under the CONFIGURE tab, click the + icon in the left-hand menu and select Component or service.
- Select
vision, and find theML Modelmodule. This adds a vision service that uses ML models. Leave the default namevision-1for now.
- Notice adding this service adds the vision service called
vision-1.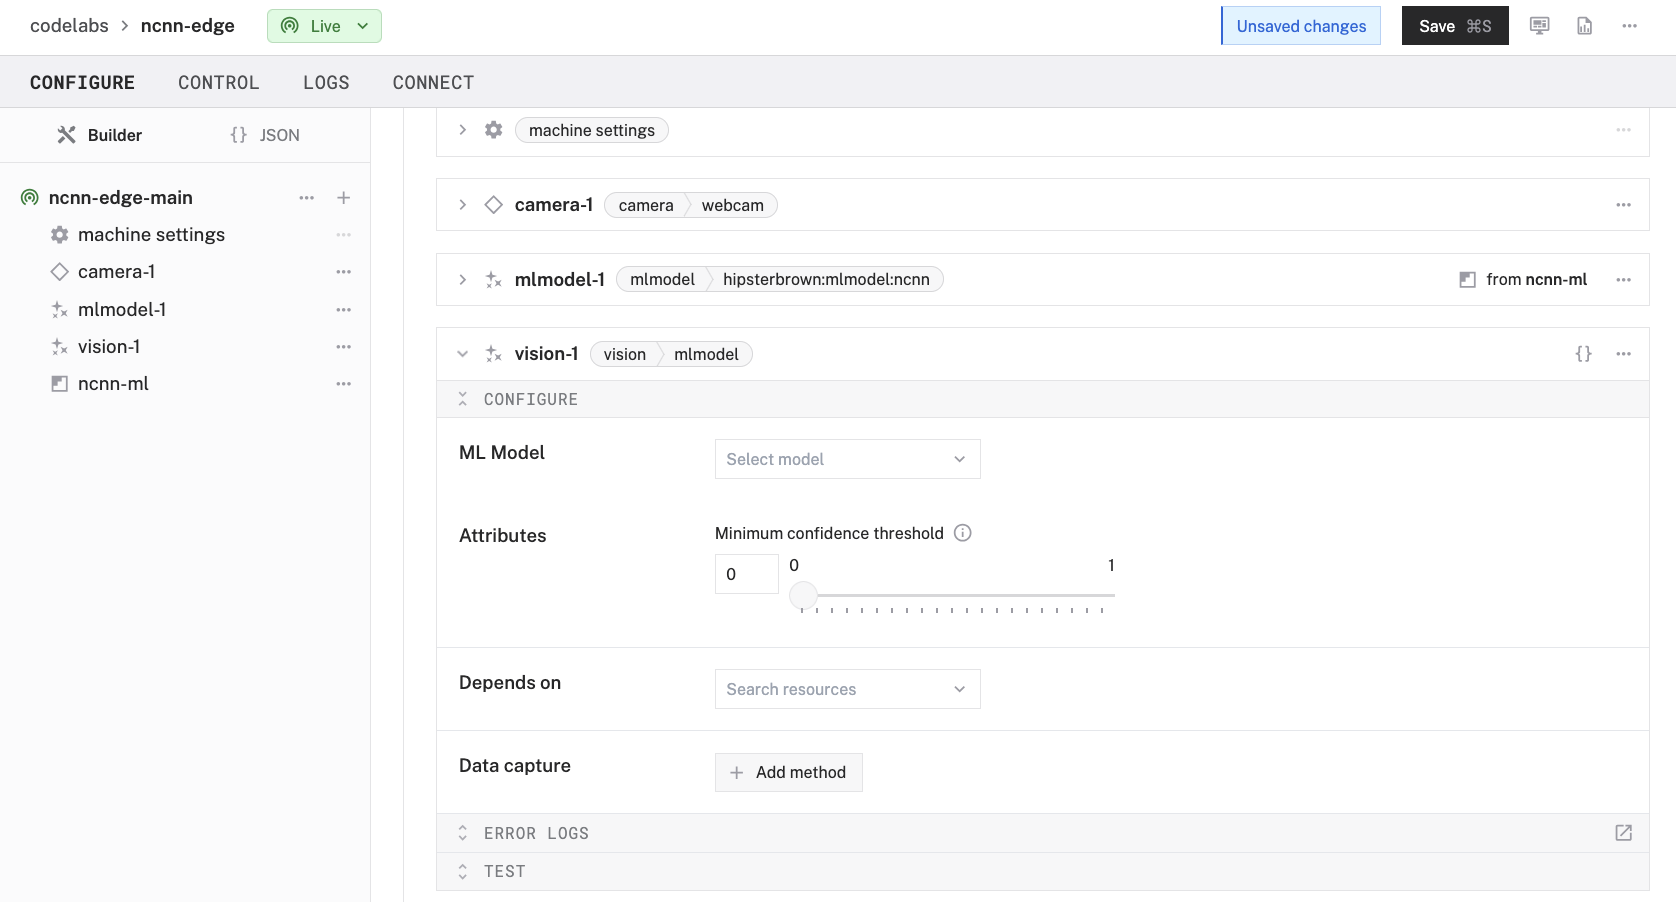
- In the ML Model section of the panel, select your ML model service (
mlmodel-1). - Set the confidence level to 0.5 to reduce the amount of false positive detections.
- In the Depends on section, select your camera component (
camera-1).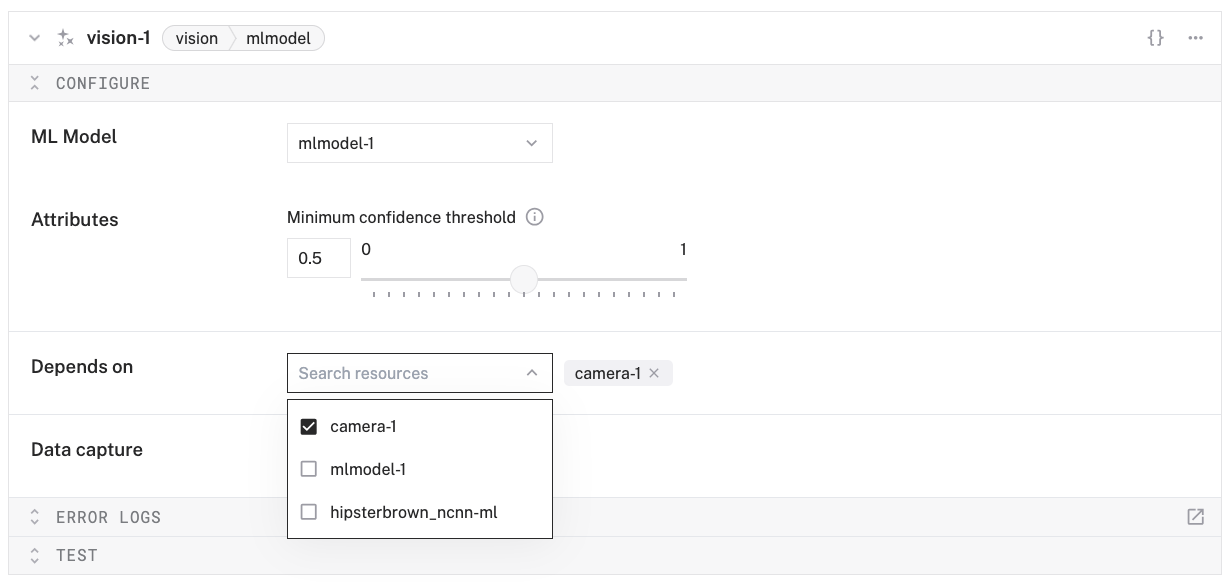
- Click Save in the top right to save and apply your configuration changes.
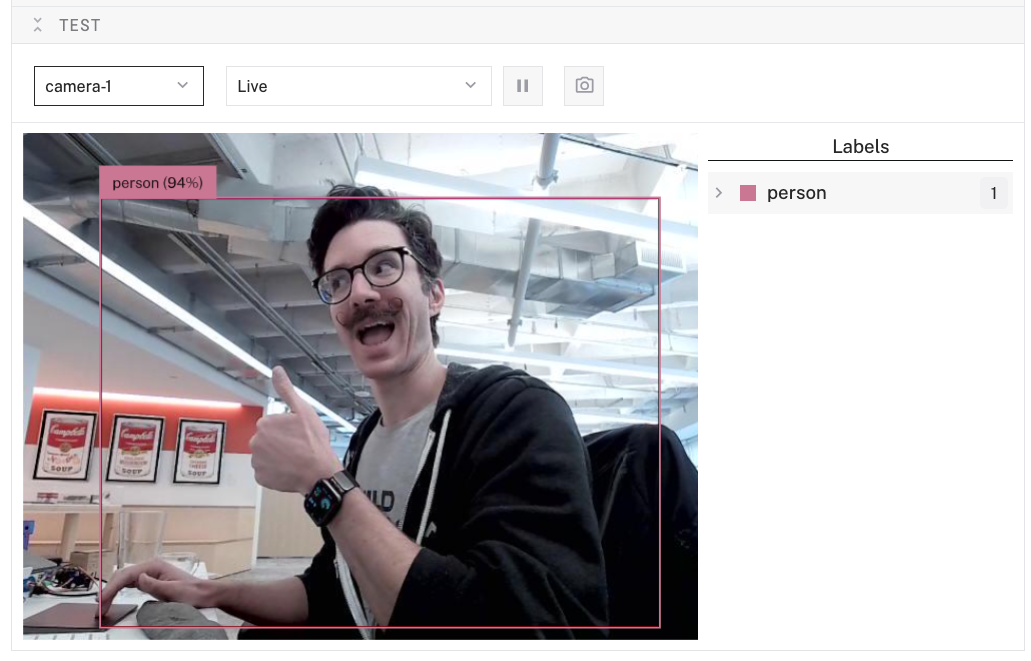
- At the bottom of the
vision-1panel, expand the TEST section. - You should see the video feed from your camera with a list of detected objects on the right-side of the panel. The model will detect what it sees in the camera's field of view, showing confidence scores for object.
- Try holding different objects in front of the camera to see how well the model identifies them!
Congratulations! 🎉 You've successfully built an edge AI system that runs optimized computer vision models on a Raspberry Pi using the ncnn framework. This setup allows you to perform real-time object classification with minimal latency - all without requiring cloud connectivity or powerful hardware.
Edge AI is an exciting field with endless possibilities. With the knowledge you've gained in this codelab, you're well-equipped to build efficient, intelligent systems that run right on your Raspberry Pi - no cloud required!
What You Learned
- How to set up a Raspberry Pi with Viam
- How to configure a webcam component
- How to use the ncnn ML model service for efficient edge AI
- How to run inference using a vision service
- How to optimize ML model performance on edge devices
Why edge AI matters
Edge AI is transforming how we build intelligent systems by:
- Reducing latency for real-time applications
- Enhancing privacy by keeping data local
- Enabling operation in offline environments
- Reducing bandwidth and cloud computing costs
- Making AI accessible on affordable hardware like the Raspberry Pi
Next steps
Here are some ways to extend your project:
- Try different pre-trained models: Explore other models available in the ncnn framework
- Custom applications: Create a Viam app that uses the vision service data for specific use cases
- Integrate with other hardware: Connect motors, servos, or other actuators to build a responsive robot
- Data collection: Capture and analyze object detection data over time
- Build a custom model: Train your own model for specific object detection needs