In the world of computer vision, YOLO (You Only Look Once) has revolutionized object detection with its speed and accuracy. Unlike traditional methods that scan images multiple times at different scales, YOLO divides images into a grid and predicts bounding boxes and class probabilities in a single pass – hence the name "You Only Look Once." This approach makes YOLO exceptionally fast while maintaining high accuracy, perfect for real-time applications.
In this codelab, we'll use the Ultralytics YOLOv8 implementation, which provides a good balance of accuracy and efficiency in object detection, and we'll export the finished model to ONNX format. ONNX (Open Neural Network Exchange) is a interoperable architecture for running machine learning models that are designed using frameworks like Tensorflow, PyTorch, Keras, and others with support for optimizations on various platforms at runtime.
What You'll Build
A custom object detection system using the YOLO (You Only Look Once) model architecture.
Prerequisites
- A computer with a built-in webcam or a USB webcam
- Objects you want to detect (at least 2-5 different objects recommended)
What You'll Need
- Sign up for a free Viam account, and then sign in
What You'll Learn
- How to configure a camera in the Viam platform
- How to capture images and create a training dataset
- How to annotate images with bounding boxes
- How to train a custom YOLO model using a custom training script
- How to deploy your trained model to your machine
- How to run real-time object detection with your model
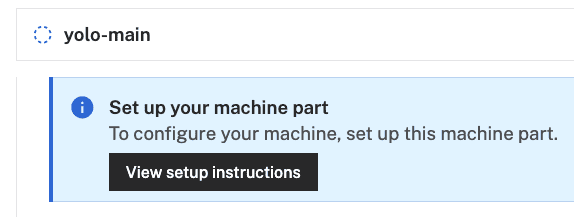
- In the Viam app under the LOCATIONS tab, create a machine by clicking + Add machine, typing in a name, and clicking Add machine.

- Click View setup instructions.
- To install
viam-serveron your device, select the operating system you are running. For example, I'll be using a MacBook Air as my device, so I'll selectMac: - Follow the instructions that are shown for your platform.
- The setup page will indicate when the machine is successfully connected.

With a machine configured, we now need a way to capture images. Let's add a webcam next!
- In the Viam app, find the CONFIGURE tab.
- Click the + icon in the left-hand menu and select Component.
- Select
camera, and find thewebcammodule. Leave the default namecamera-1for now, then click Create.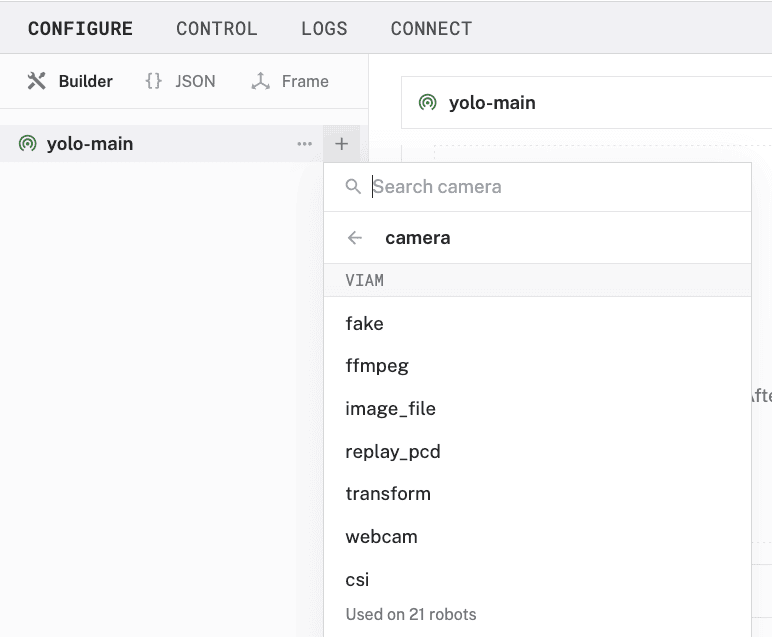
- Notice adding this module adds the camera hardware component called
camera-1. You'll see a collapsible card on the right, where you can configure the camera component.
- To configure the camera component, the
video_pathof the intended device needs to be set. You can quickly find which devices are connected to your machine by adding a discovery service. Click Add webcam discovery service that appears in the prompt.
- Notice that this adds the
discovery-1service andfind-webcamsmodule to your machine in the left sidebar. - Click Save in the top right to save and apply your configuration changes.
- Expand the TEST panel of the
discovery-1card. Here, you'll find attributes of all discoverable cameras connected to your machine. Find thevideo_pathof the device you'd like to use as your webcam, then copy the value.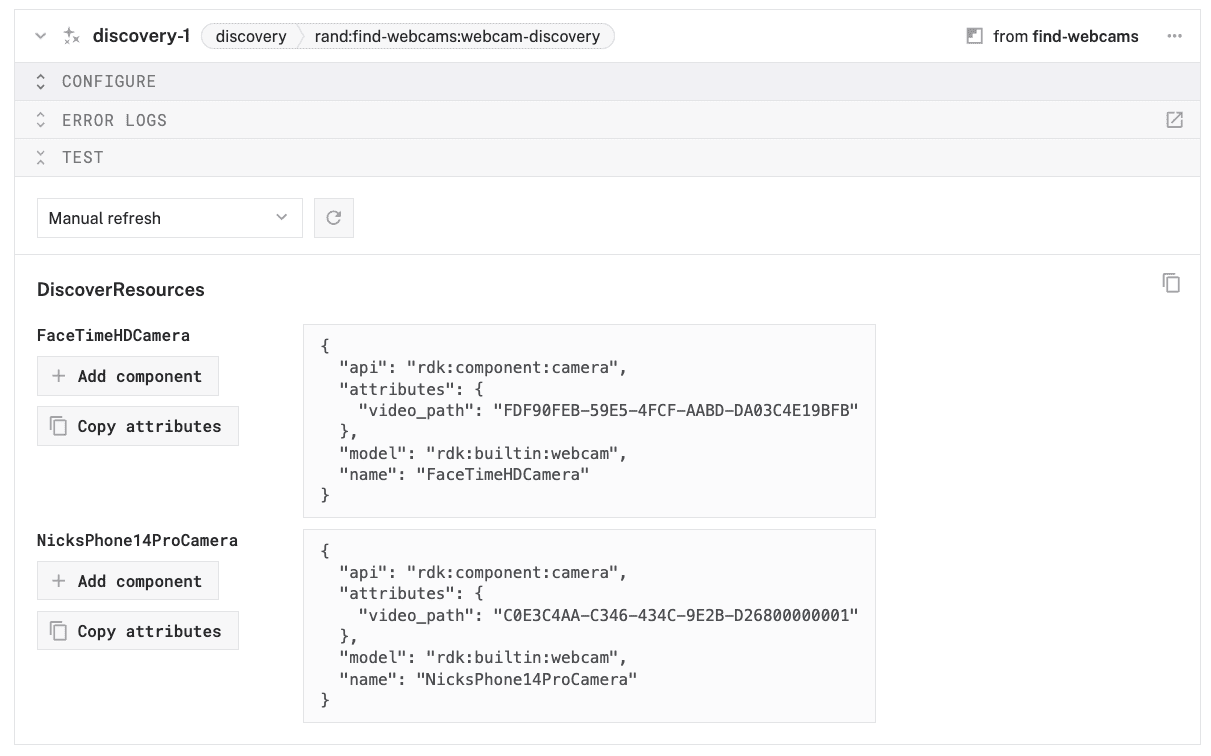
- Paste the copied
video_pathvalue into your camera component'svideo_pathinput, which is in the Attributes section.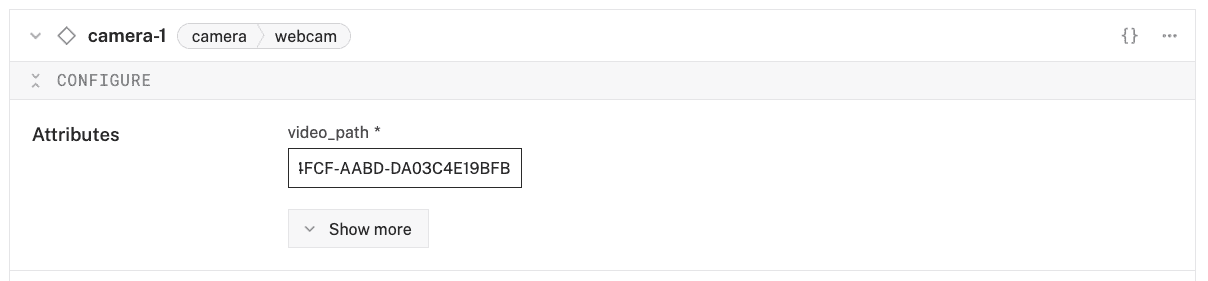
- Click Save in the top right once more to save and apply your configuration changes.
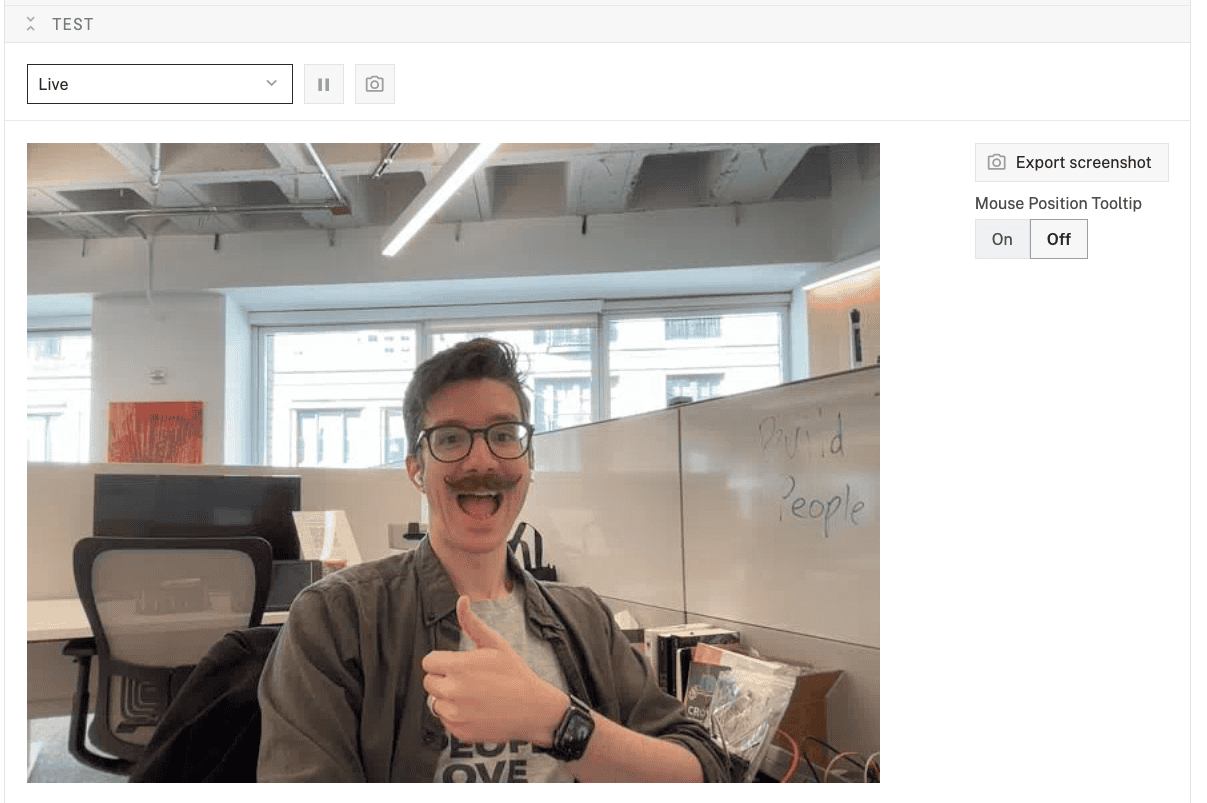
- Expand your camera component's TEST panel. If things are properly configured, you should see the video streaming from your camera.
- With your camera added and working, you can now delete the
discovery-1service andfind-webcamsmodule as you'll no longer need them. Click the ... next to each item, then select Delete.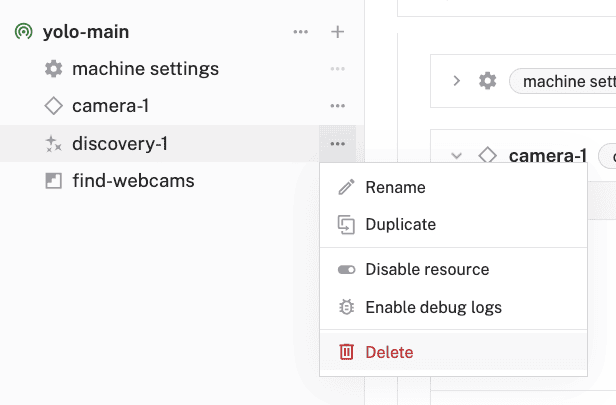
- You will be prompted to confirm the deletion, select Delete
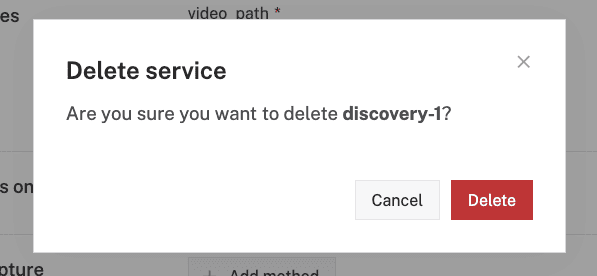
- Finally, Save your configuration changes.
Great! Your machine now has a camera component configured and ready to use for capturing images to use for training your model.
To train a custom YOLO model, you'll need a dataset of images with objects you want to detect. Let's create a dataset and capture some training images using your configured camera.
- In the Viam app's Data view, find the DATASETS tab.
- Click the + Create dataset button and give your dataset a name, like
yolo-objects. Click the Create dataset button again to save.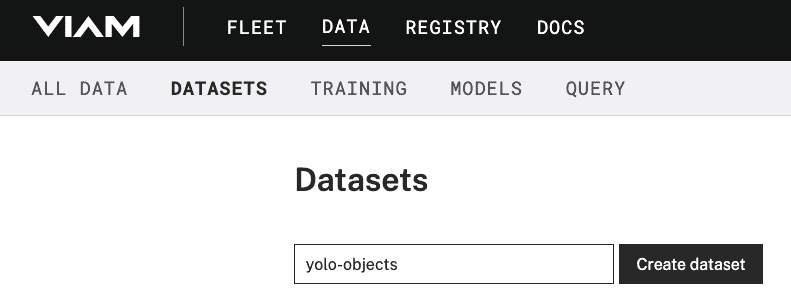
- Switch back to your machine in the Viam app's Fleet view. You can navigate back by going to Fleet > All Machines Dashboard, then clicking on the name of your machine.
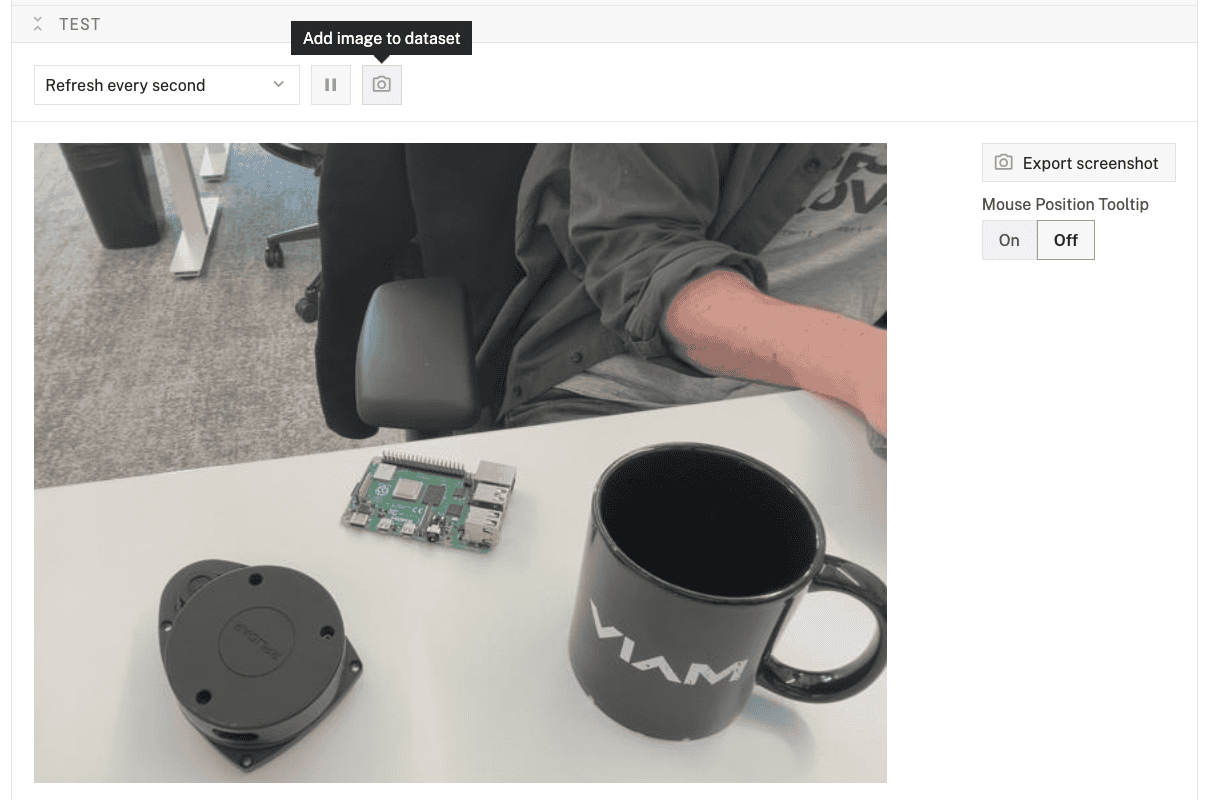
- Expand your camera component's TEST panel. Here, you'll see the live feed of your camera as well the "Add image to dataset" icon, which looks like a camera.
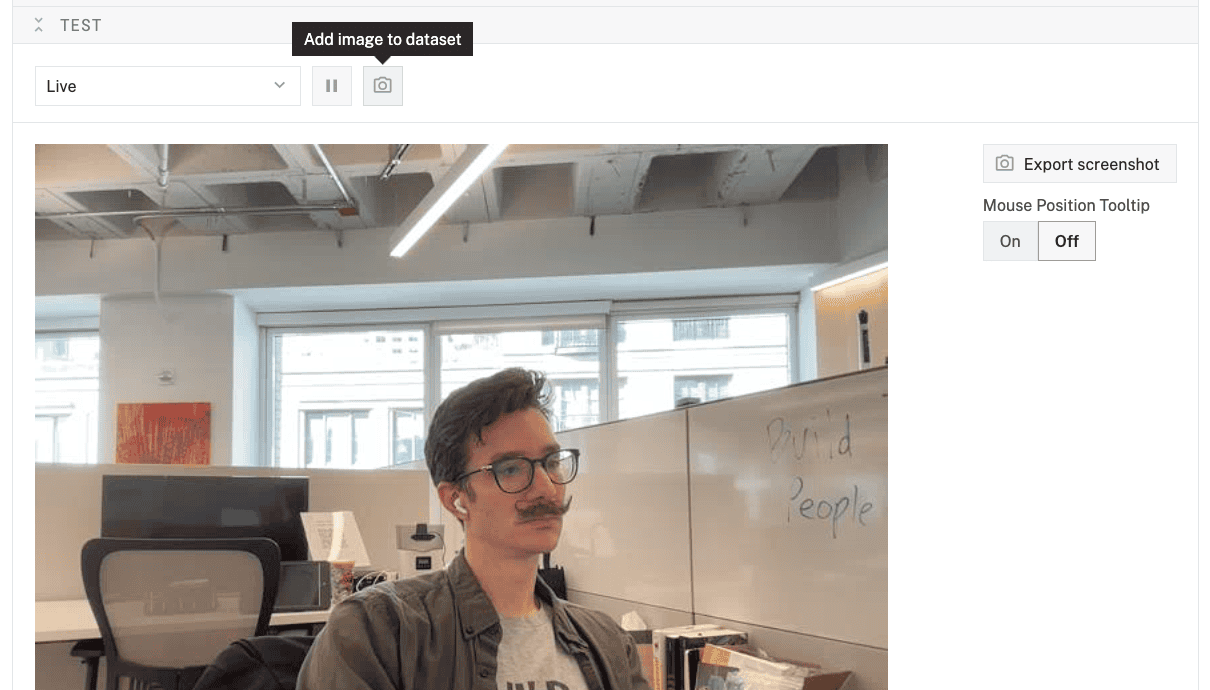
- Position your object in the camera frame. Make sure the object is clearly visible and well-lit.
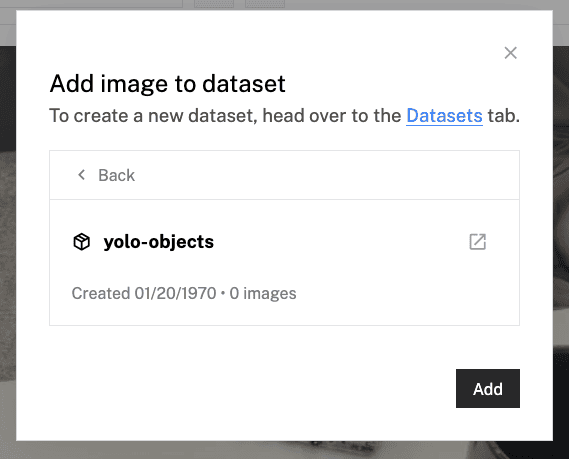
- When you are happy with the image, click the Add image to dataset button.
- In the list of datasets that appear, select the dataset you created previously, i.e.
yolo-objects.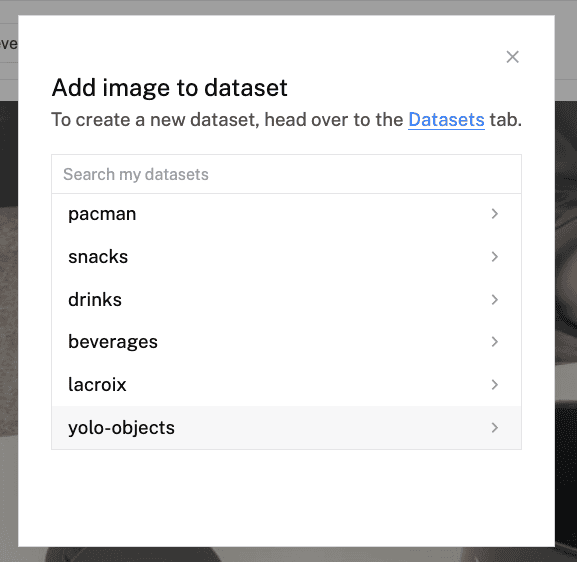
- Confirm the dataset you've selected, then click Add.
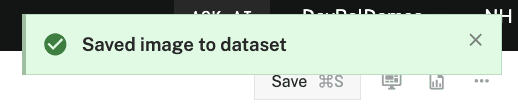
- A success message will appear at the top-right once your image is added to your selected dataset.
- Repeat steps 5-8 to capture multiple images of each object you want to detect.
Way to go! Now that you have your training images, you'll identify where each object is located in the image in the next step.
In this step, you'll annotate your images by drawing bounding boxes around the objects you want to detect and assigning labels to them. This helps the model learn how to recognize the different objects.
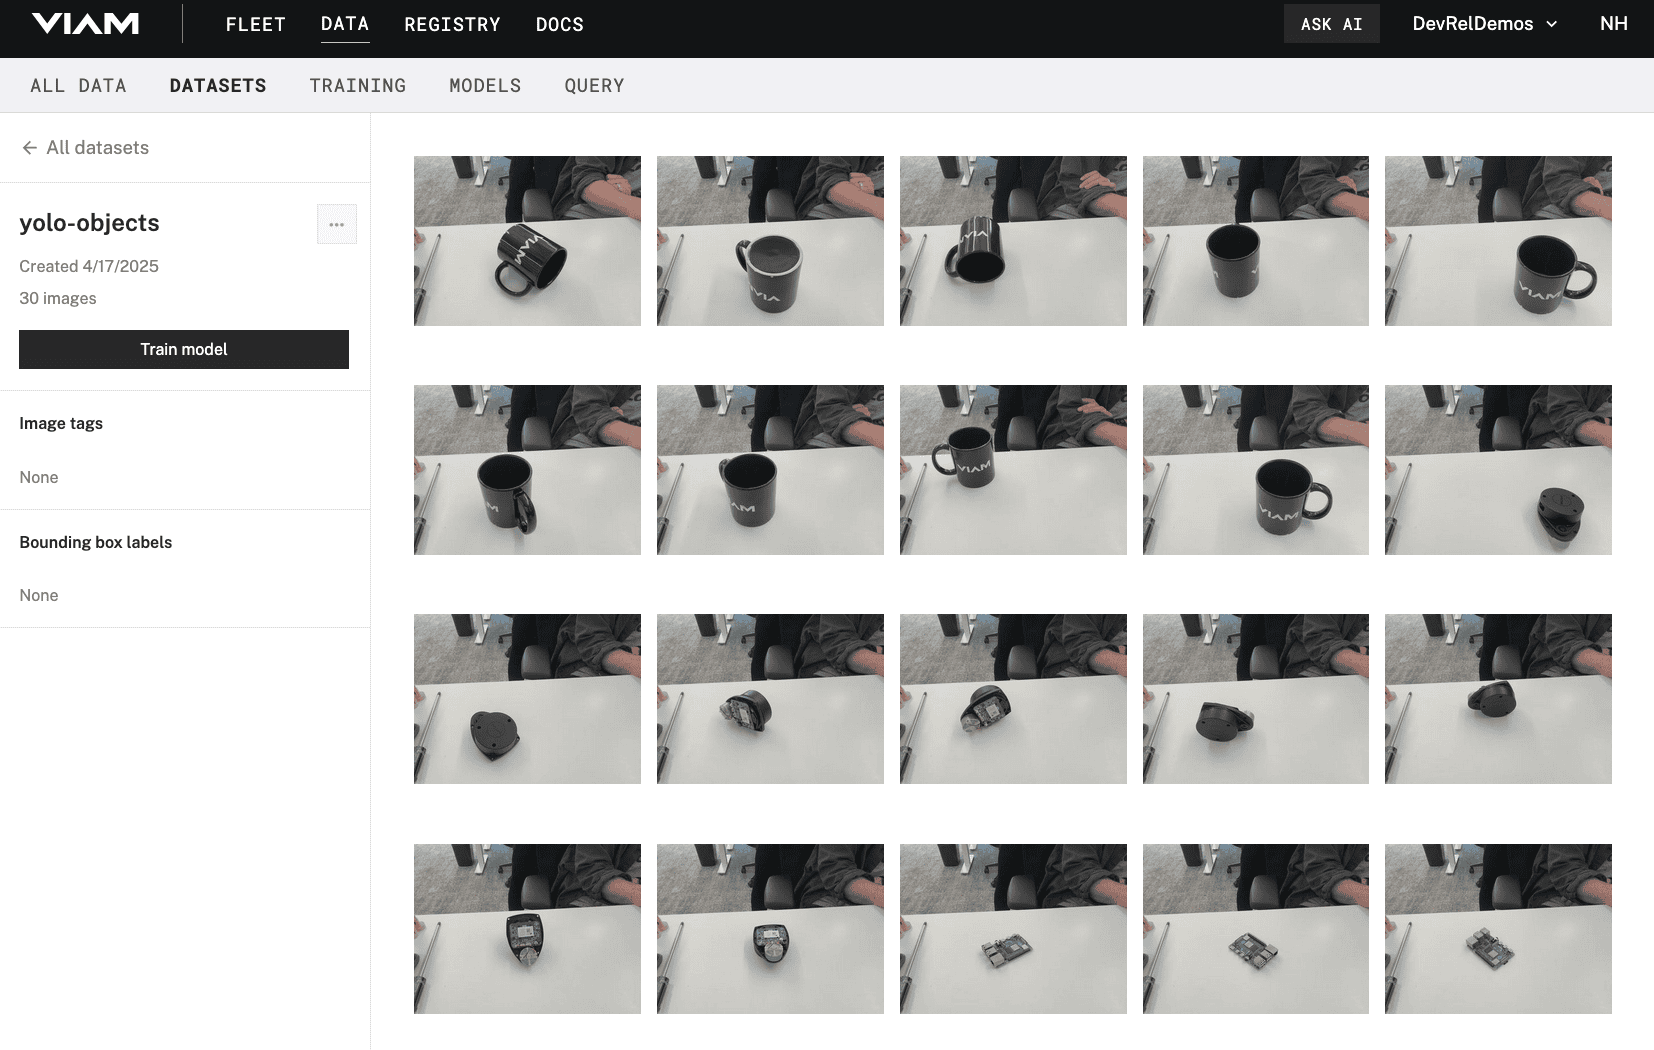
- In the Viam app, find the DATASETS tab.
- Click on the name of your dataset (
yolo-objects).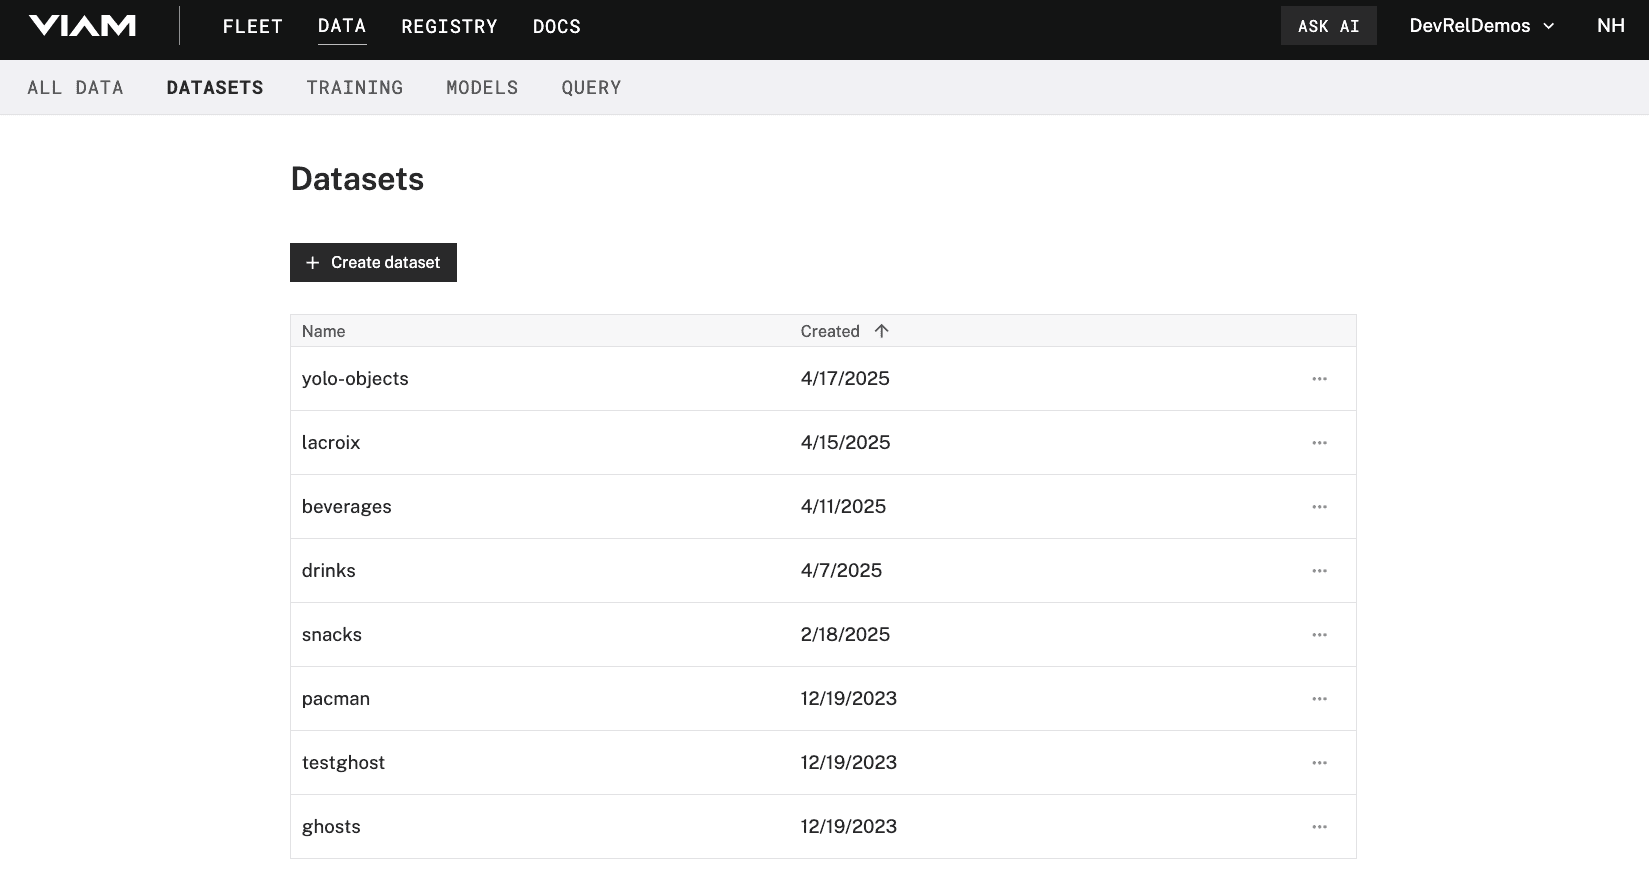
- Here, you'll see all of the images you've captured.
 Select one image from the dataset. A side panel will appear on the right-hand side. You can see details about this image, such as any objects annotated, associated tags, which datasets the image belongs to, among other details.
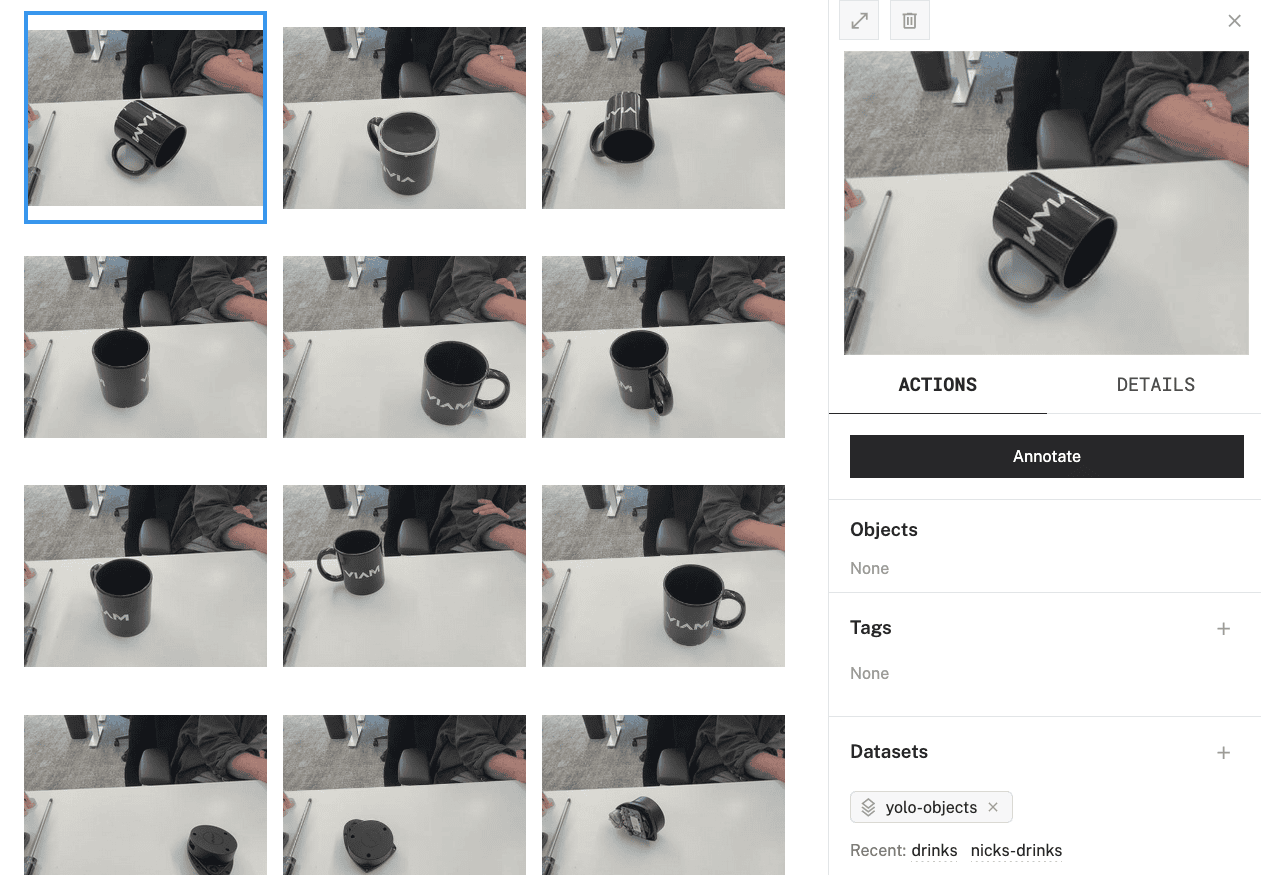
- Click on the Annotate button in the side panel.
- The selected image opens to a larger screen. To detect an object within an image, a label must be given. Create a label for your object, for example
coffee_mug: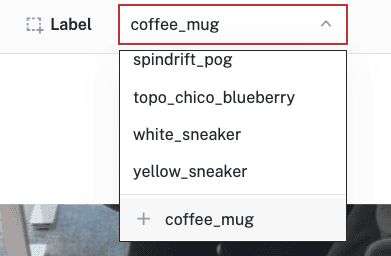
- With the label chosen, hold the Command or Windows key down while you use your mouse to draw a bounding box around your object. Make sure the box tightly surrounds the object.
- In the OBJECTS panel on the right, you'll see your object listed with an object count of
1. If you hover over this item, you'll see thecoffee_muglabel appear in the image and the bounding box fill with color.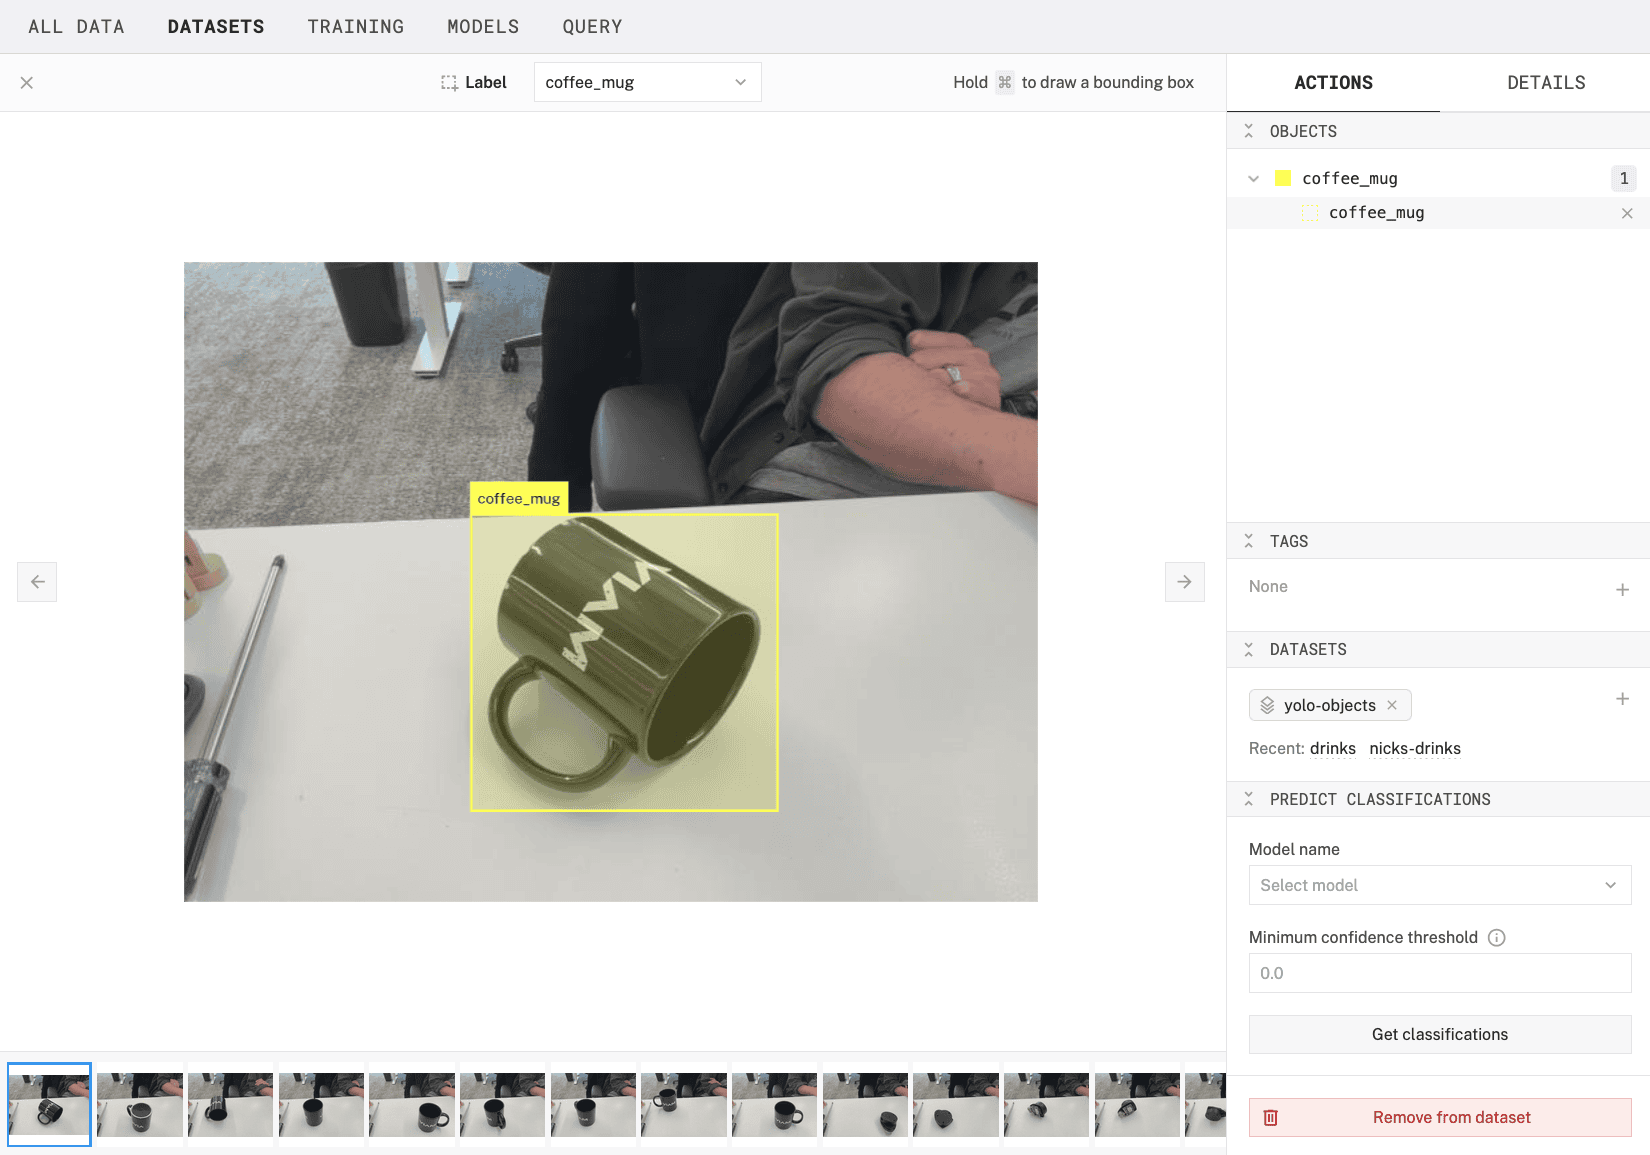
- Repeat this process for all images in your dataset. Creating a label for each distinct object you want to detect. You can quickly navigate between images by pressing the
>(right arrow) or<(left arrow) keys on your keyboard. - When you are finished annotating all images, exit the annotation editor by clicking on the "X" in the top-left corner. A breakdown of your bounding box labels will be displayed:
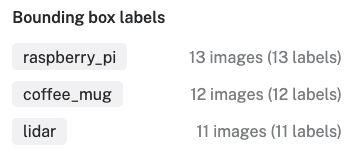
- Make sure all your images are labeled and there are no
Unlabeledimages left. Confirm that there are at least 10 images of each object you are planning to detect.
Good job! That's the most tedious part of this process. Your dataset is now ready for training.
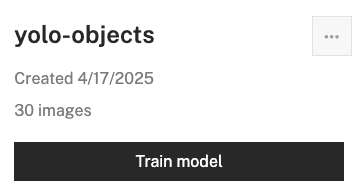
- In your dataset overview, click Train model located within the left-hand panel.
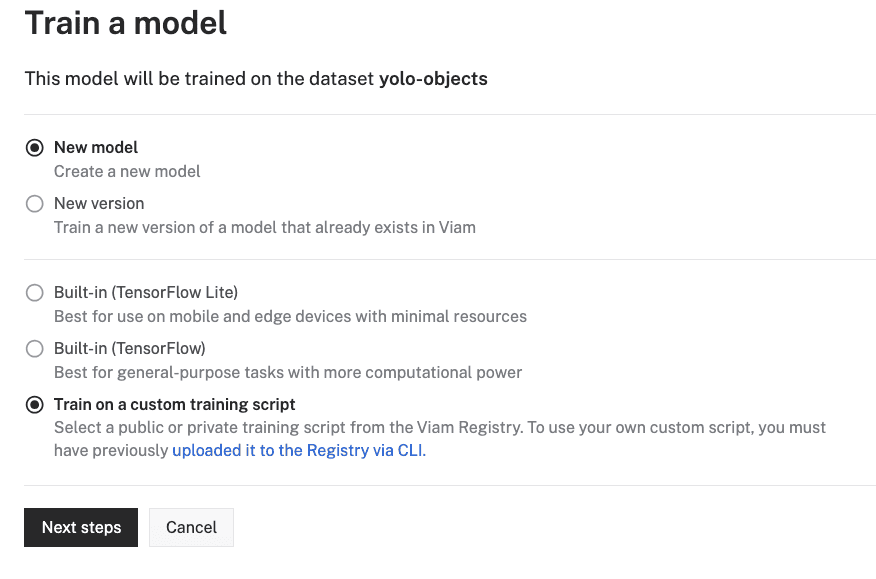
- Select your model training options. For now, leave the default selections of New model. Select Train on a custom training script. Click Next steps.
- Give your model a name, for example
my-yolo-detector - Select yolo-onnx-training for the training script. Then select Latest for the version of the script.
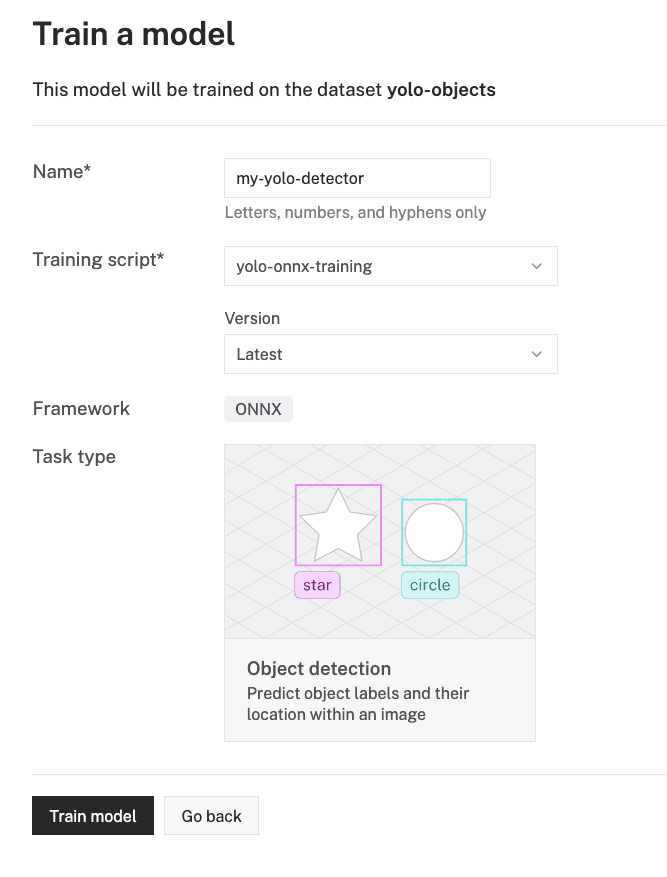
- Click Train model. This will kick off the training job for your custom model.
- The training script will:
- Parse your dataset
- Create training and validation splits
- Set up the YOLO directory structure
- Train the model for the specified number of iterations (a.k.a epochs)
- Export the model to ONNX format
- Copy the model and labels to your output directory

- If you click on the ID of your training job, you can view more details on the job's overview. You can view any relevant logs while the job runs.
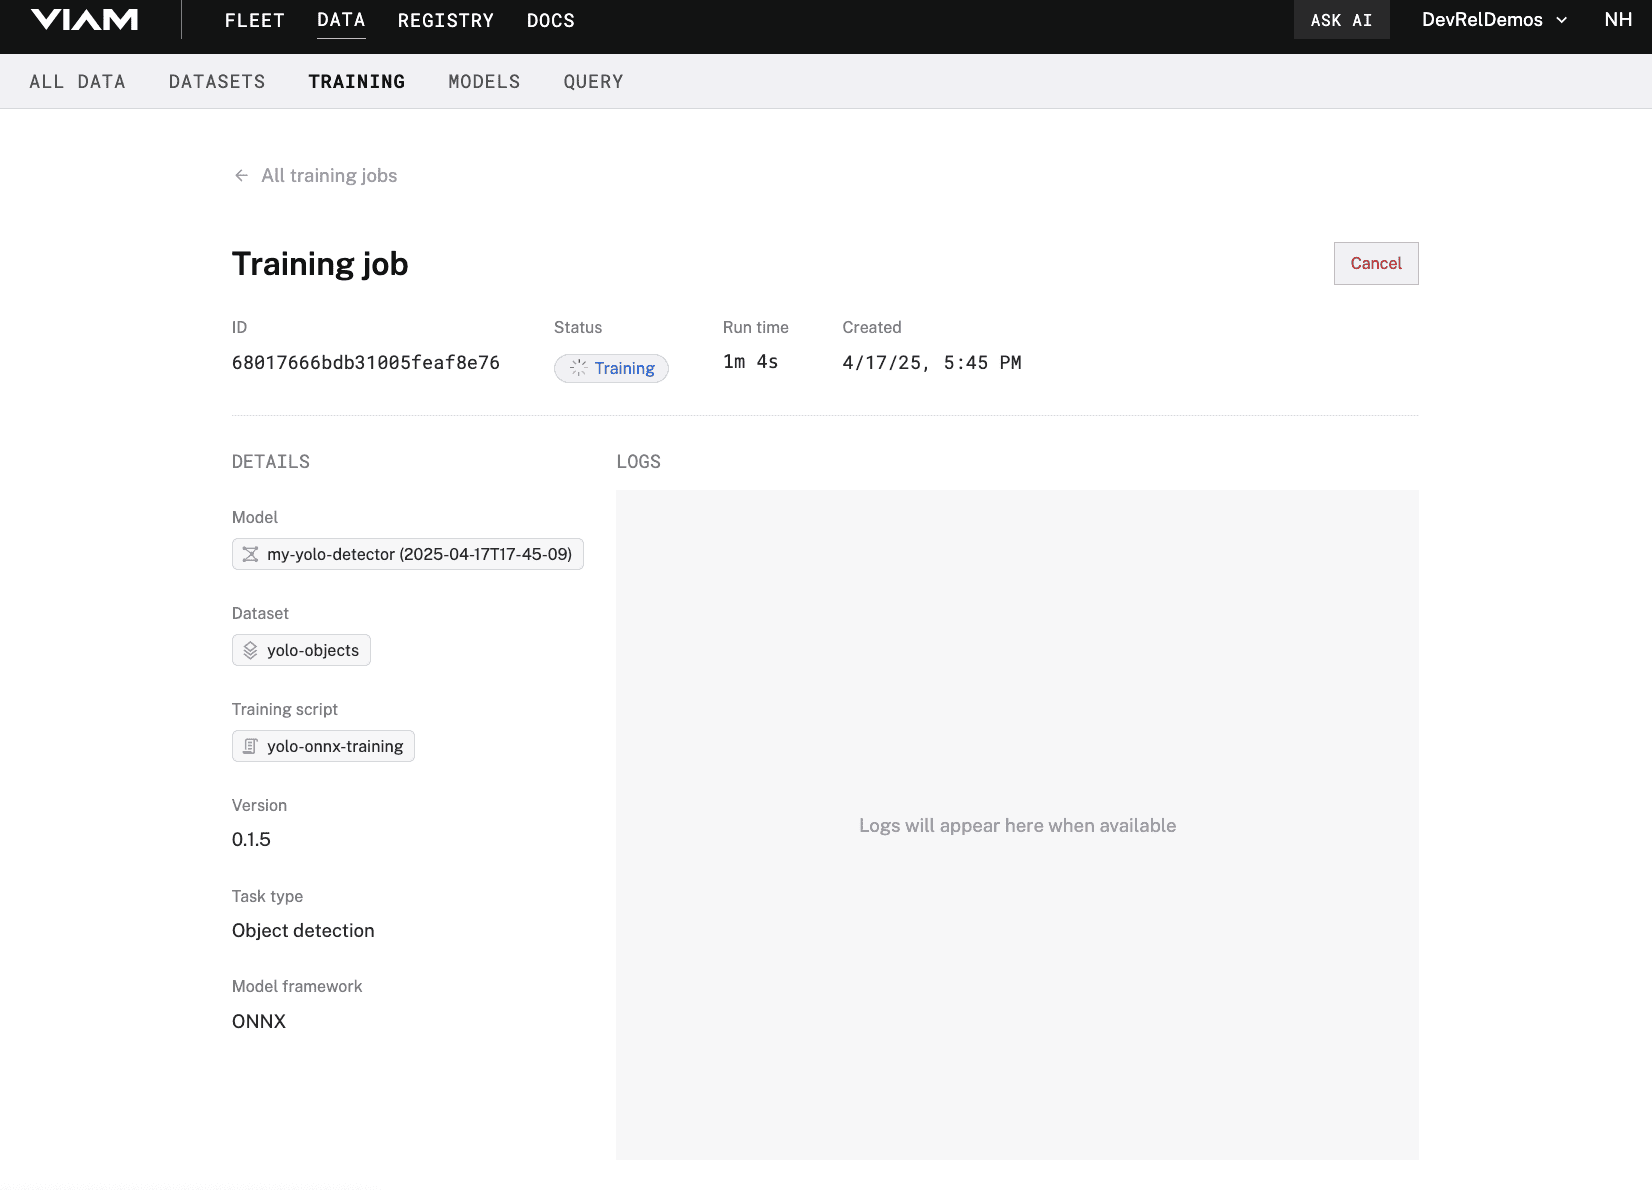
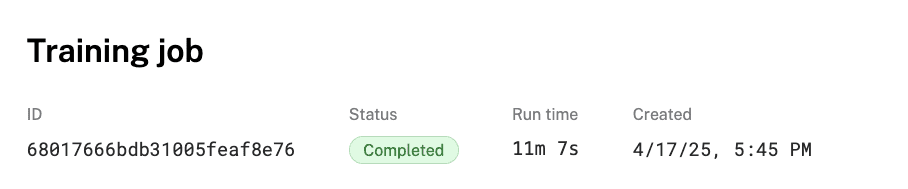
- Wait until your training job is complete. It may take up to 15 minutes, so feel free to grab a snack and watch one of Viam's videos on YouTube! Once it is finished, you'll see the status of your job change to Completed and receive an email notification.
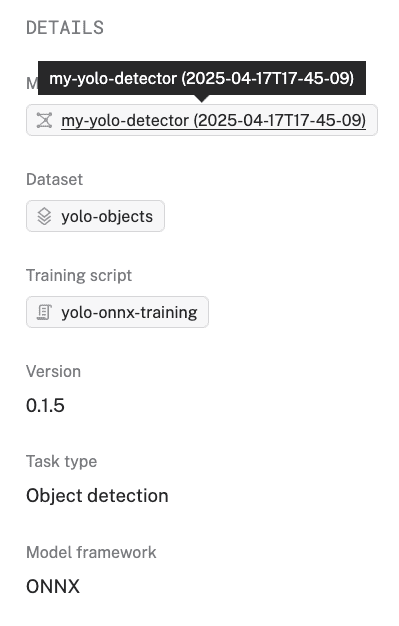
- You can click on the model name in the DETAILS sidebar of the "Training job" overview to see the uploaded model in the Registry.
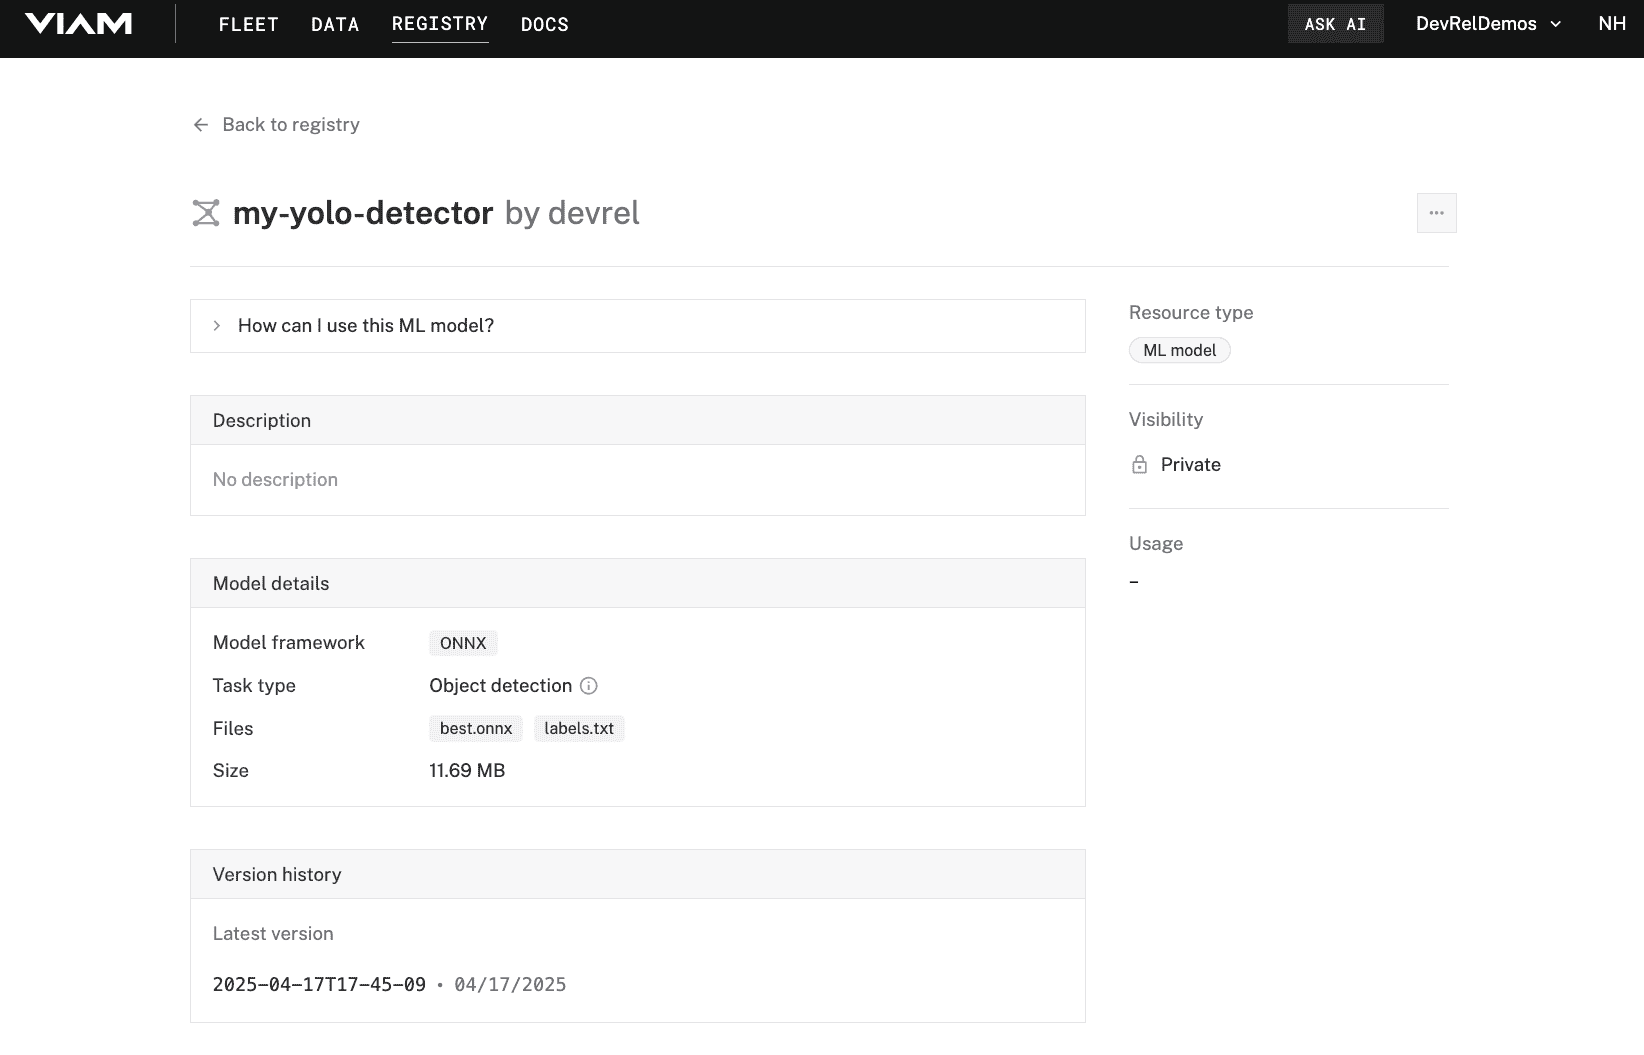
Well done, you've just created your own custom YOLO model tailored to your specific objects! Now you can deploy it to your machine.
Now that you have a trained model, let's add it to your Viam machine using the yolo-onnx ML model service.
- In the Viam app, find the CONFIGURE tab.
- Click the + icon in the left-hand menu and select Service.
- Select
ML Model, then search for and select thehipsterbrown:mlmodel:yolo-onnxmodule from the registry. Leave the default namemlmodel-1for now, then click Create.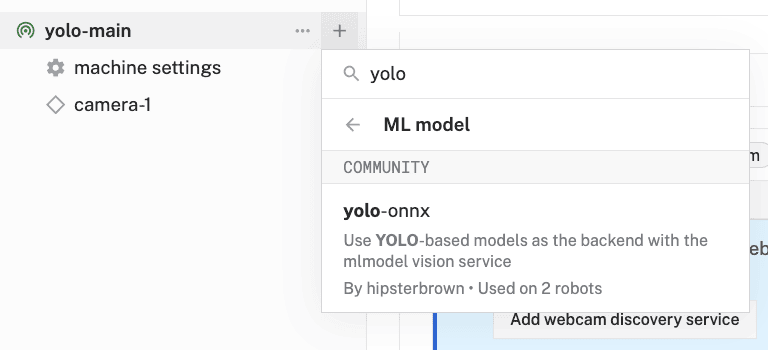
- Notice adding this module adds the ML Model service called
mlmodel-1and theyolo-onnxmodule from the Viam registry. You'll see configurable cards on the right and the corresponding parts listed in the left sidebar.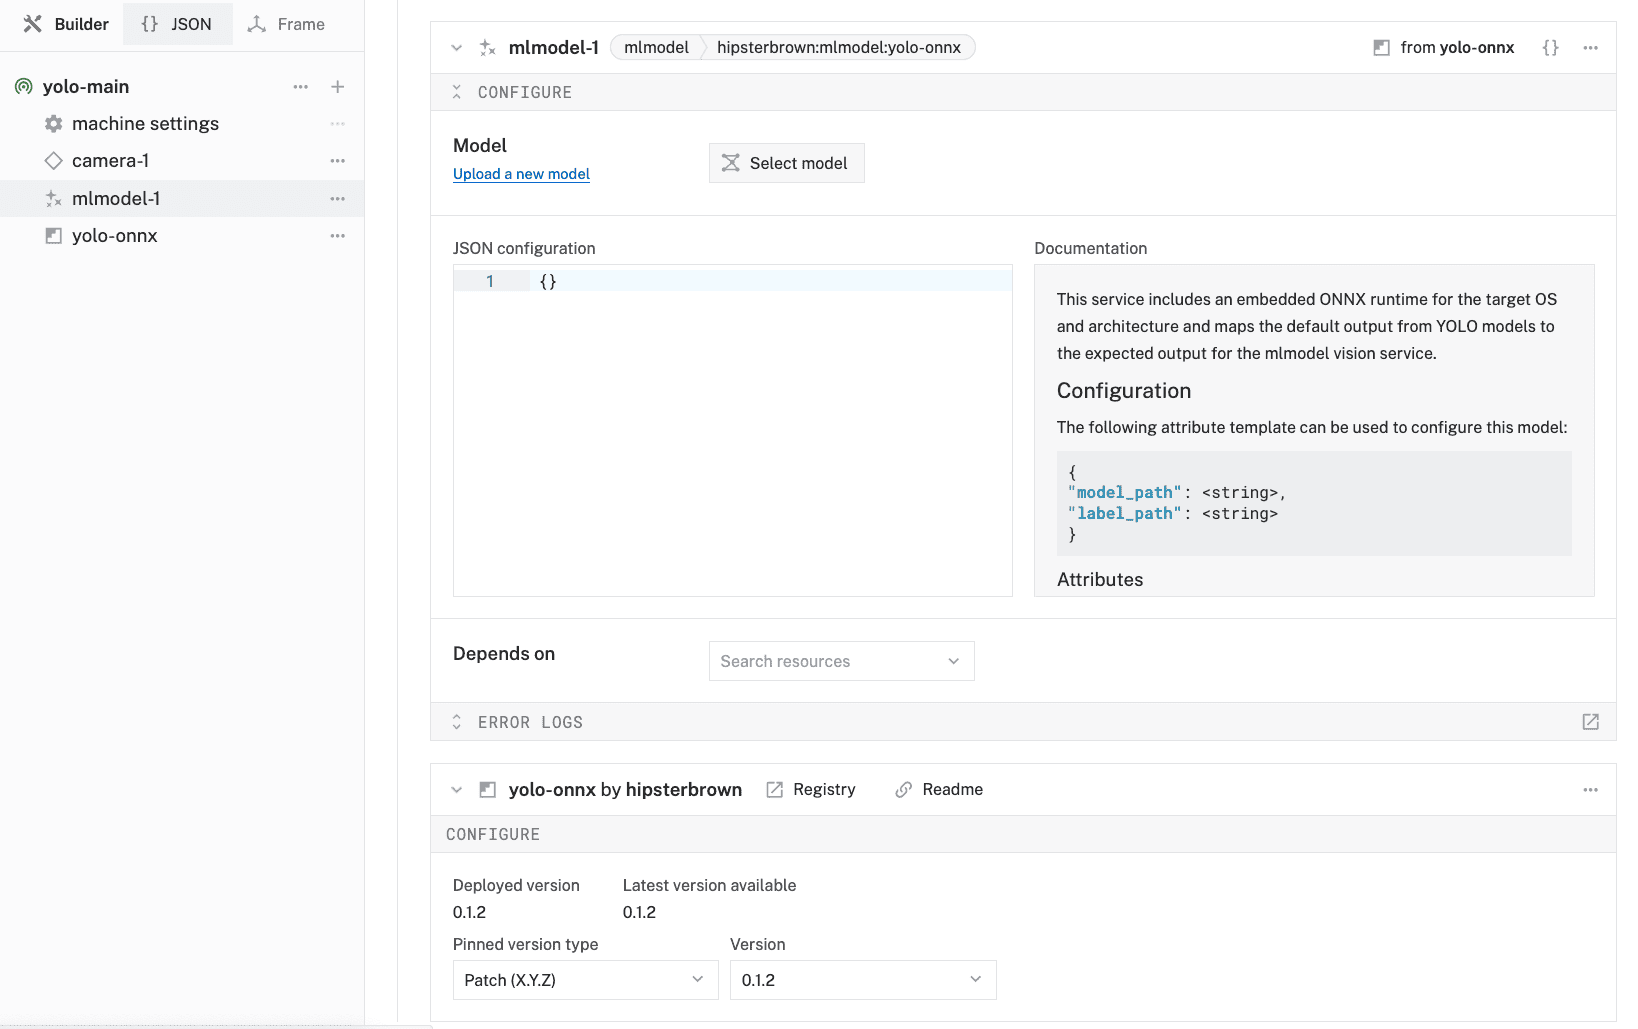
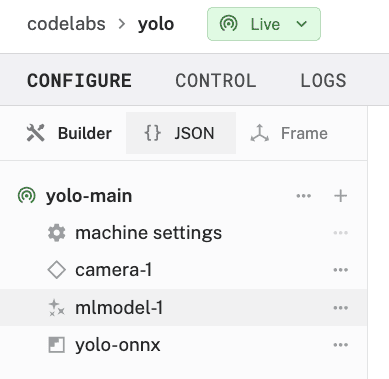
- Click on the JSON tab in the left sidebar above your machine name to display the full configuration JSON for your machine.
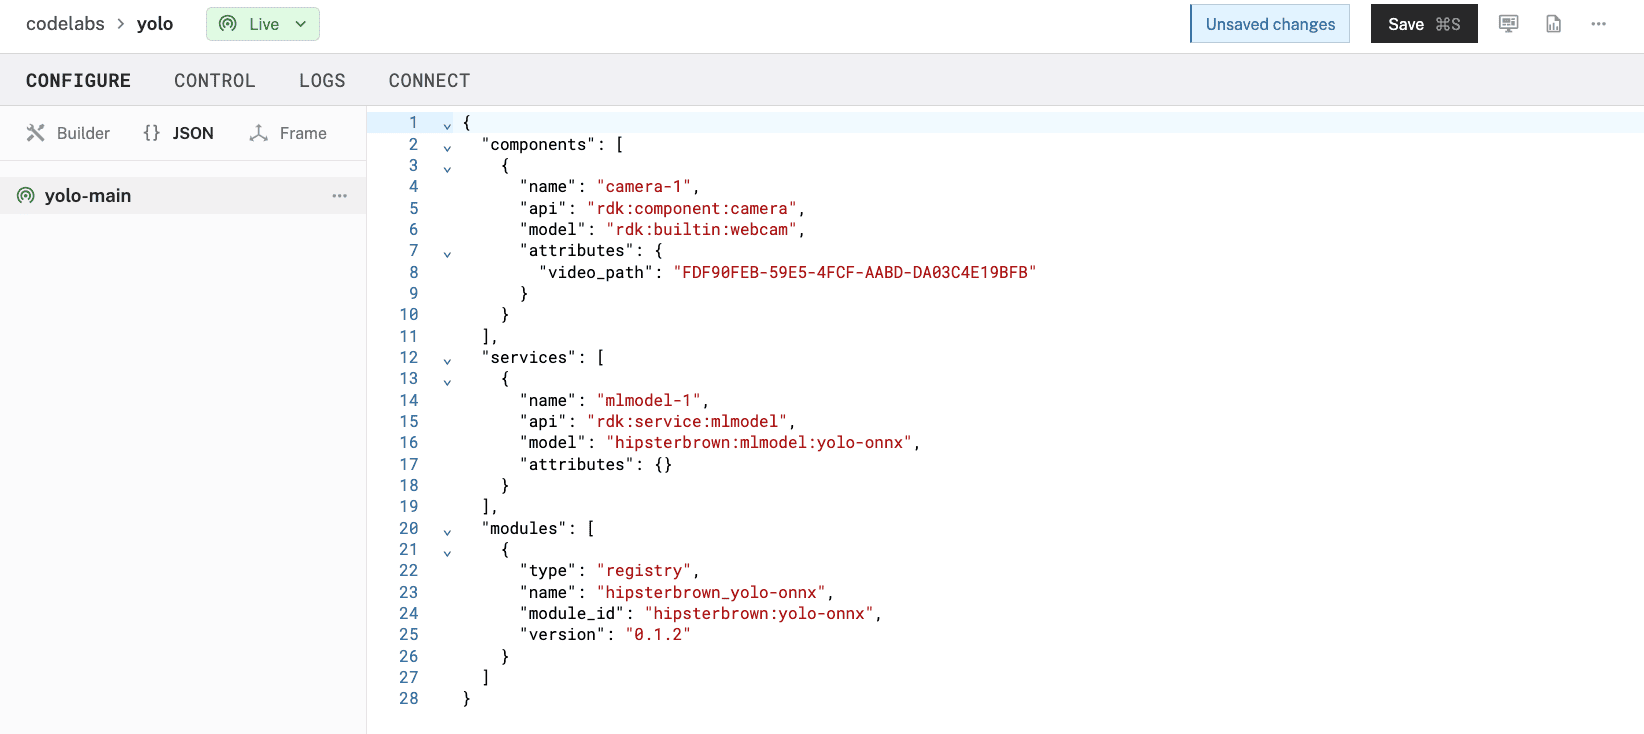
- At the bottom of the configuration, add a
"packages"field with the details of your YOLO model from the registry:
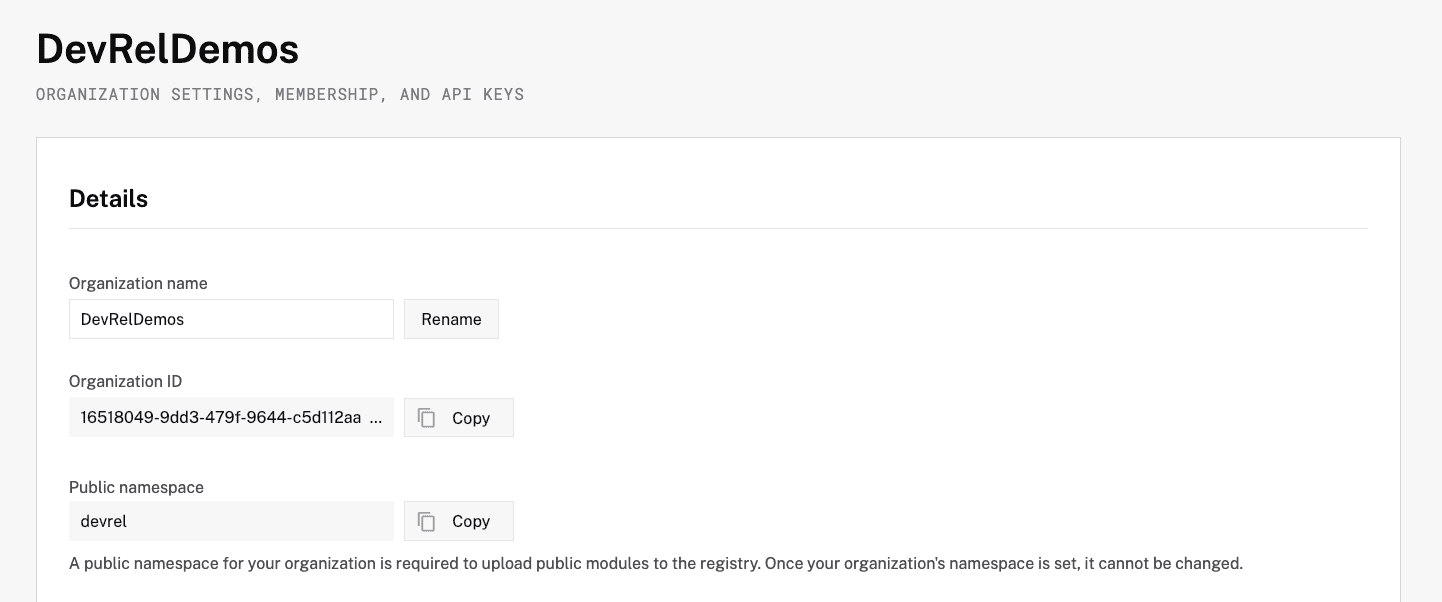
The name should match what you see displayed on the model page in the Registry.Replace the "<organization-id>" with your Organization ID, which can be found in Settings and invites page. If you change your model to be public in the Registry, you can use your public namespace instead."packages": [{ "name": "my-yolo-detector", "package": "<organization-id>/my-yolo-detector", "type": "ml_model", "version": "<version>" }]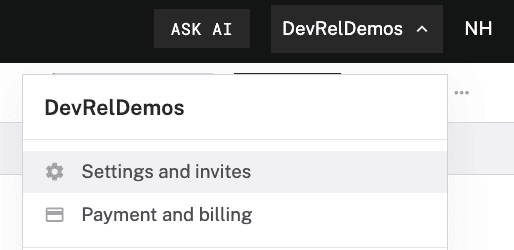
 Replace the "<version>" with the latest version displayed in the Registry, i.e.
 2025-04-16T17-29-48.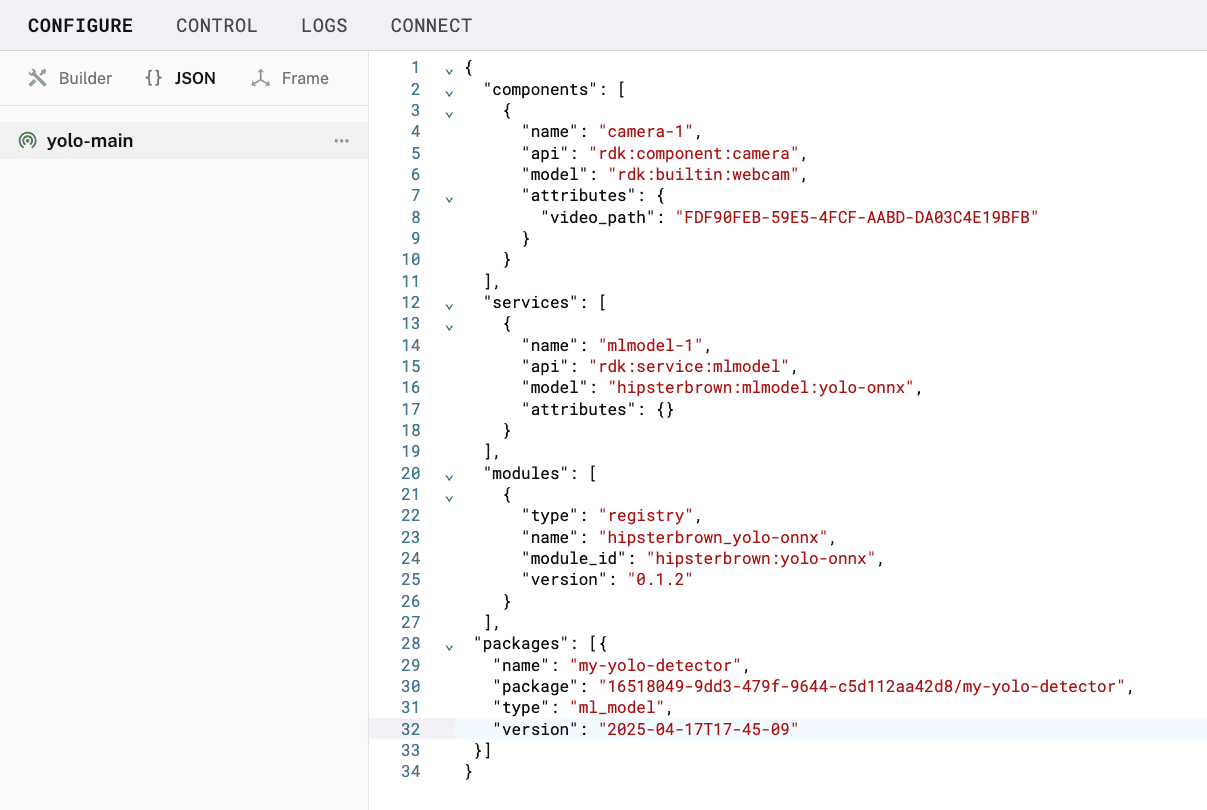
- Switch back to the Builder tab to update the JSON configuration of the
mlmodel-1service. You need to provide the paths to your model and labels files. You can get those by referencing your trained model package from the Registry.{ "package_reference": "<organization-id>/my-yolo-detector", "model_path": "${packages.ml_model.my-yolo-detector}/best.onnx", "label_path": "${packages.ml_model.my-yolo-detector}/labels.txt" }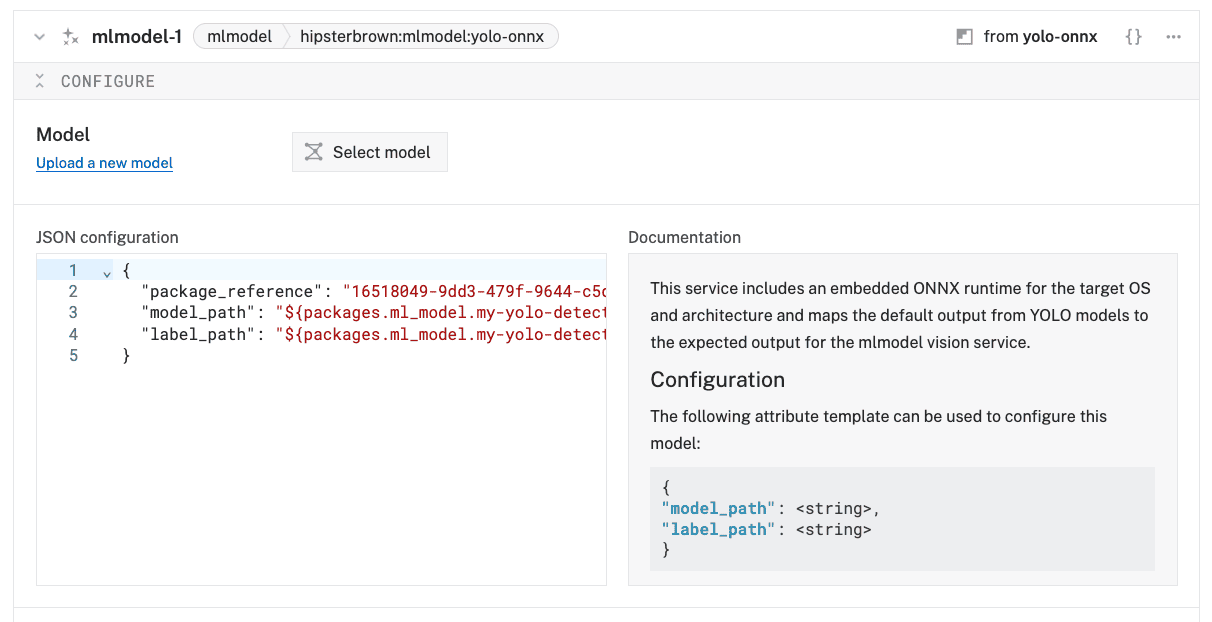 The
The "package_reference"should match the"package"field you set in the previous step. - Click Save in the top right to save and apply your configuration changes.
Your YOLO-ONNX ML model service is now configured with your custom model. Next, let's set up a vision service to use this model for object detection.
- In the Viam app, find the CONFIGURE tab.
- Click the + icon in the left-hand menu and select Service.
- Select
vision, and find theML Modelmodule. Give your vision service a descriptive name, such asyolo-vision. Click Create.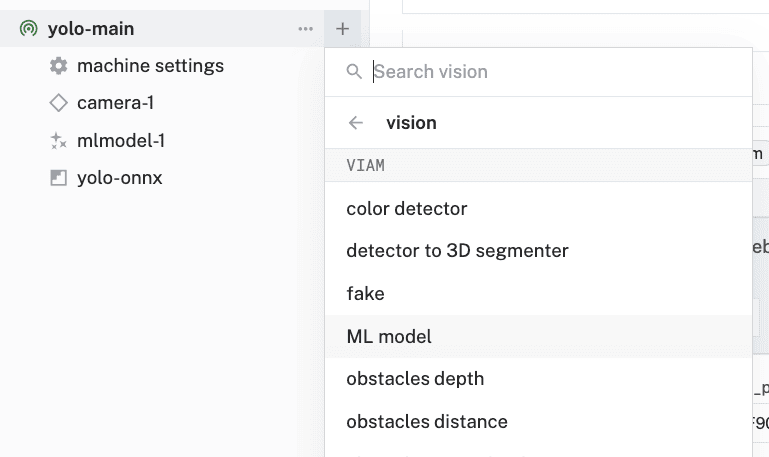
- In the Configure panel of your vision service, set the ML Model to your ML Model service (
mlmodel-1).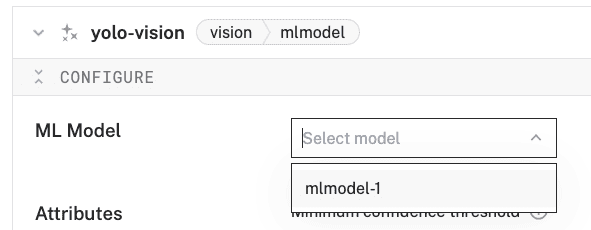
- Move the Minimum confidence threshold slider to
0.4. This sets the minimum confidence level for object detections to be considered valid.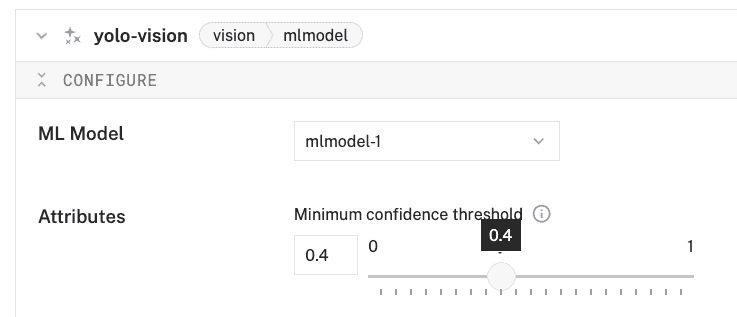
- Find and select your camera component in the Depends on section (
camera-1).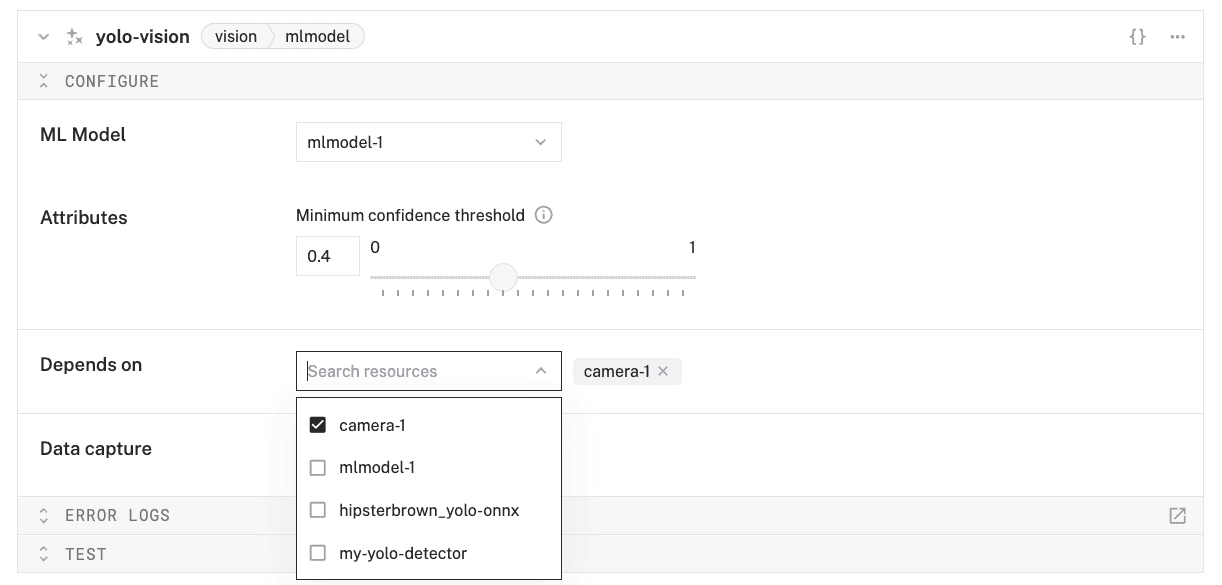
- Click Save in the top right to save and apply your configuration changes. This might take a few moments.
- Expand the TEST panel of your vision service. You'll see a live feed of your configured webcam and a section Labels. Test out your model! Try showing your objects to your webcam. When detected, an item will appear with the label the vision service thinks it is seeing and its confidence level. You can also try showing multiple objects and see how well your model detects them!
Congratulations! You've successfully built a custom object detection system using YOLO and Viam. 🎉
Custom training scripts for YOLO, like the one we used in this codelab, exist because while pre-trained models are powerful, they only recognize common objects they were trained on. Custom training allows you to:
- Detect specific objects unique to your application
- Optimize for your particular use case and environmental conditions
- Fine-tune performance for your specific hardware constraints
- Control the training process and experiment with different parameters
By combining it with Viam's platform, you can easily deploy sophisticated computer vision capabilities to your machines.
What You Learned
- Configure a camera in the Viam platform
- Capture images and create a training dataset
- Annotate images with bounding boxes
- Train a custom YOLO model using a custom training script
- Deploy your trained model to your machine
- Run real-time object detection with your model
Real-world applications for YOLO models
- Smart inventory system: Track objects as they're added or removed from a space
- Sorting machine: Identify and sort different types of objects
- Security monitor: Detect specific objects or people
- Robotics vision: Give your robot the ability to identify and interact with objects
Why use YOLO for your projects? It offers several key advantages:
- Speed: YOLO processes images in real-time (up to 45-155 FPS depending on the model variant)
- Accuracy: It achieves competitive performance on standard detection benchmarks
- Versatility: Works well with objects of various sizes and in complex scenes
- Resource efficiency: Lighter variants can run on resource-constrained devices
- Active community: Continuous improvements and extensive documentation
Extend your custom YOLO model
- Collect more training data: Adding more diverse images can improve model accuracy.
- Data augmentation: The YOLO training process includes data augmentation, but you can add more images with different conditions.
- Post-processing: Implement additional logic to filter or process the detection results.
- Integration with other components: Connect your object detection system with other components or services in your Viam machine.