What You'll Build
A computer vision-powered self checkout. You'll create and train a custom model based on your favorite drinks and combine it with a vision service. You'll also create a simple checkout kiosk interface using Viam's TypeScript SDK. This machine can then be deployed to a Raspberry Pi or spare laptop to be used as a checkout!
The CV-powered beverage detector in Viam
A simple kiosk interface that implements the CV-powered beverage detector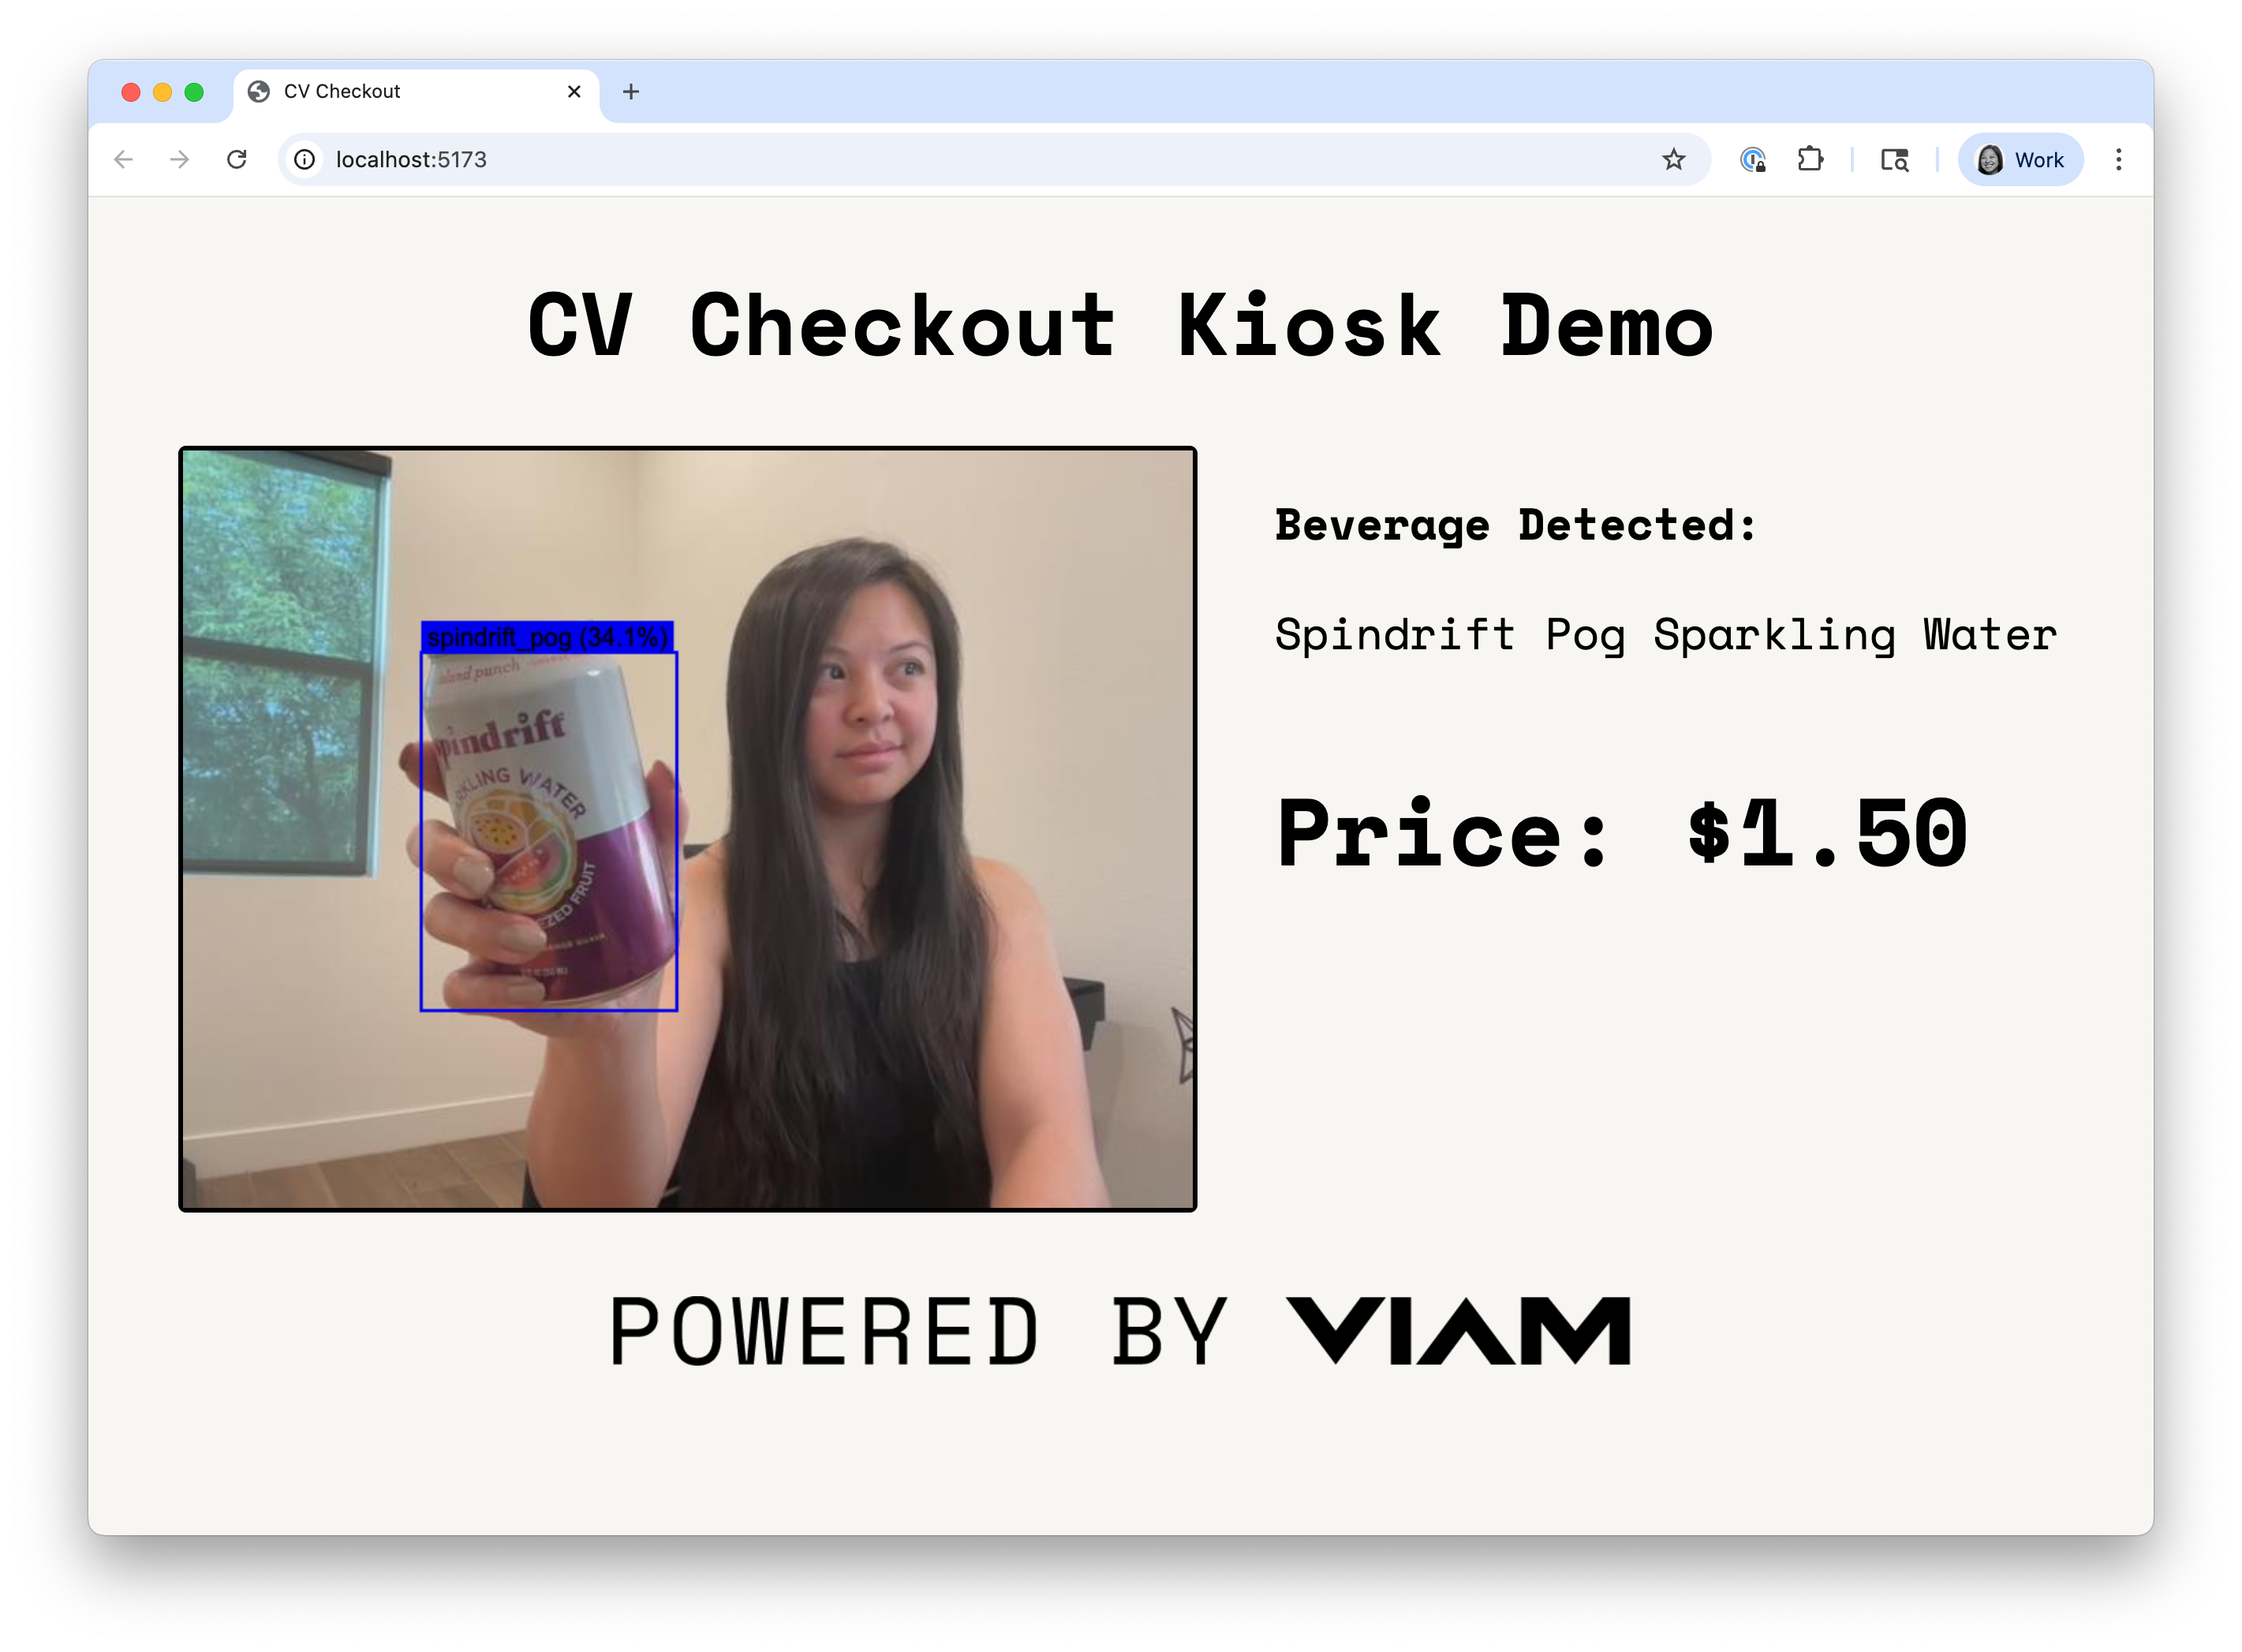
Prerequisites
- A computer with a built-in webcam
- (optional) A USB webcam that you can connect to the computer you'll be using
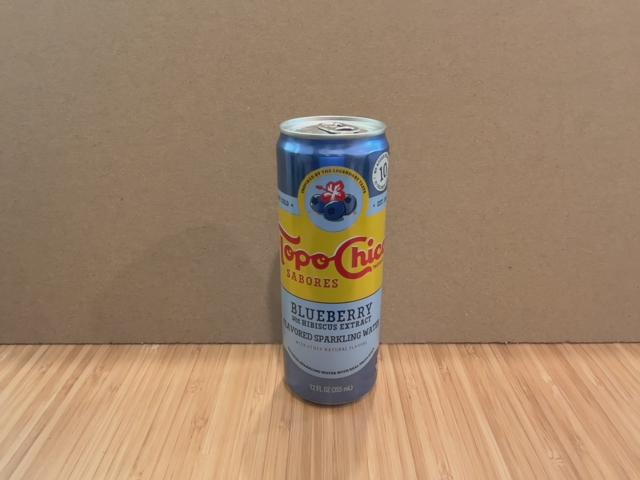
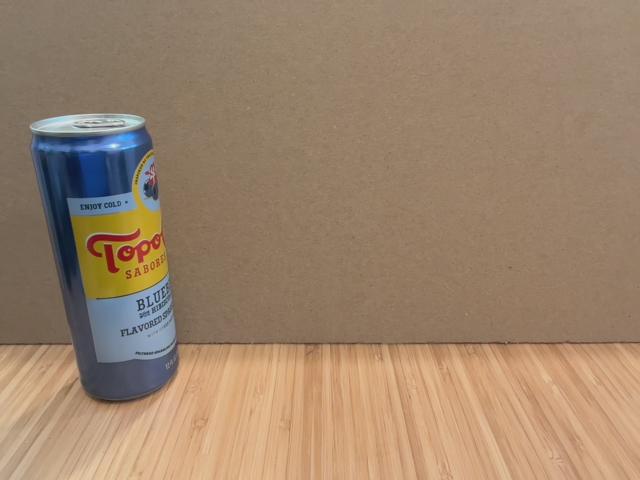
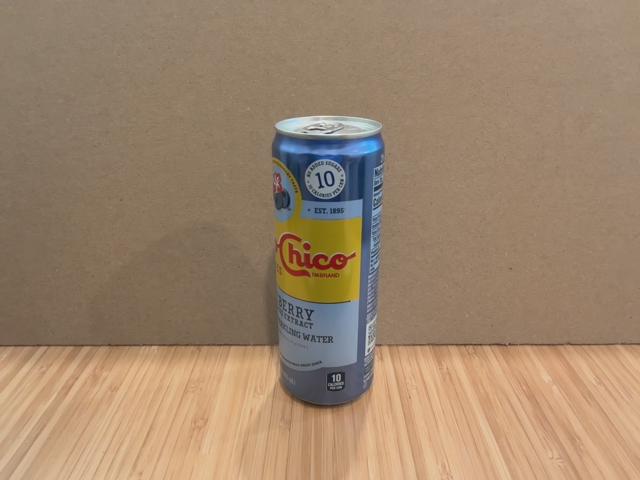
- A few of your favorite drinks! At least 3 different drinks are recommended to train your custom model
What You'll Need
- Sign up for a free Viam account, and then sign in.
- A code editor, like VSCode or something similar.
What You'll Learn
- How to configure a camera in the Viam platform
- How to capture images and create your own training dataset
- How to build and train a custom model using TFLite
- How to implement your custom model in your machine
- How to create and connect a simple interface to your Viam machine using Viam's TypeScript SDK
Watch the video
See a demonstration of the CV Checkout (beverage detection):
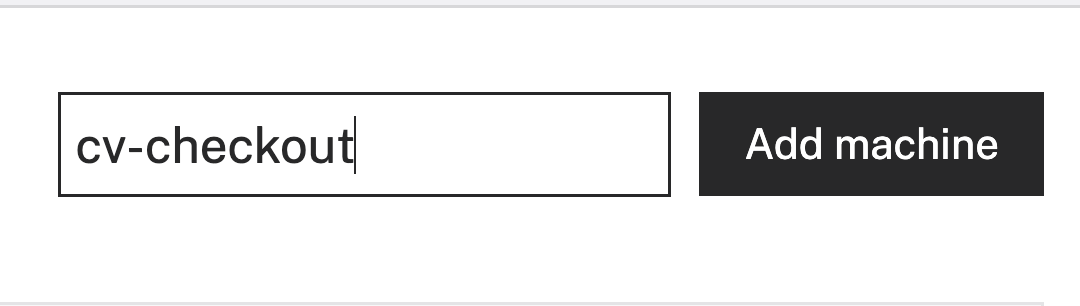
- In the Viam app under the LOCATIONS tab, create a machine by typing in a name and clicking Add machine.
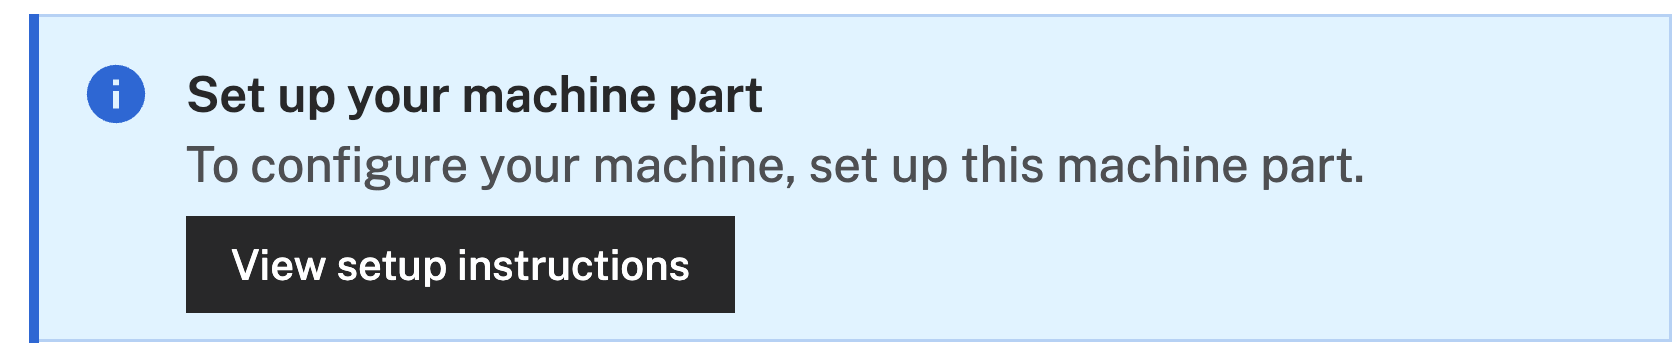
- Click View setup instructions.
- To install
viam-serveron your device, select the operating system you are running. For example, I'll be using a MacBook Air as my device, so I'll selectMac: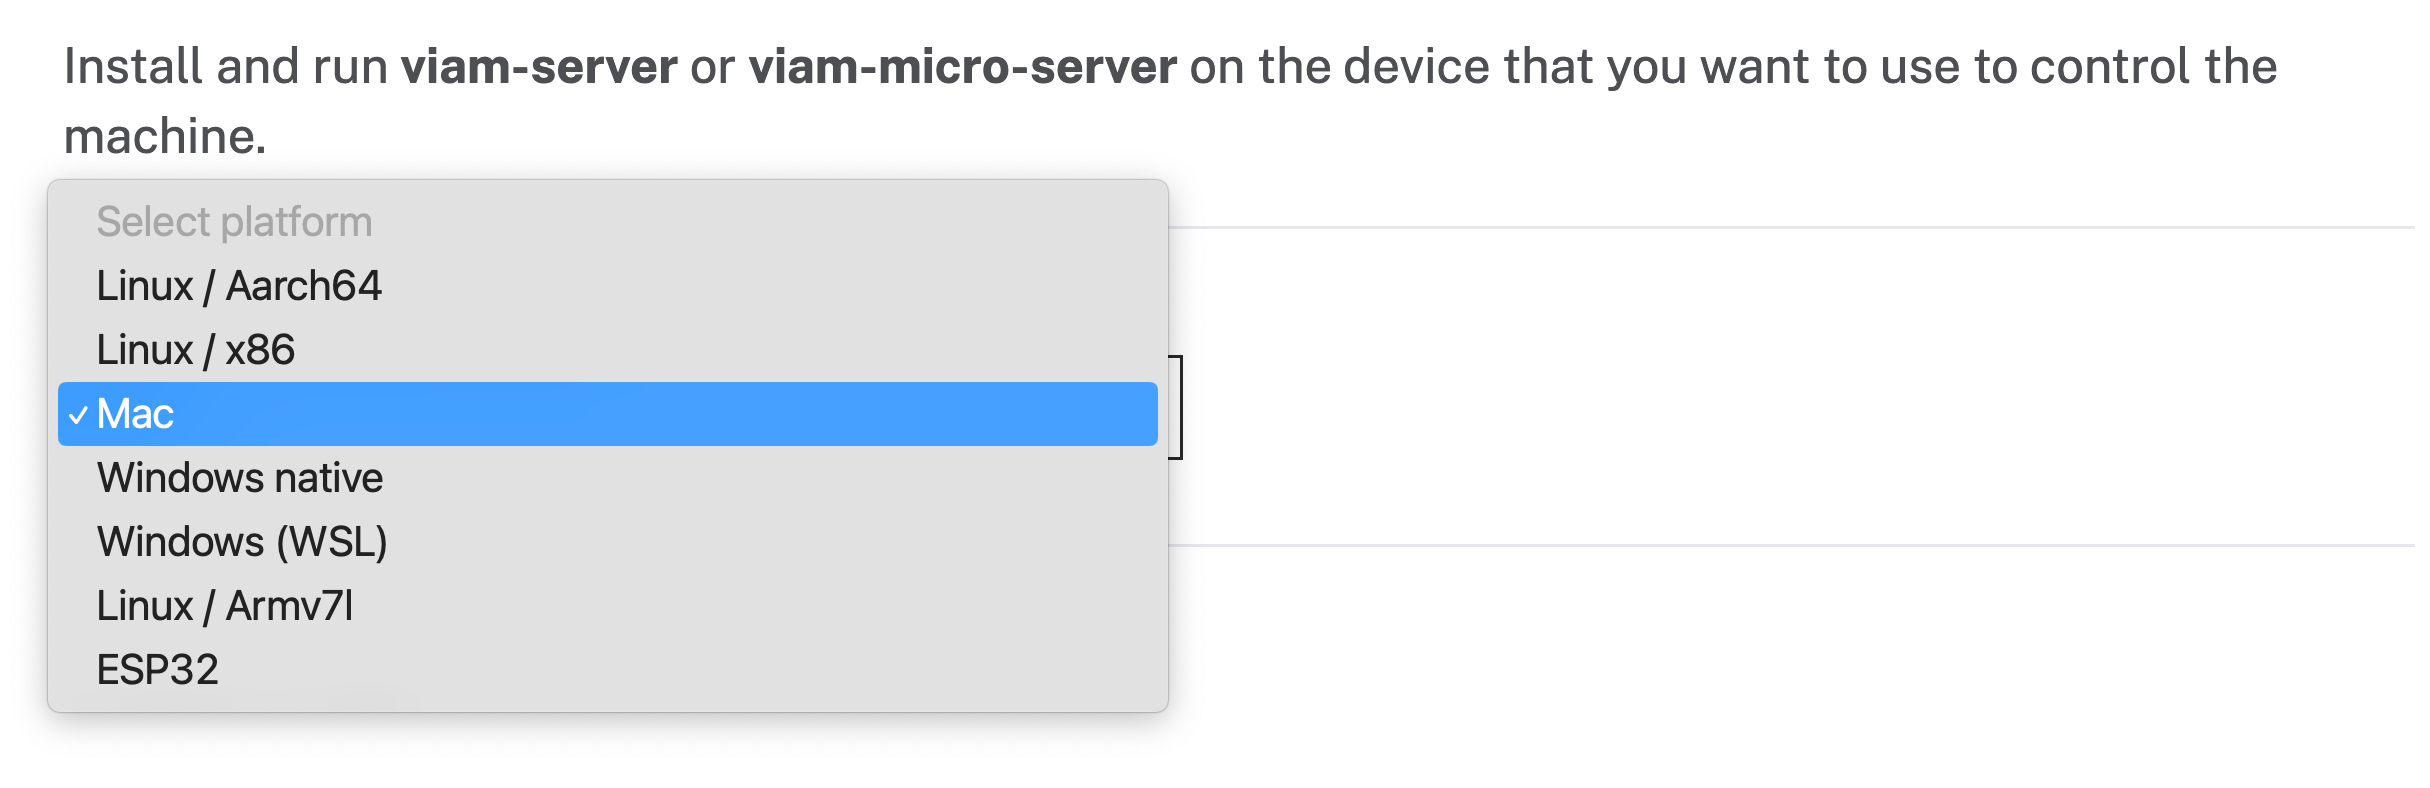
- Follow the instructions that are shown for your platform.
- The setup page will indicate when the machine is successfully connected.
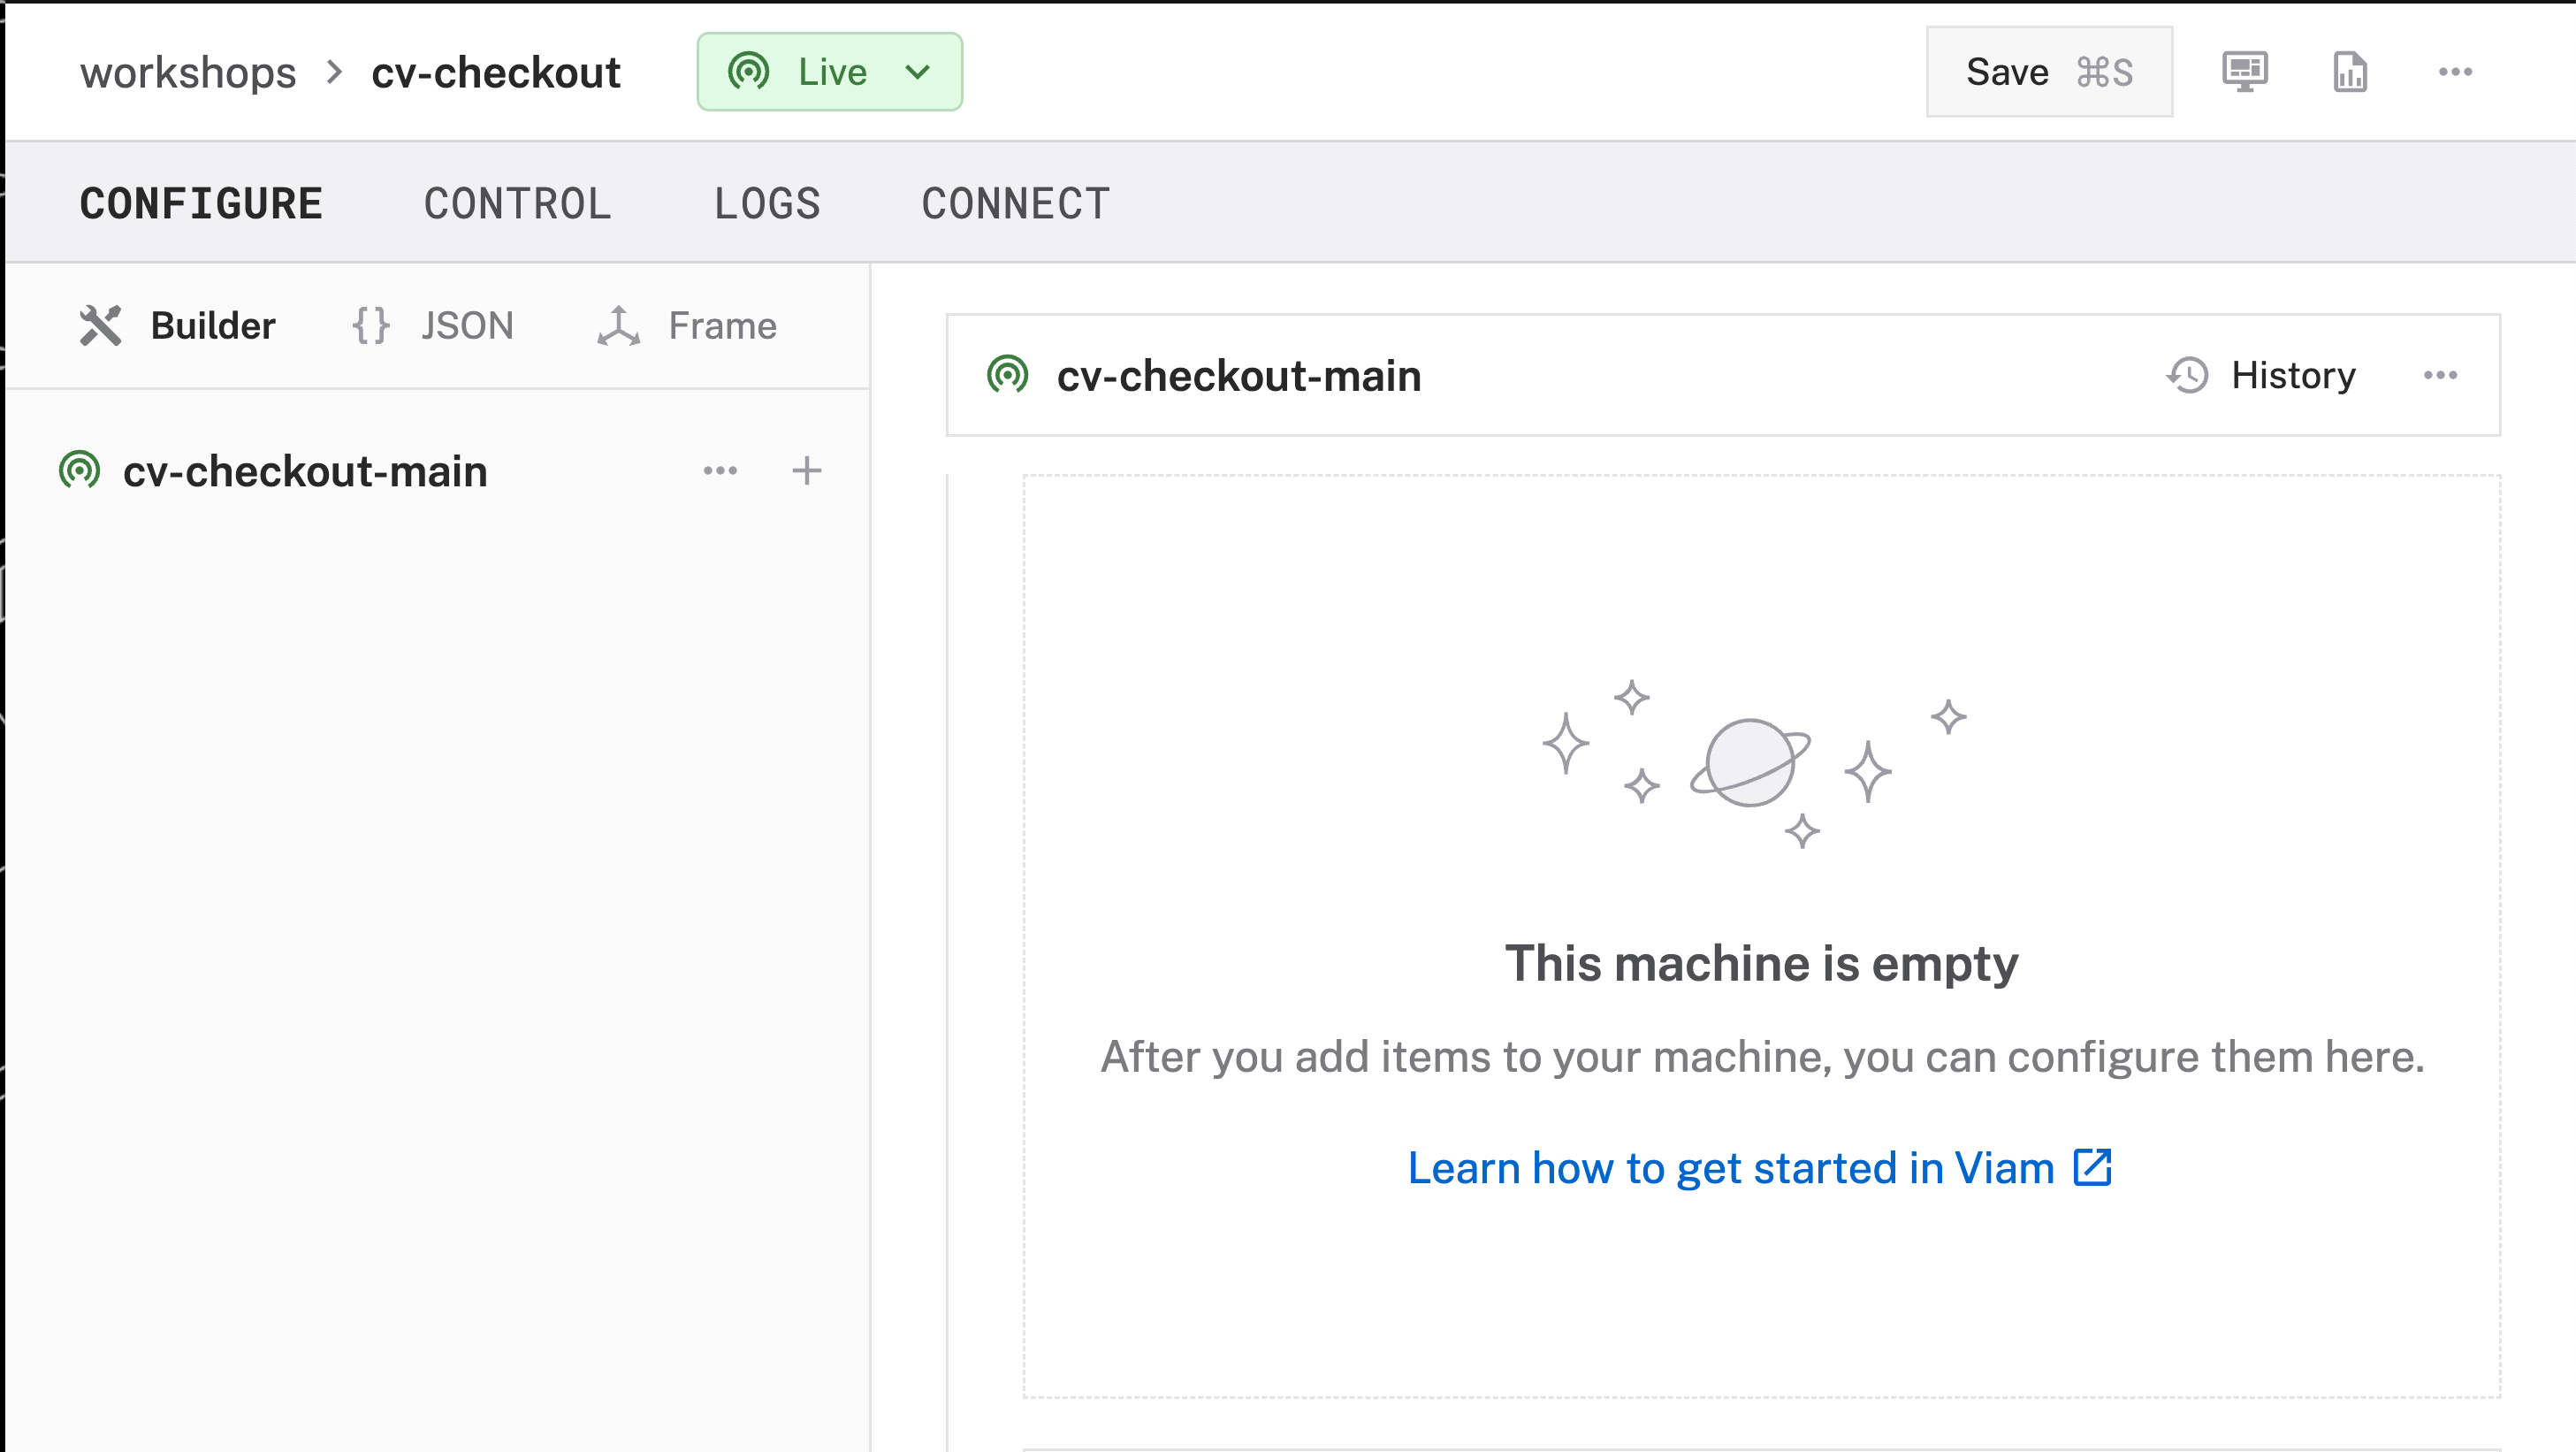
With a machine configured, we now need a way to capture images. Let's add a webcam next!
- In the Viam app, find the CONFIGURE tab.
- Click the + icon in the left-hand menu and select Component.
- Select
camera, and find thewebcammodule. Leave the default namecamera-1for now, then click Create. This adds the module for working with a standard USB camera or other webcam that streams camera data.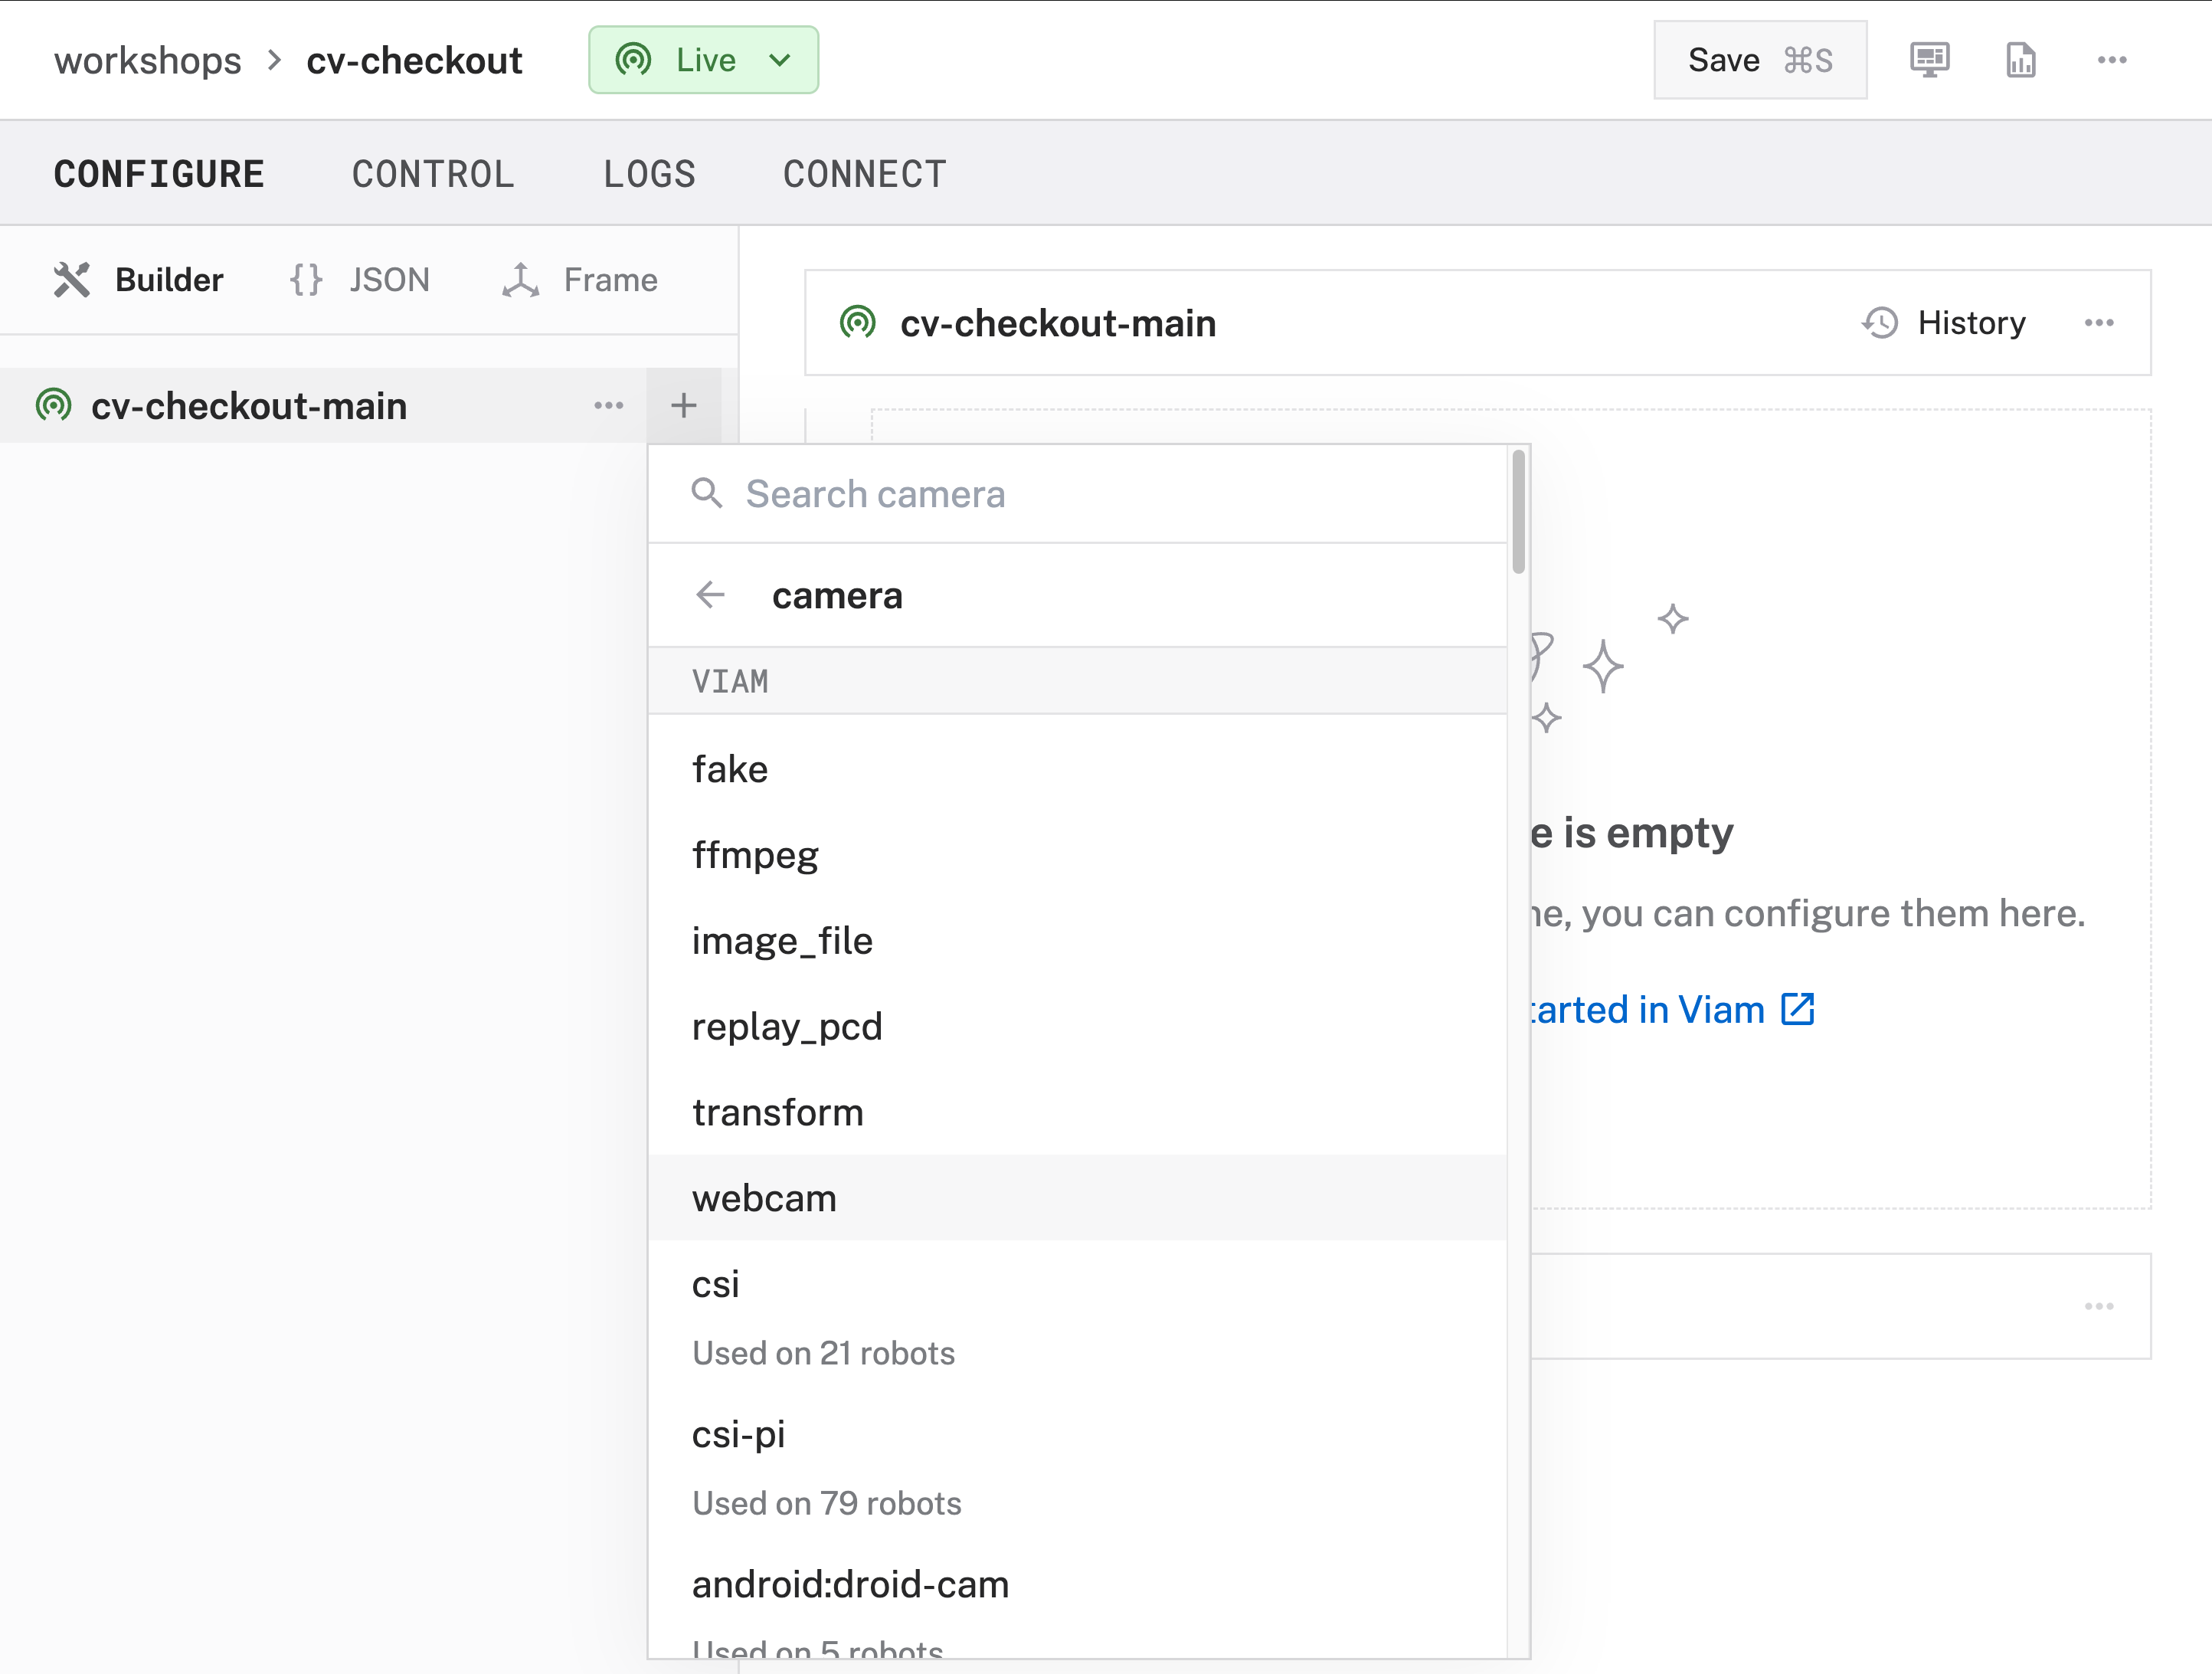
- Notice adding this module adds the camera hardware component called
camera-1. You'll see a collapsible card on the right, where you can configure the camera component, and the correspondingcamera-1part listed in the left sidebar.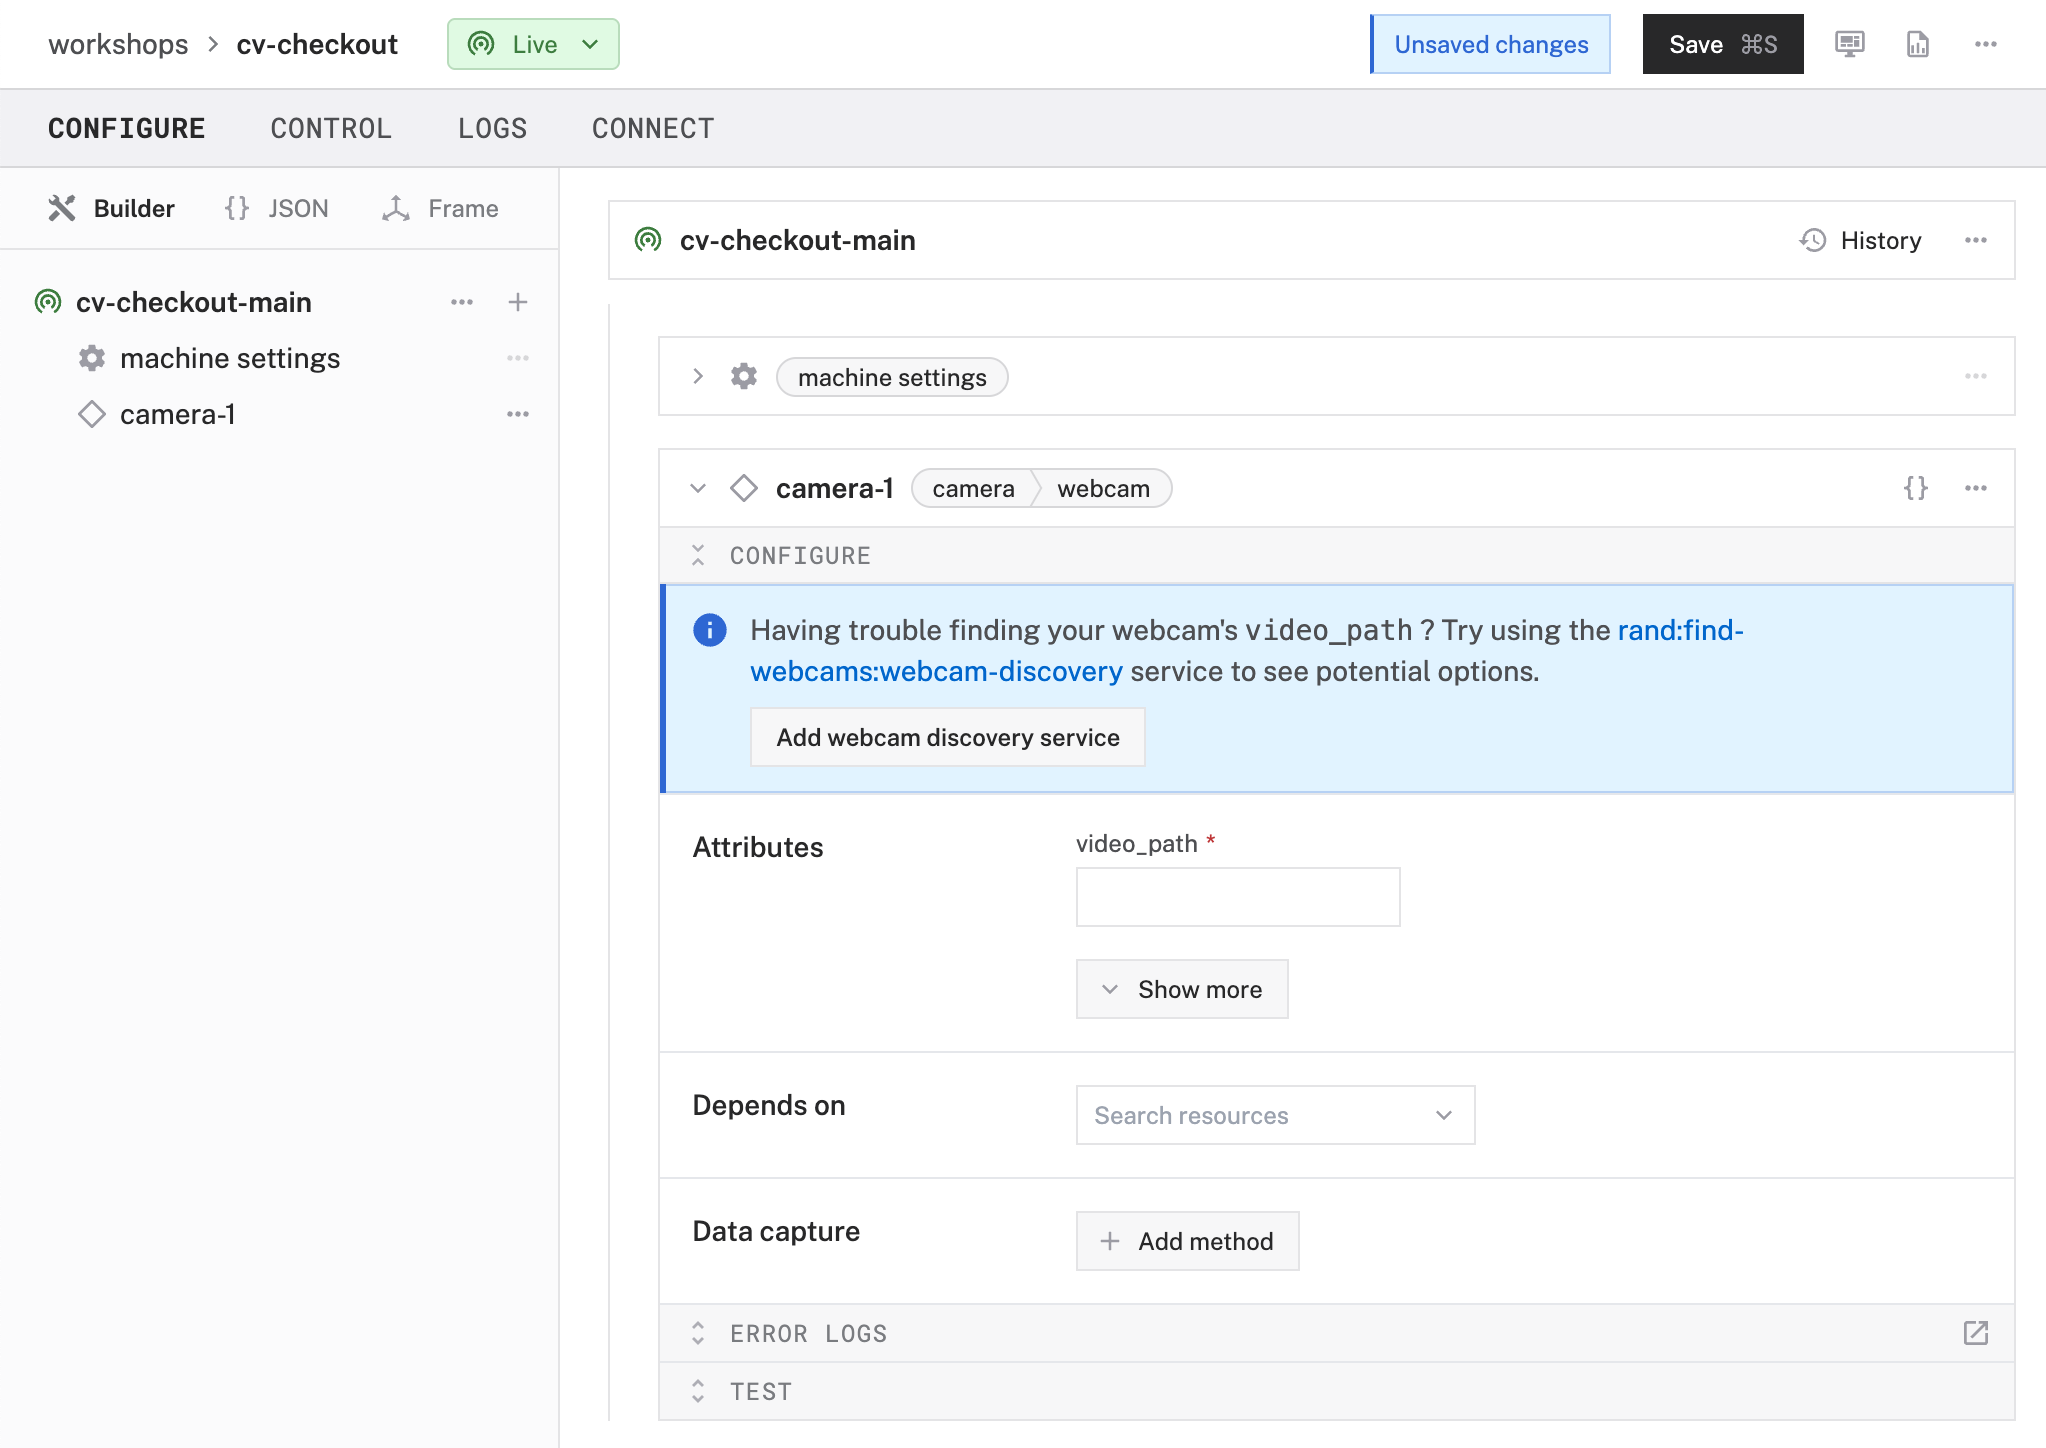
- To configure the camera component, the
video_pathof the intended device needs to be set. You can quickly find which devices are connected to your machine by adding a discovery service. Click Add webcam discovery service that appears in the prompt.
- Notice that this adds the
discovery-1service andfind-webcamsmodule to your machine in the left sidebar. Corresponding cards to these items also appear on the right. - Click Save in the top right to save and apply your configuration changes.
- Expand the TEST panel of the
discovery-1card. Here, you'll find attributes of all discoverable cameras connected to your machine. Find thevideo_pathof the device you'd like to use as your webcam, then copy the value. For example, I'll use my MacBook Air's built-in FaceTime camera, so I'll copy3642F2CD-E322-42E7-9360-19815B003AA6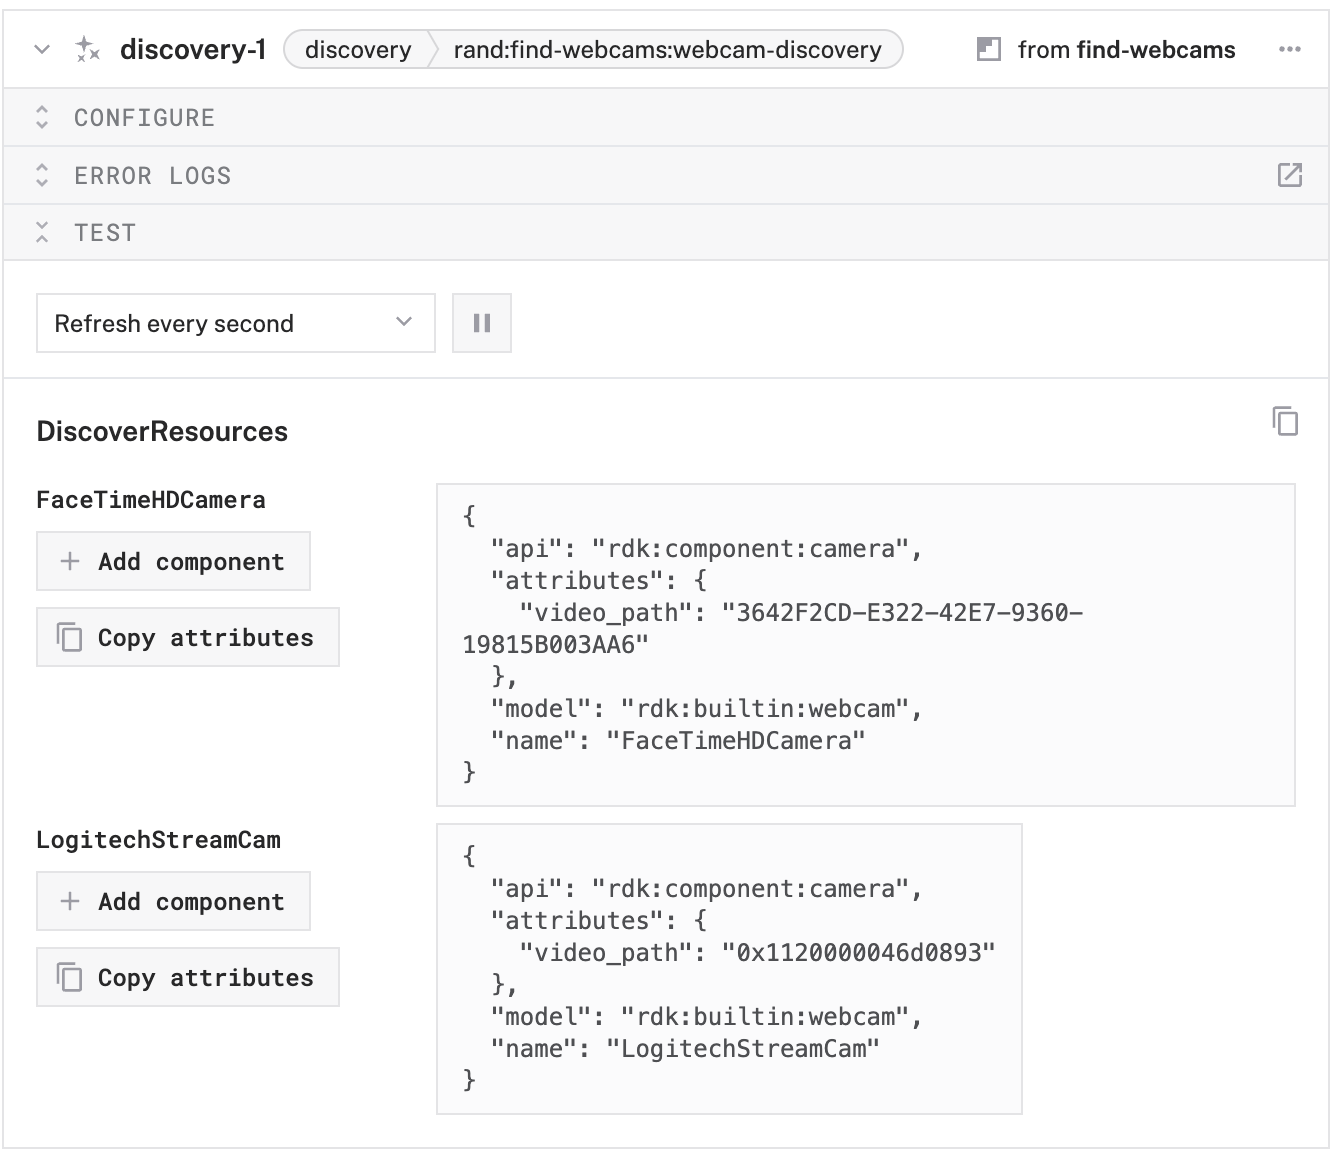
- Paste the copied
video_pathvalue into your camera component'svideo_pathinput, which is in the Attributes section: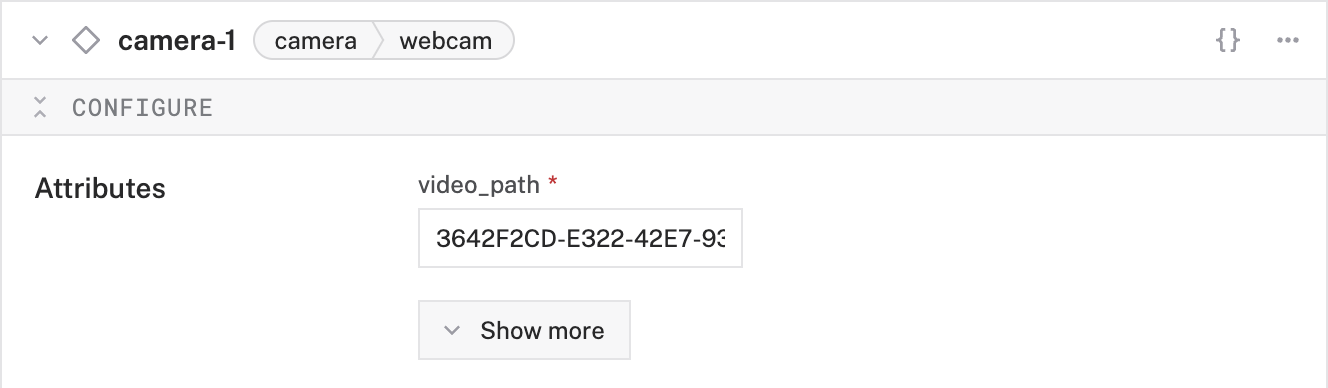
- Click Save in the top right once more to save and apply your configuration changes.
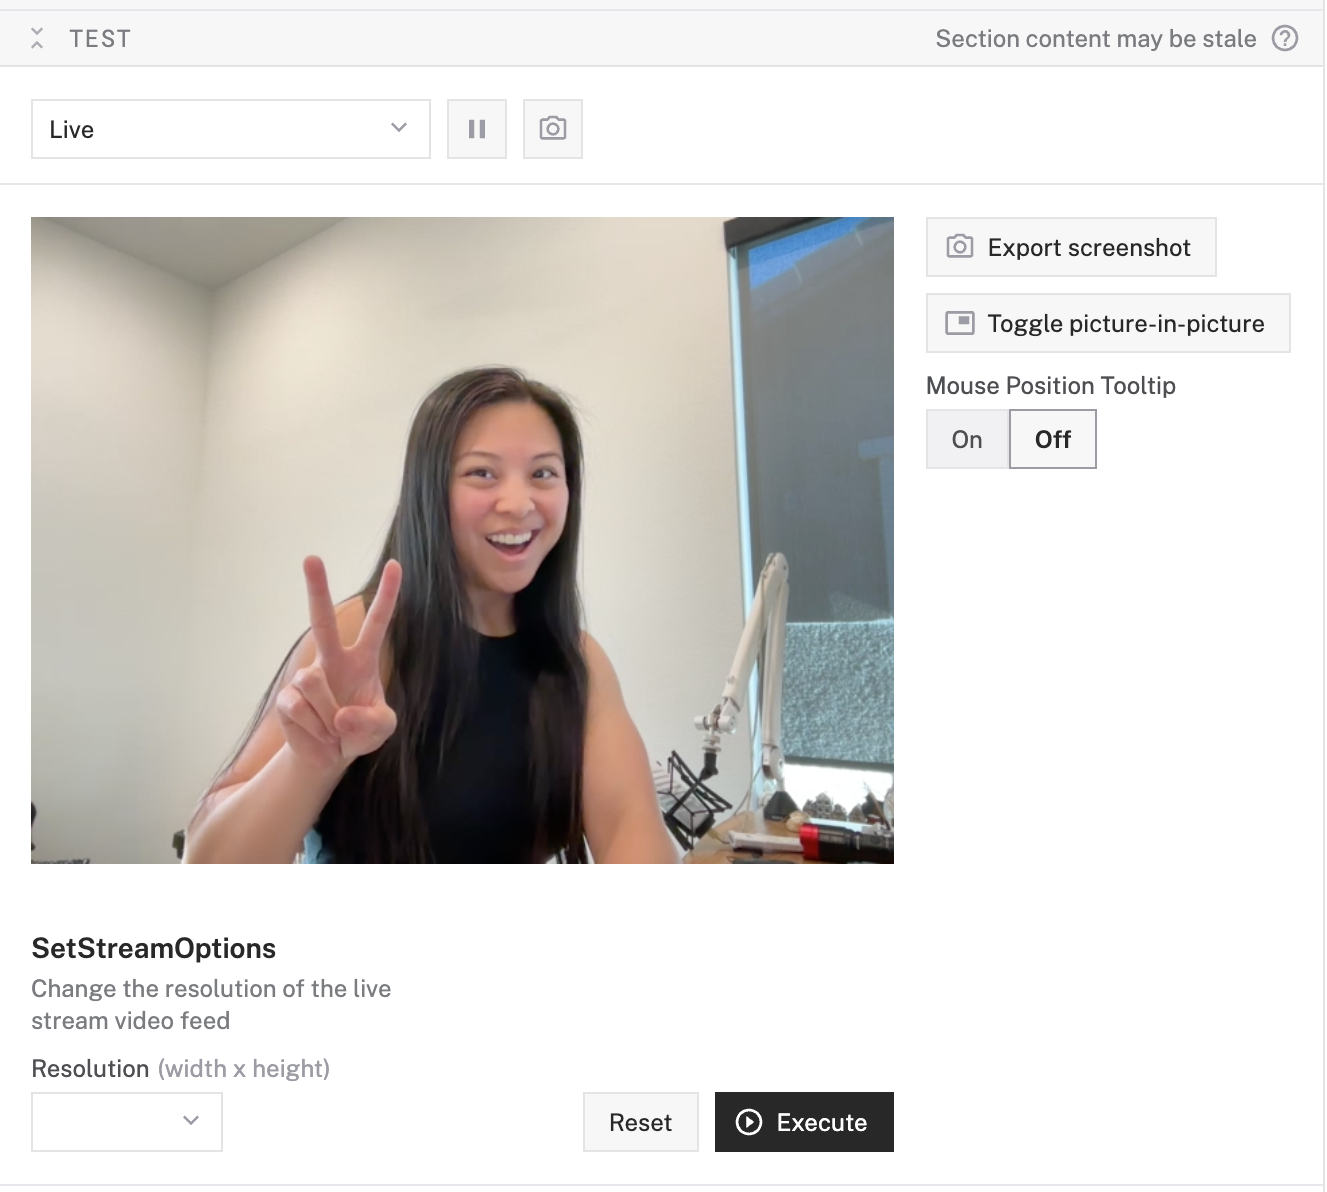
- Expand your camera component's TEST panel. If things are properly configured, you should see the video streaming from your camera.
- With your camera added and working, you can now delete the
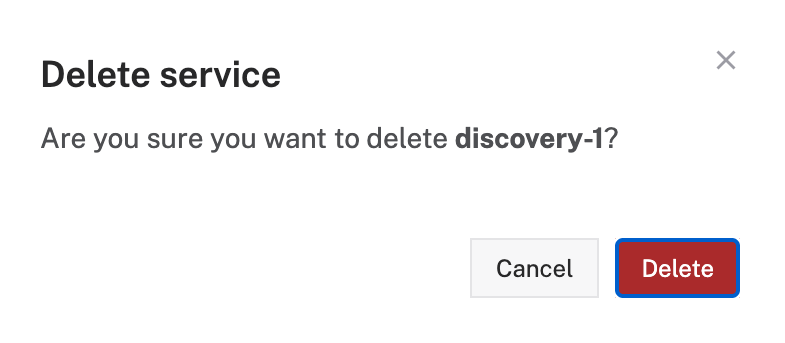
discovery-1service andfind-webcamsmodule as you'll no longer need them. Click the ... next to each item, then select Delete.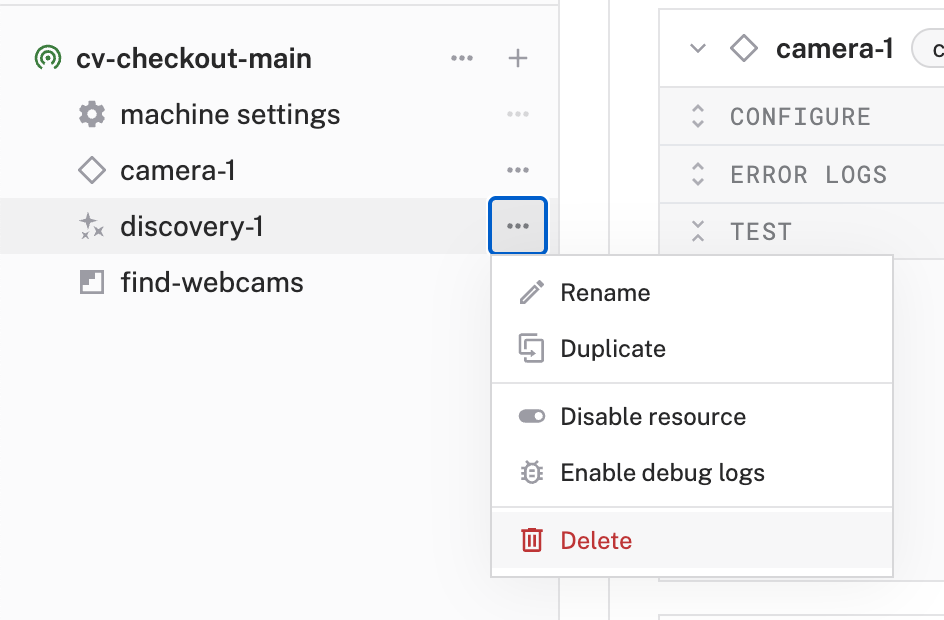
- You will be prompted to confirm the deletion, select Delete
- Finally, Save your configuration changes.
Great, your machine now has eyes!
To train a custom model based on your beverages, you'll need a dataset the LiteRT framework (previously known as TensorFlow Lite) can use. Here, you'll create a dataset and add some images of your beverages using the webcam you configured in the last step. (Note that the rest of this codelab will still refer to TensorFlow Lite in some areas)
- In the Viam app, find the DATASETS tab.
- Click the + Create dataset button and give your dataset a name, like
beverages. Click the Create dataset button again to save.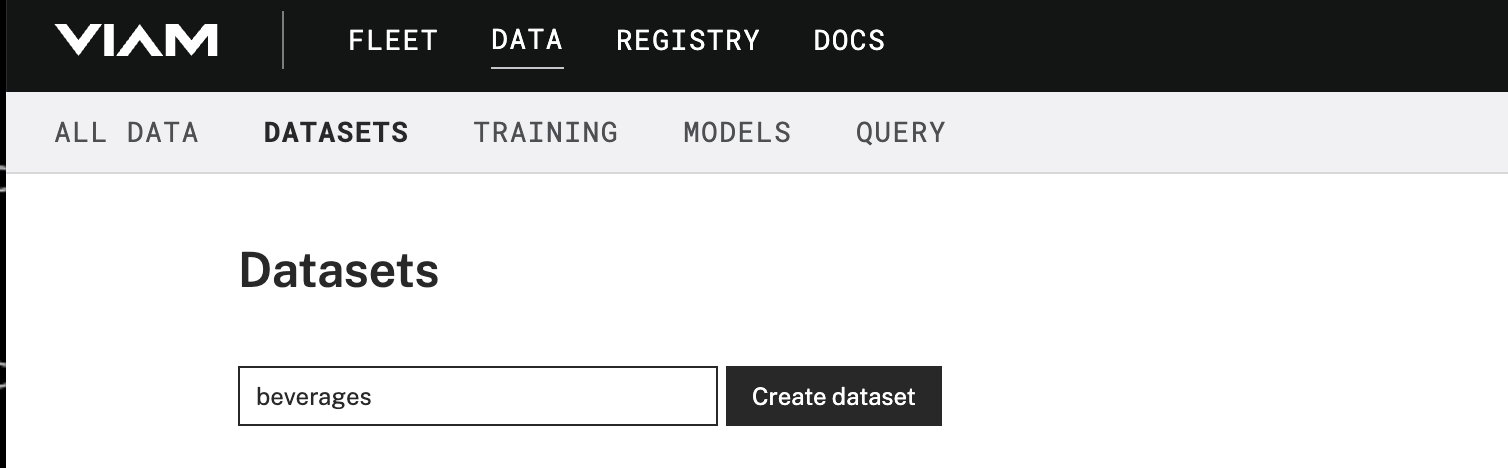
- Switch back to your machine in the Viam app. You can navigate back by going to Fleet > All Machines Dashboard, then clicking on the name of your machine.
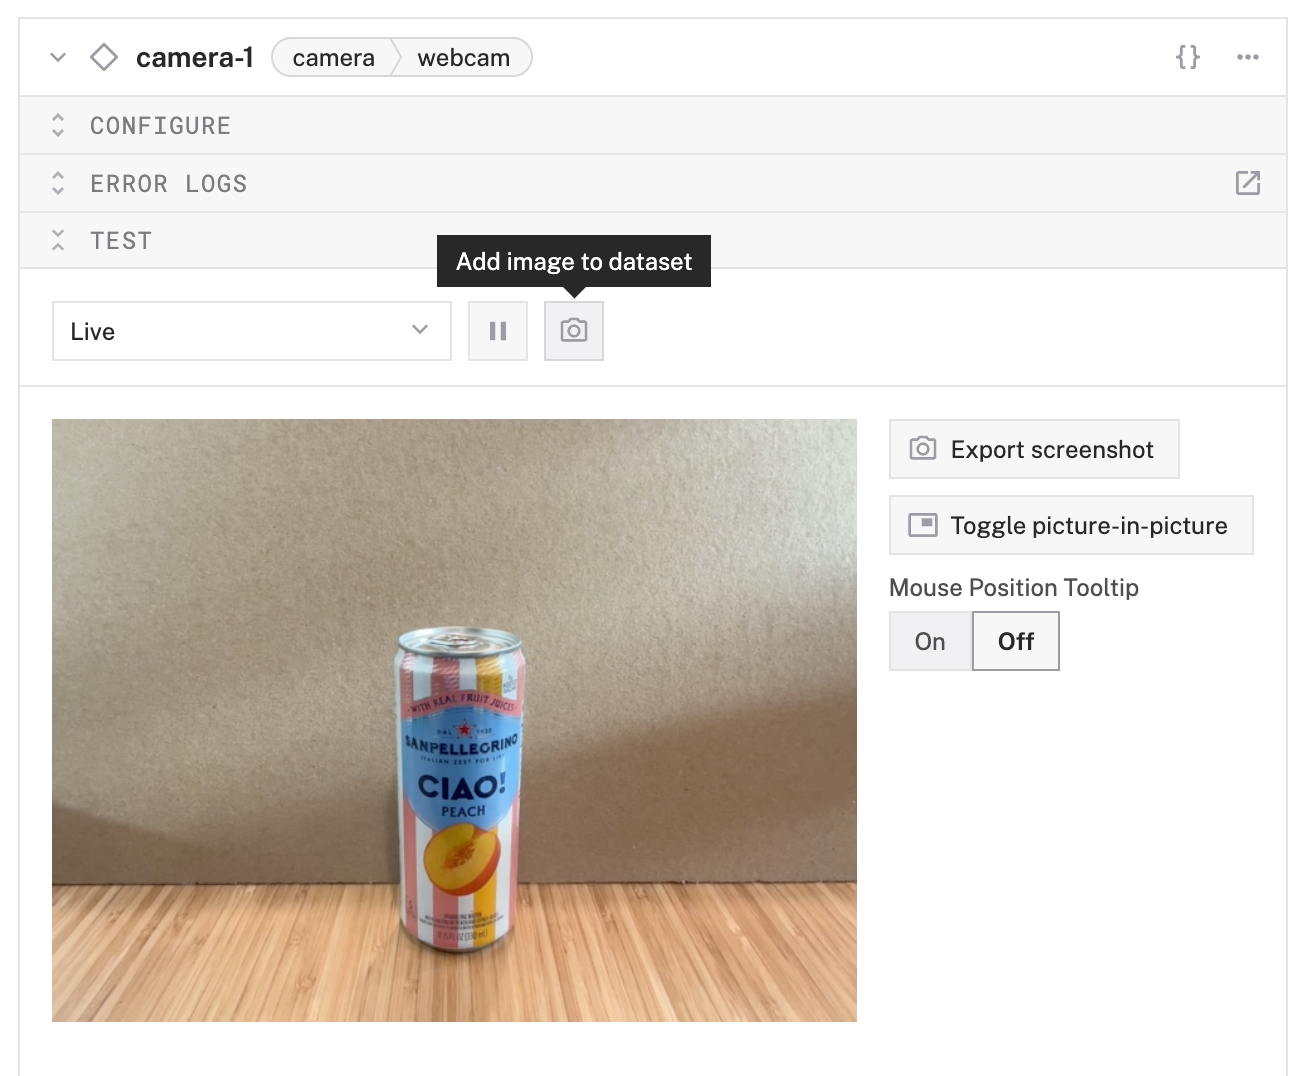
- Expand your camera component's TEST panel. Here, you'll see the live feed of your camera as well the "Add image to dataset" icon, which looks like a camera.
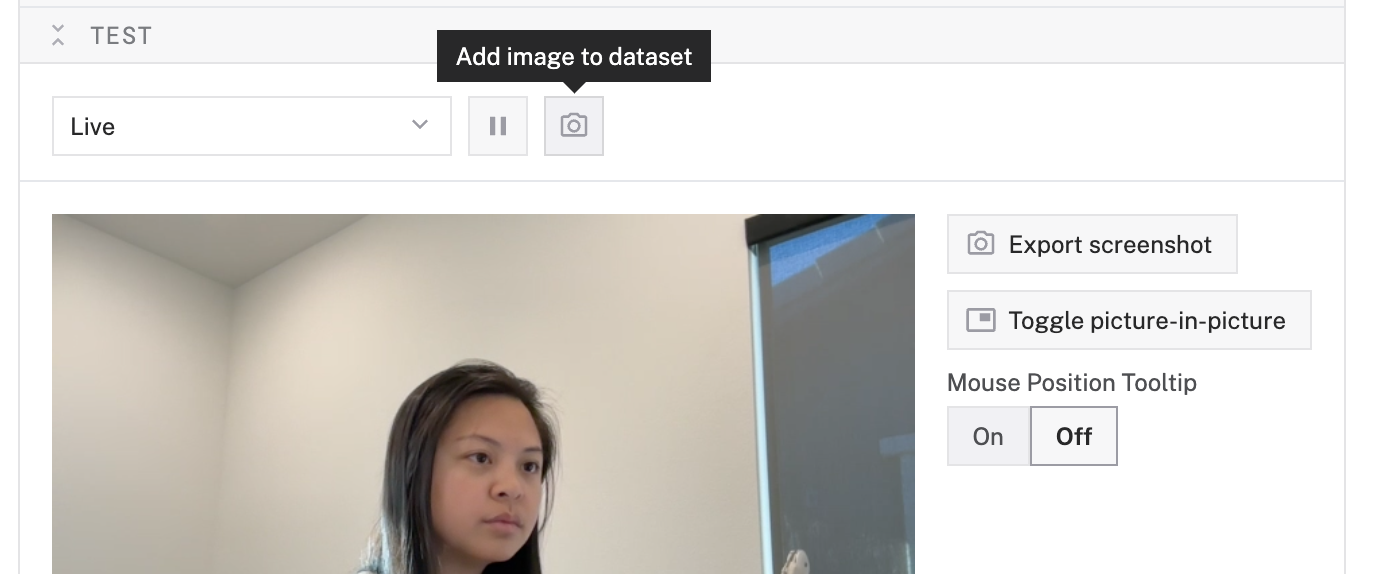
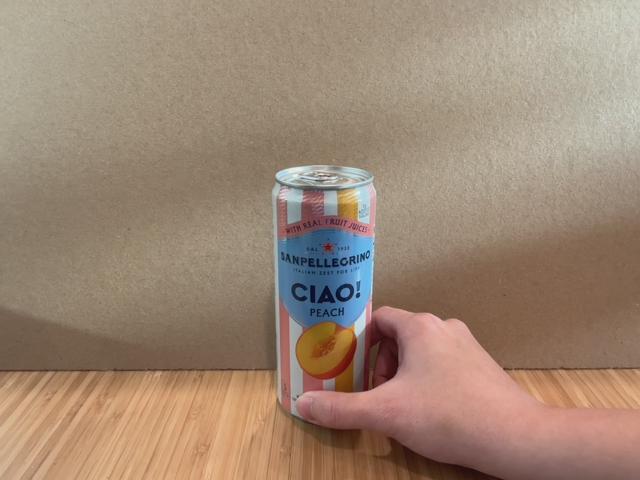
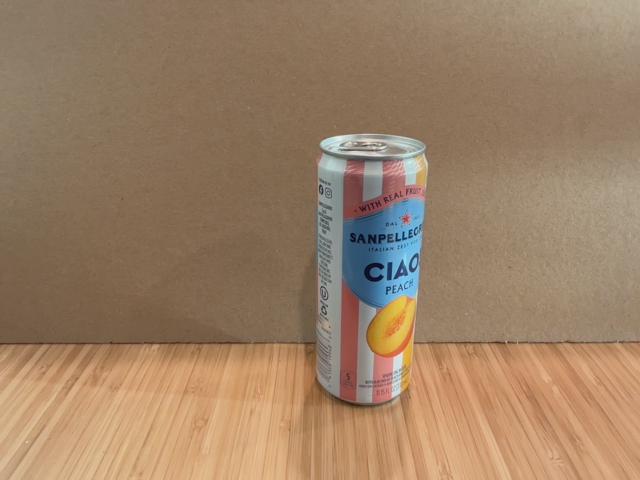
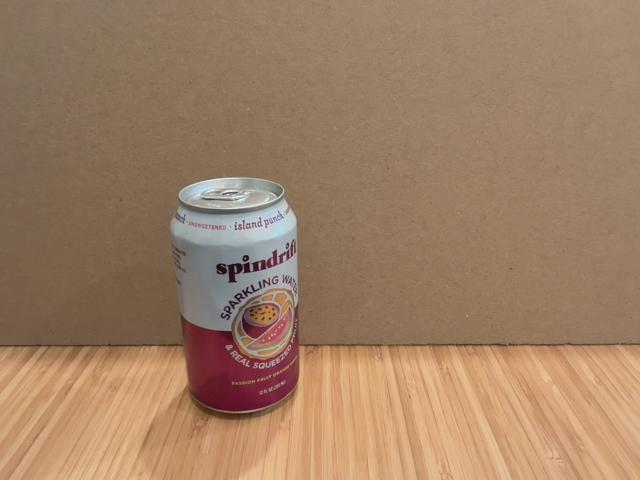
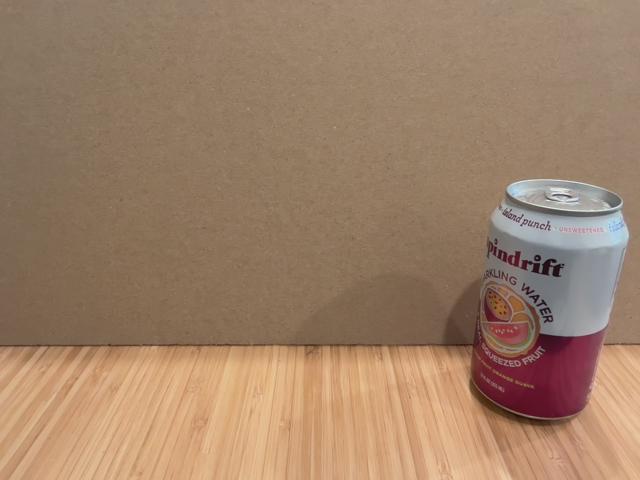
- Using the live feed as a viewfinder, position your webcam so that you can place one of your beverages fully in the frame. The less visual clutter in the background the better!
- When you are happy with the image, click the Add image to dataset button.
- In the list of datasets that appear, select the dataset you wish to add your captured image to. For example,
beverages: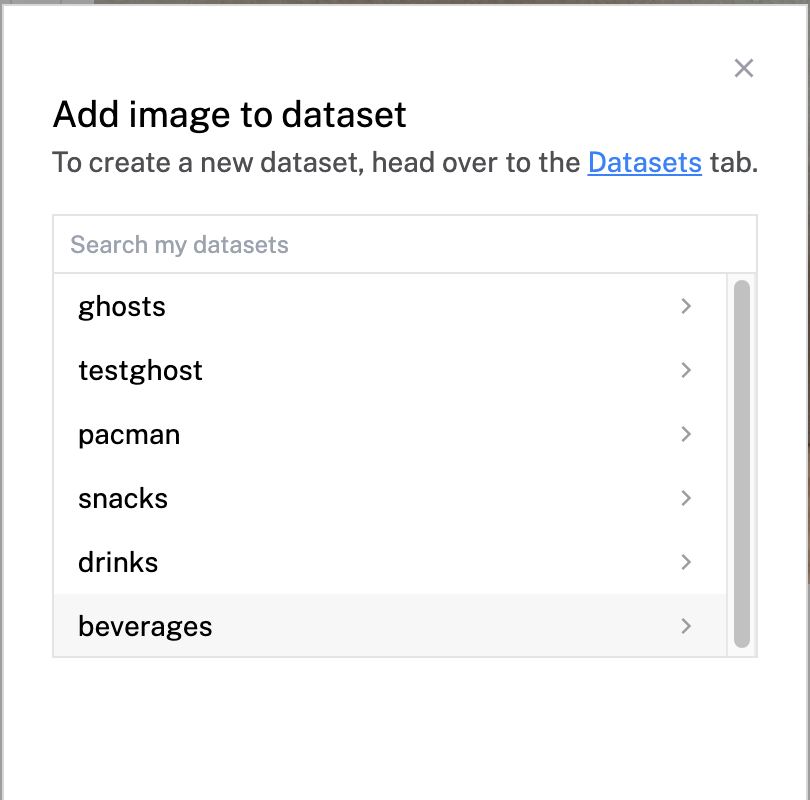
- Confirm the dataset you've selected, then click Add.
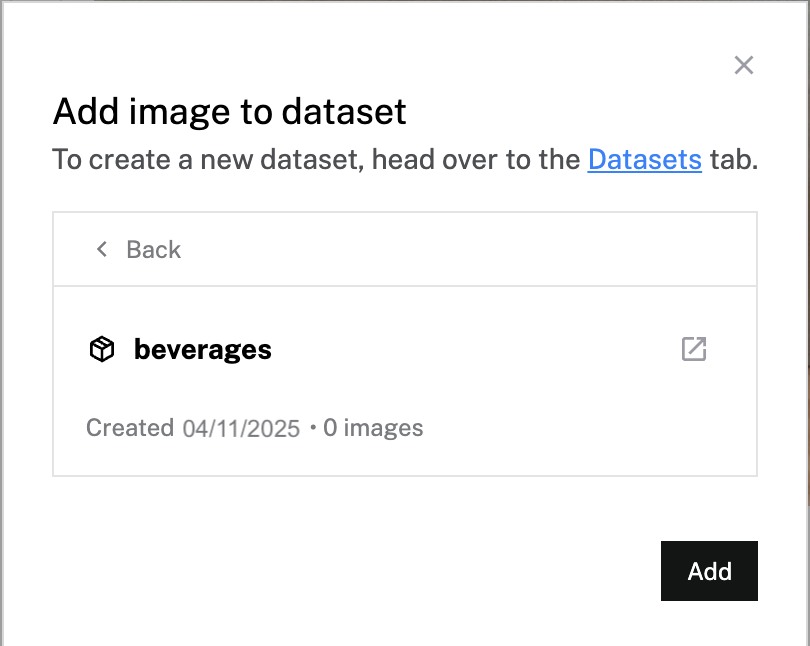
- A success message will appear at the top-right once your image is added to your selected dataset.

- Repeat steps 5 - 8 to capture at least 10 images of each beverage you will be detecting. Be sure to vary angles and positions!


Phew, that was a lot, but your custom model will thank you! Let's make our images smarter by annotating them in the next step.
Having images to train a model is a good start. However, they won't be useful unless TensorFlow has a bit more information to work with. In this step, you'll draw bounding boxes around your beverages and label them accordingly.
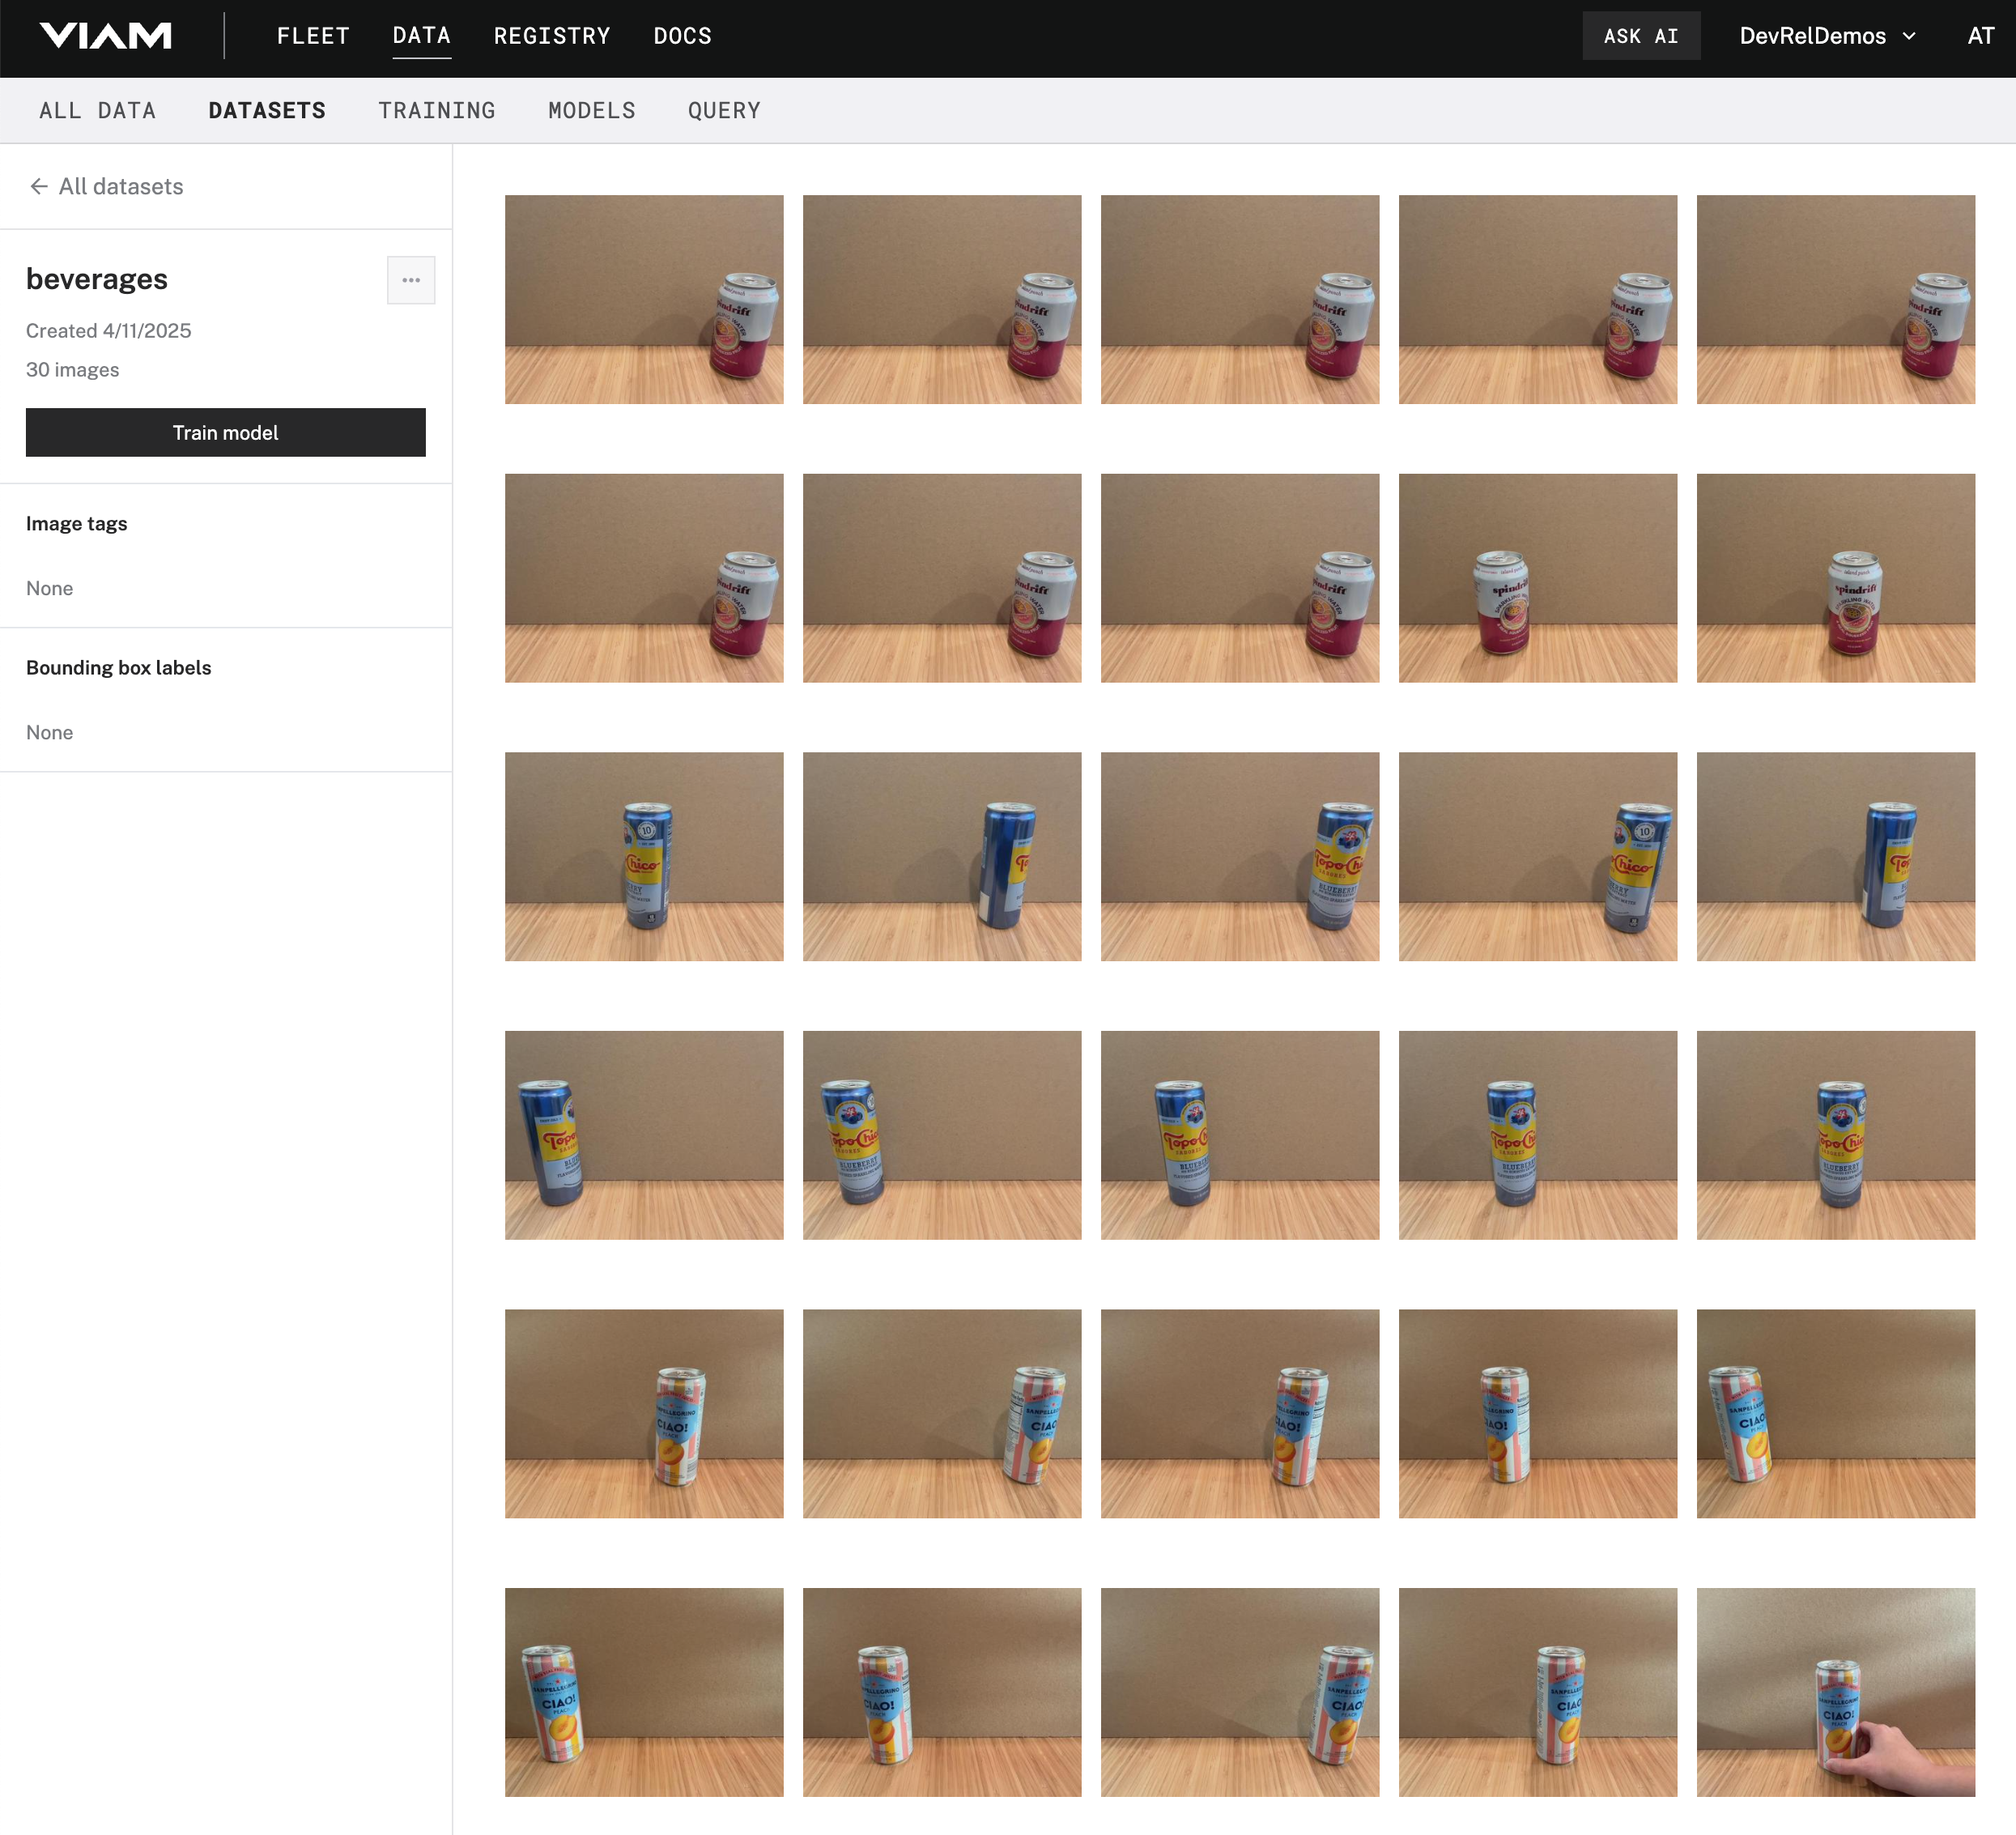
- In the Viam app, find the DATASETS tab.
- Click on the name of your dataset, for example
beverages: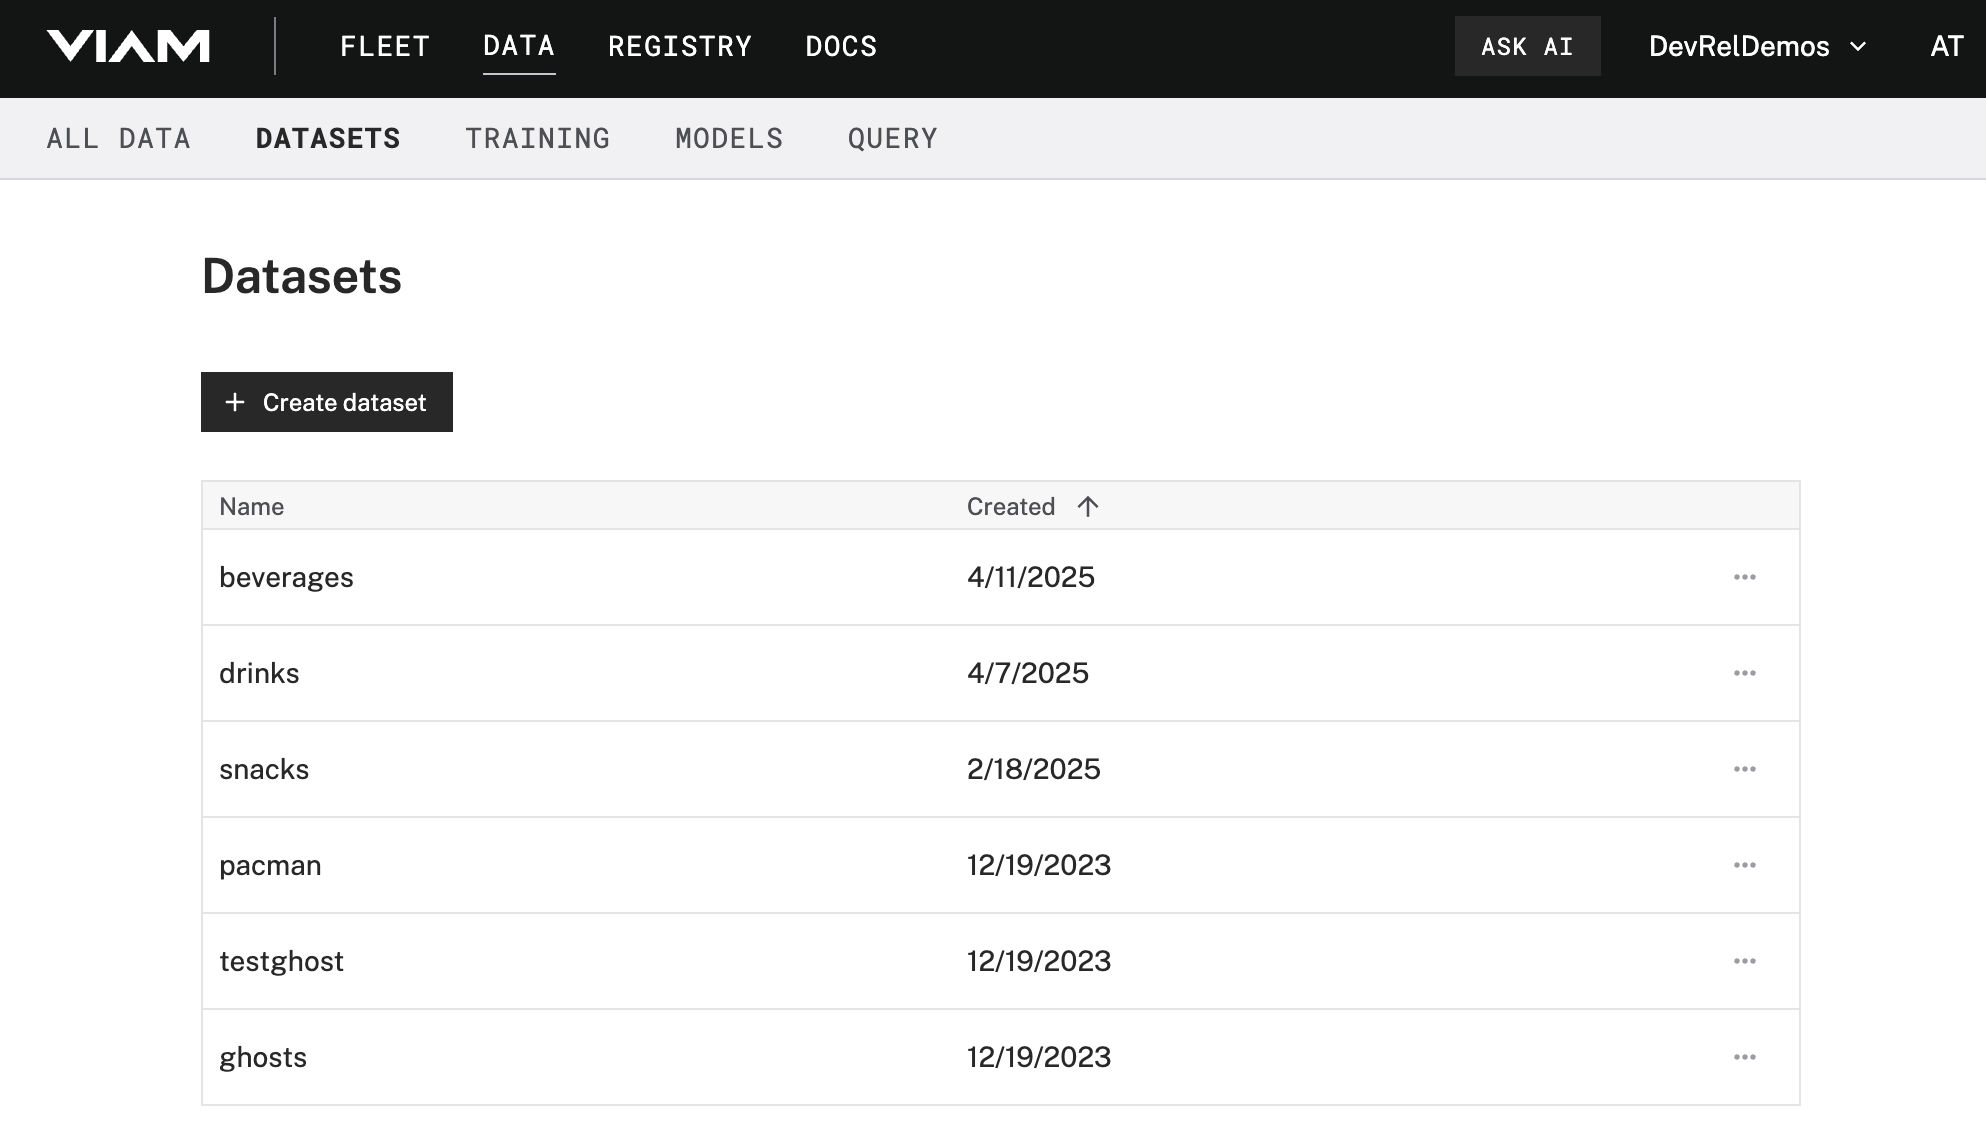
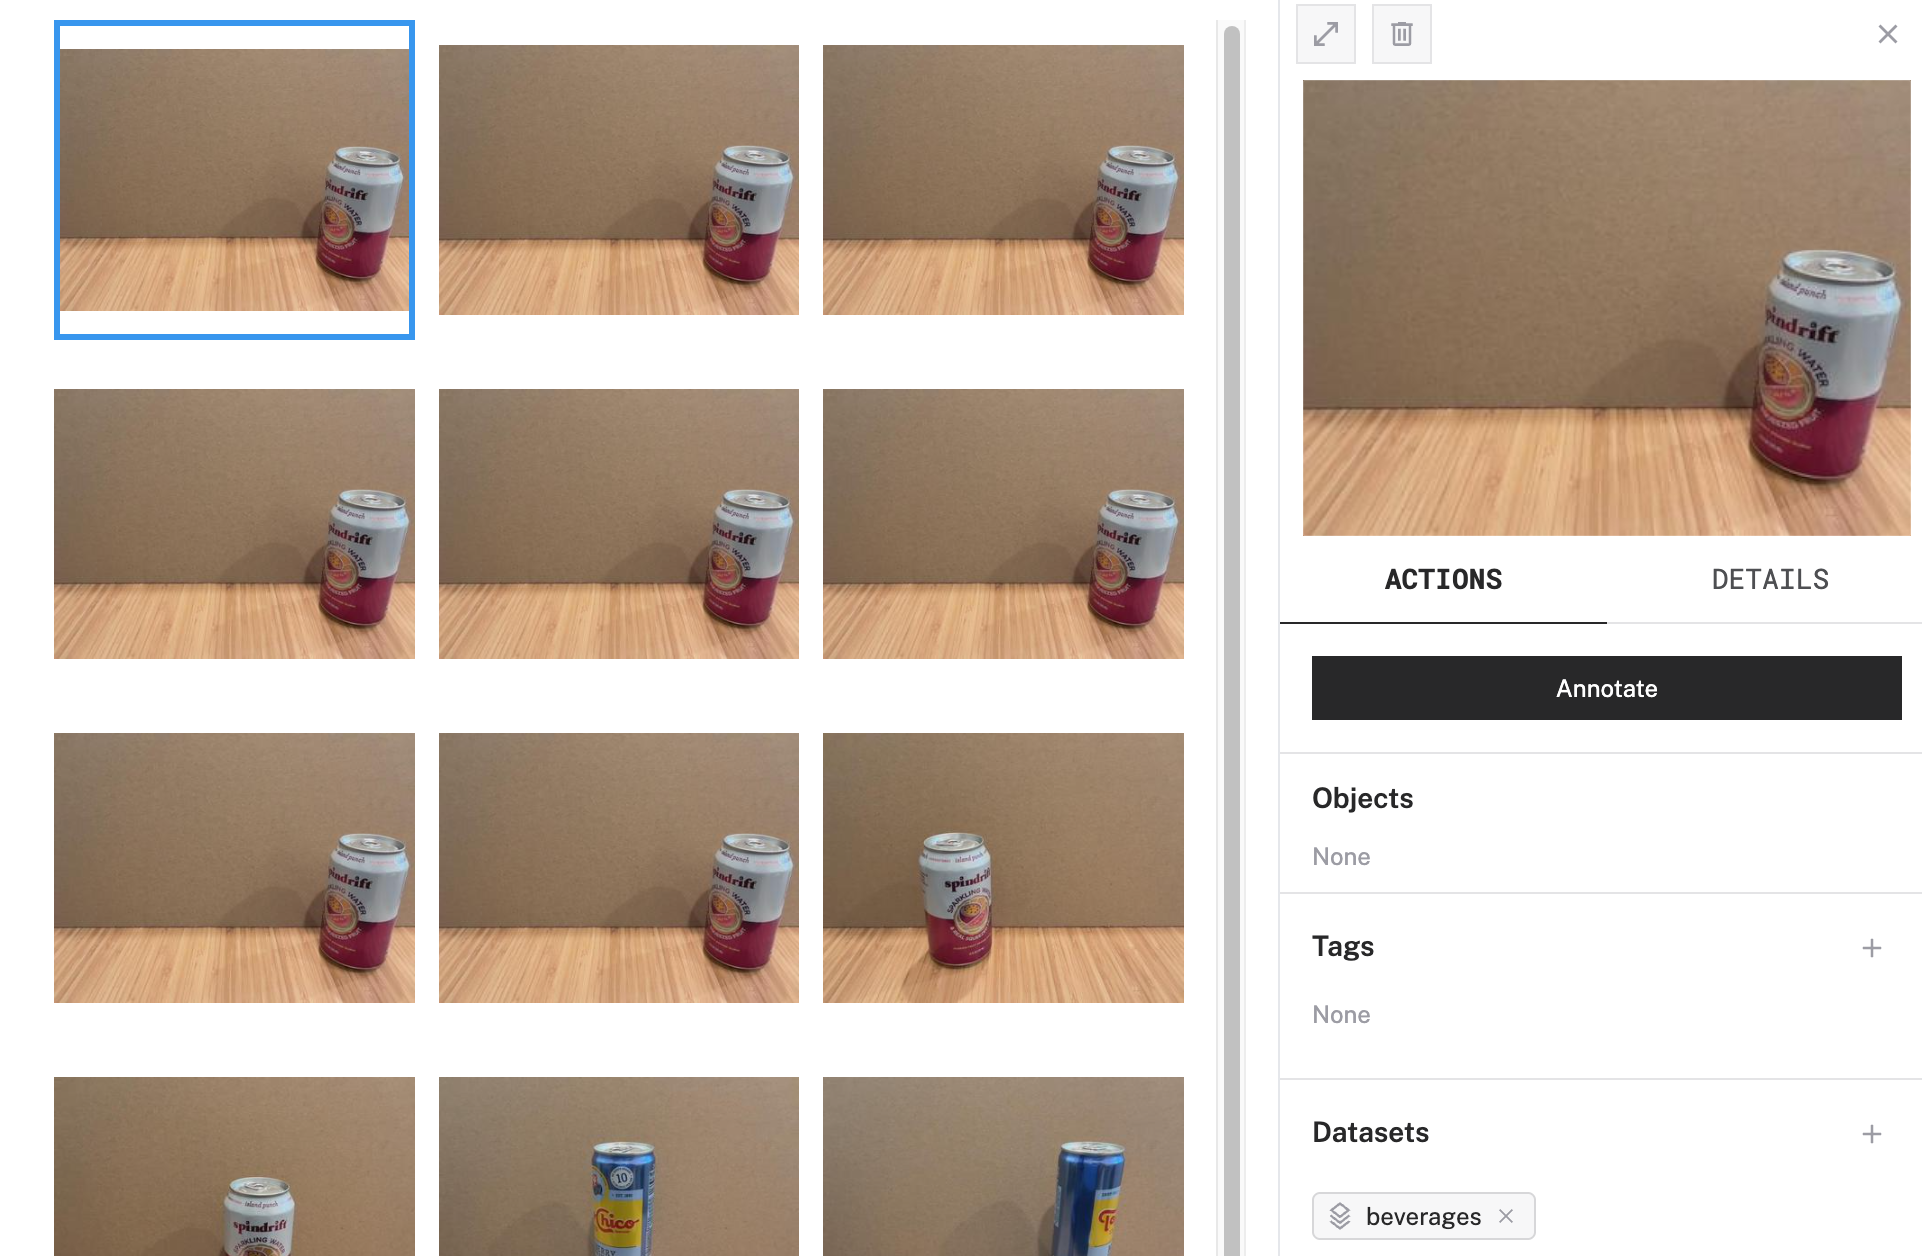
- Here, you'll see all of the images you've captured, neatly grouped into its own space.
- Select one image from the dataset. A side panel will appear on the right-hand side. You can see details about this image, such as any objects annotated, associated tags, which datasets the image belongs to, among other details. Click on the Annotate button in this panel.
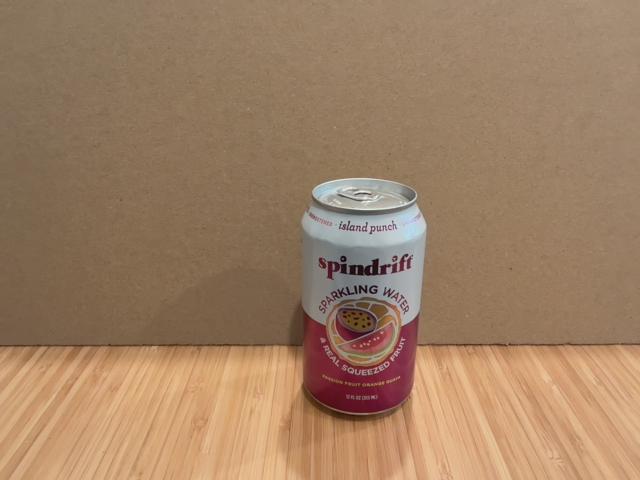
- The selected image opens to a larger screen. To detect an object within an image, a label must be given. Create an appropriate label for the beverage you have selected, for example
spindrift_pog:
- With the appropriate label now chosen, hold the Command or Windows key down while you use your mouse to draw a bounding box around your beverage.
- In the OBJECTS panel on the right, you'll see your beverage listed, with an object count of
1. If you hover over this item, you'll see thespindrift_poglabel appear in the image and the bounding box fill with color.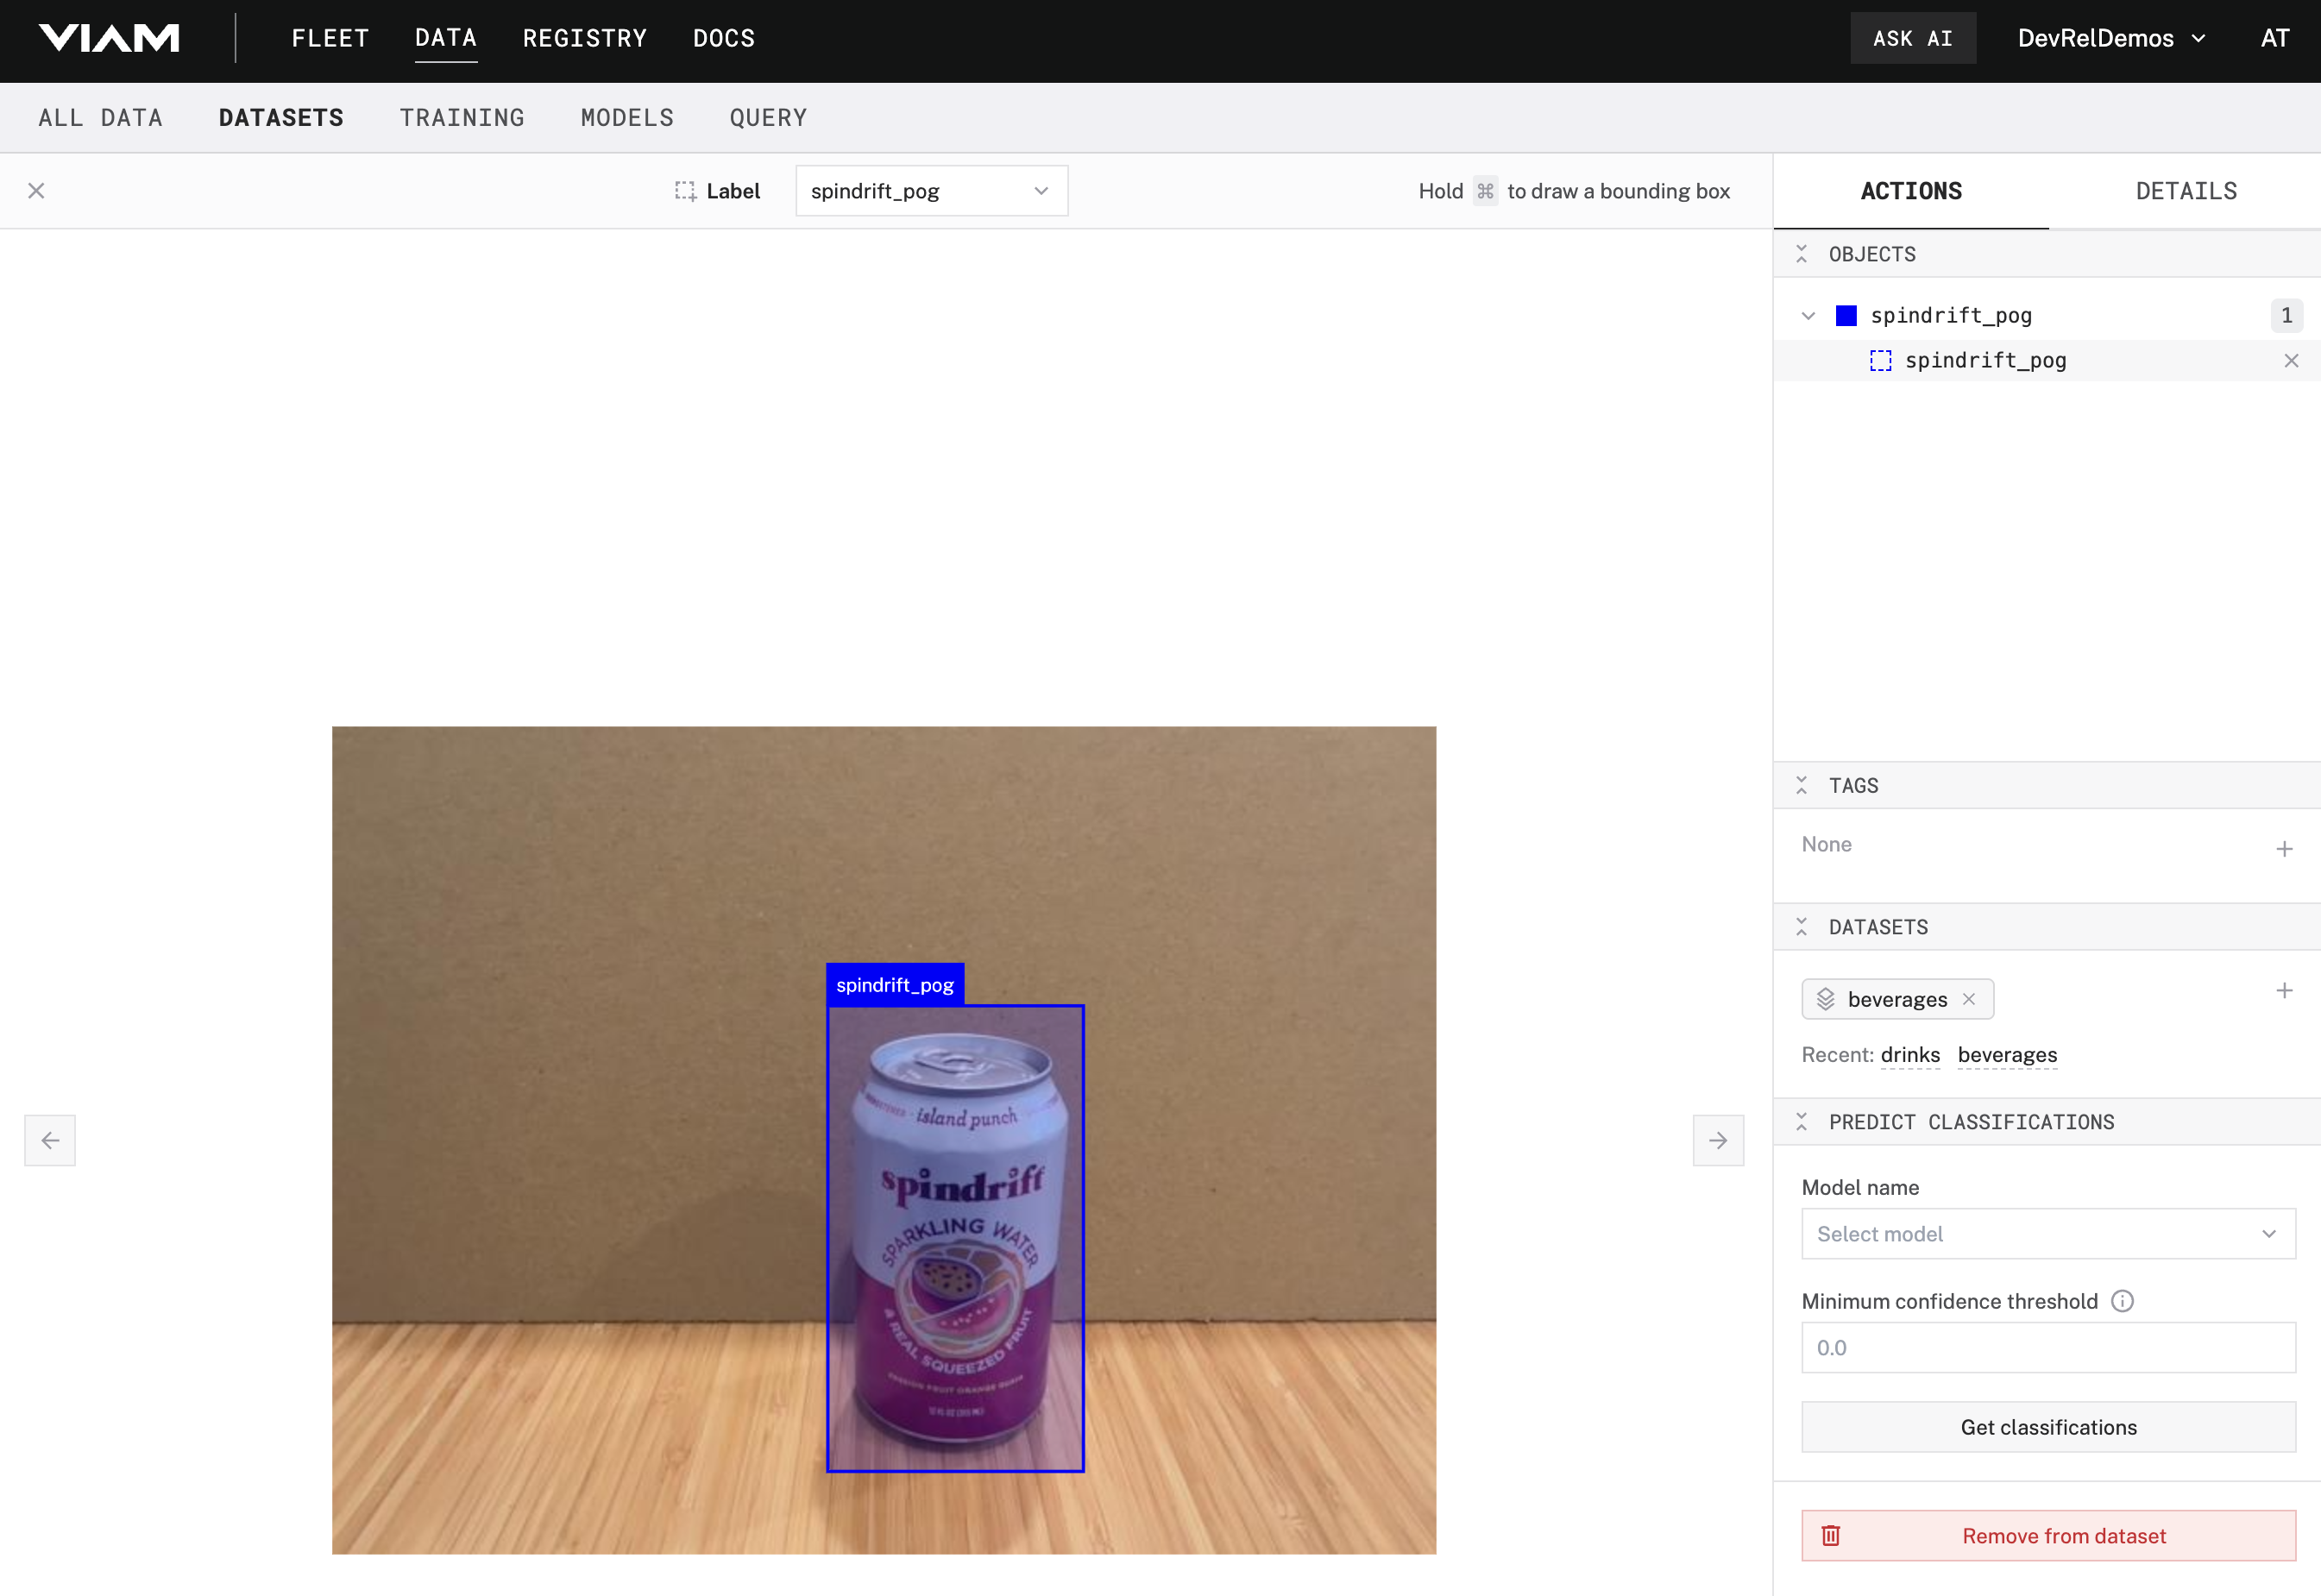
- Repeat this for the rest of the images that match the label. You can quickly navigate between images by pressing the
>(right arrow) or<(left arrow) keys on your keyboard. - Once you get to a new beverage, create another descriptive label, draw the bounding box, and repeat for the rest of the images of the same beverage. Double check that each image only has one label and detects the correct beverage! (Multiple labels and therefore, bounding boxes, are allowed and make sense for more complex detections. Since we are just trying to accurately detect the correct beverage one at a time, one label per image is recommended for this codelab)
- When you are finished annotating all of your images, you can exit out of the annotation editor by clicking on the "X" in the top-left corner. Notice that a breakdown of your bounding box labels are calculated and displayed:
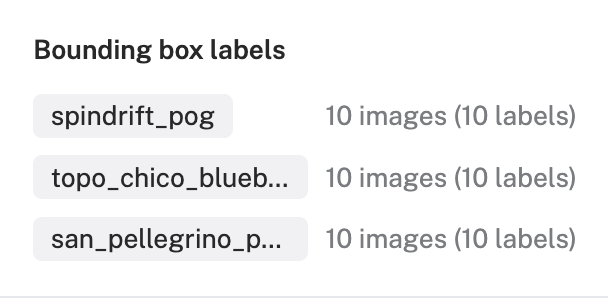
- Be sure that all your images are labeled, that there are no
Unlabeledimages left, and that there are at least 10 images of each beverage you are planning to detect.
Great work annotating all of that. (so..many..beverages...) Your model will be the better for it. Let's finally train your custom model!
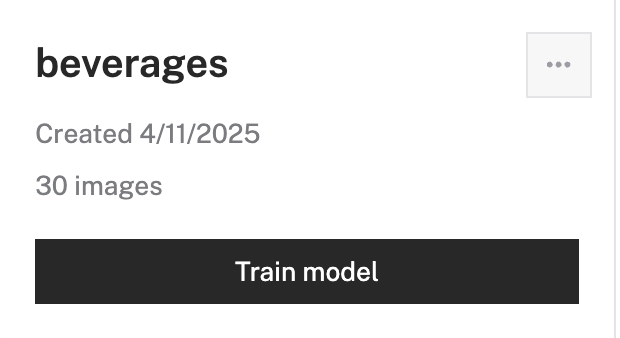
- In your dataset overview, click Train model located within the left-hand panel.
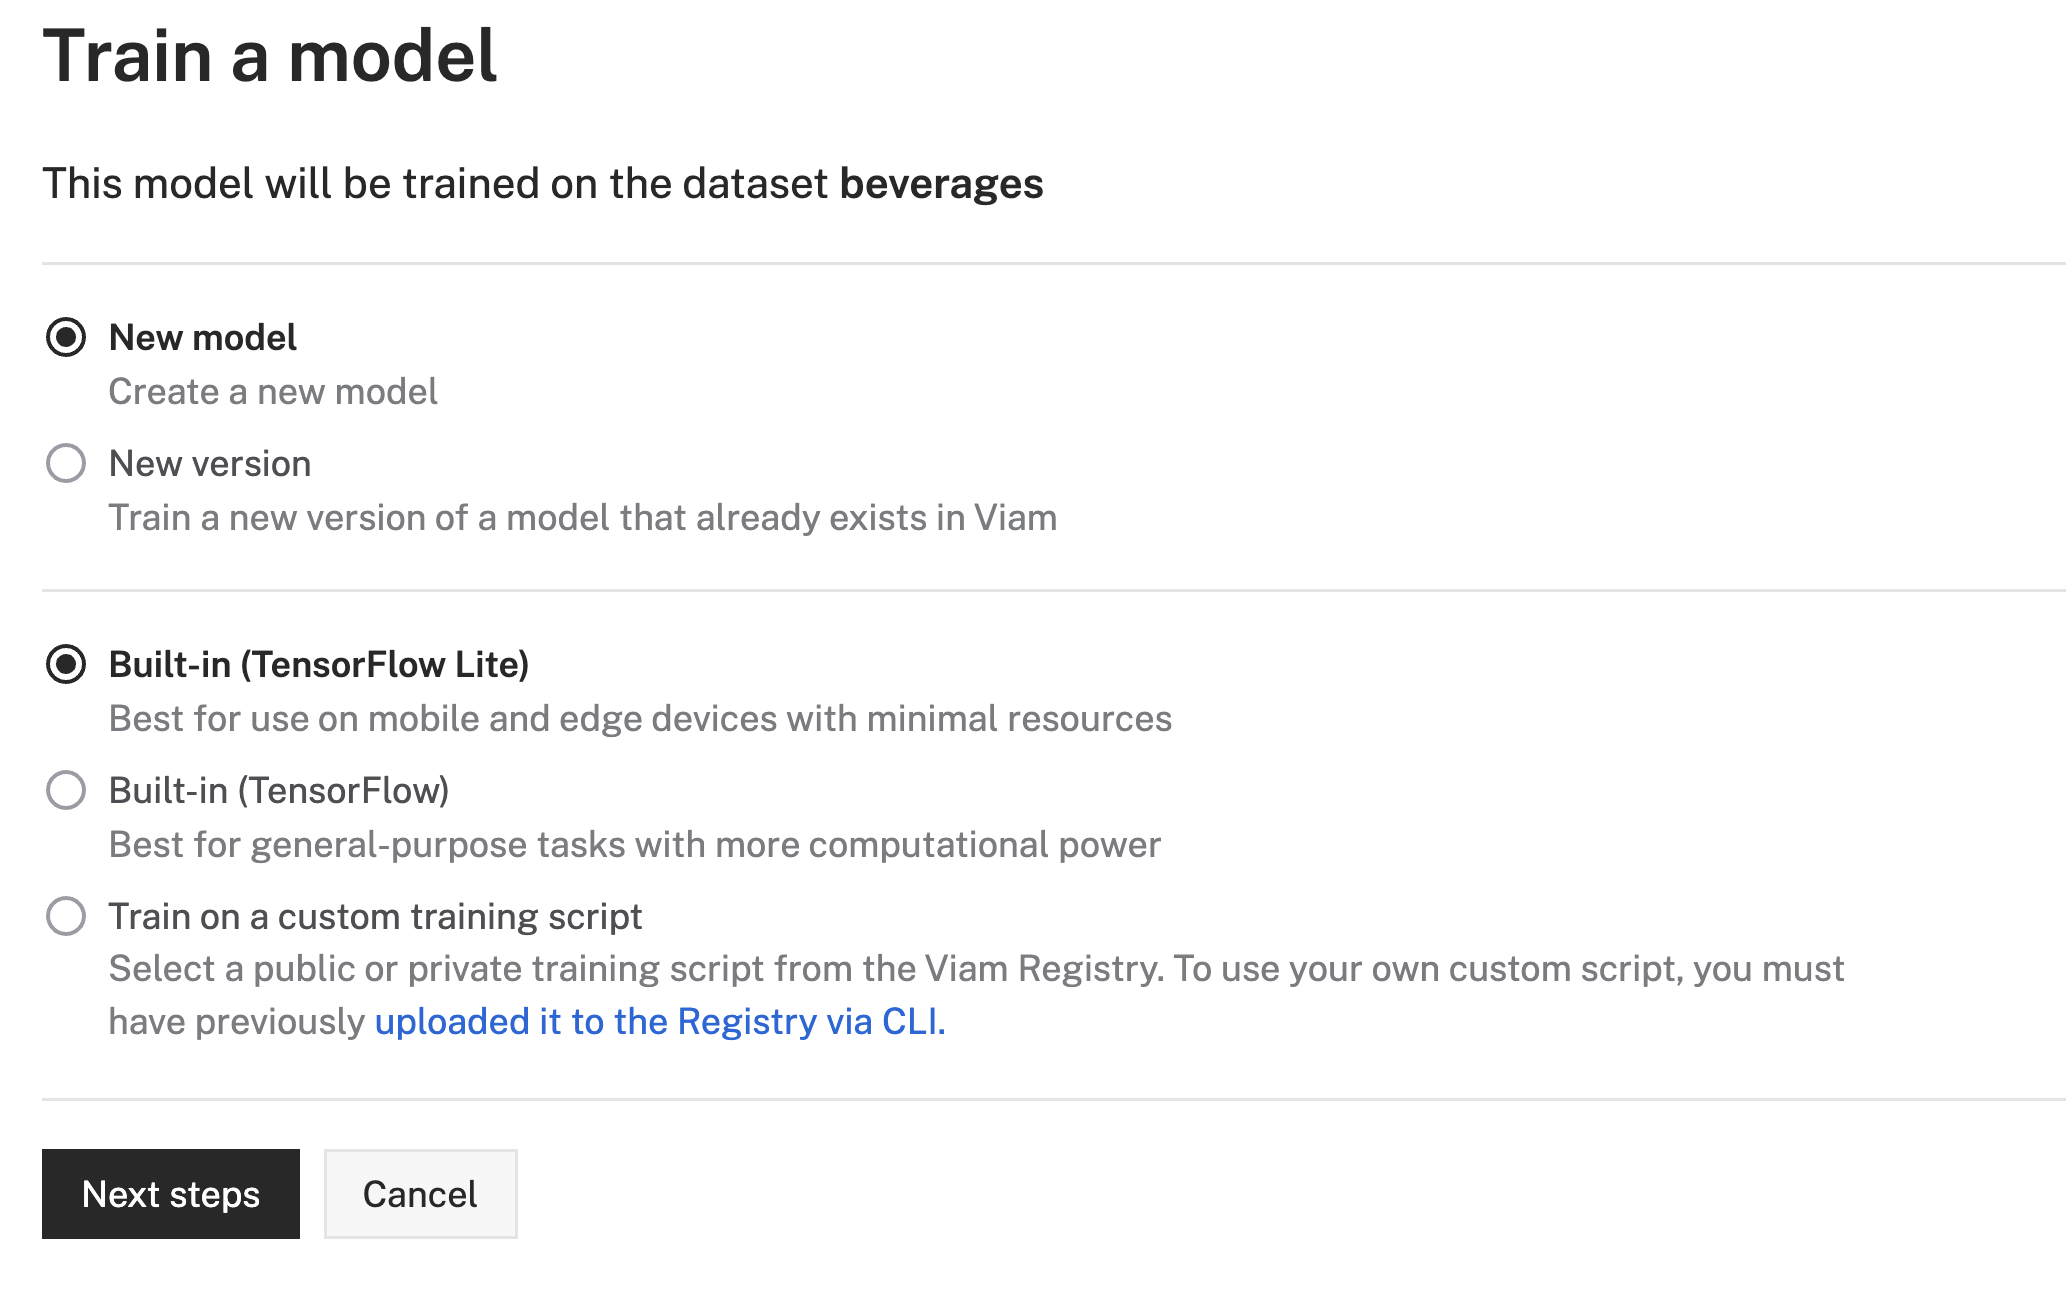
- Select your model training options. For now, leave the default selections of New model and Built-in (TensorFlow Lite). Confirm that the correct dataset is selected. Click Next steps.
- Give your model a name, for example
beverage-detector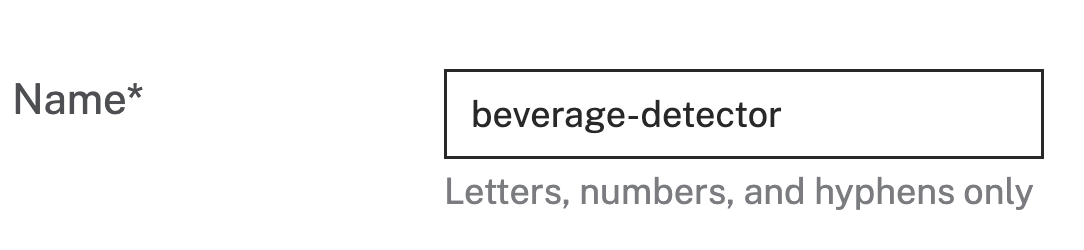
- Select Object detection as the Task type. Notice that the labels you've created are auto-detected from the images in your dataset and selected in the Labels* section:
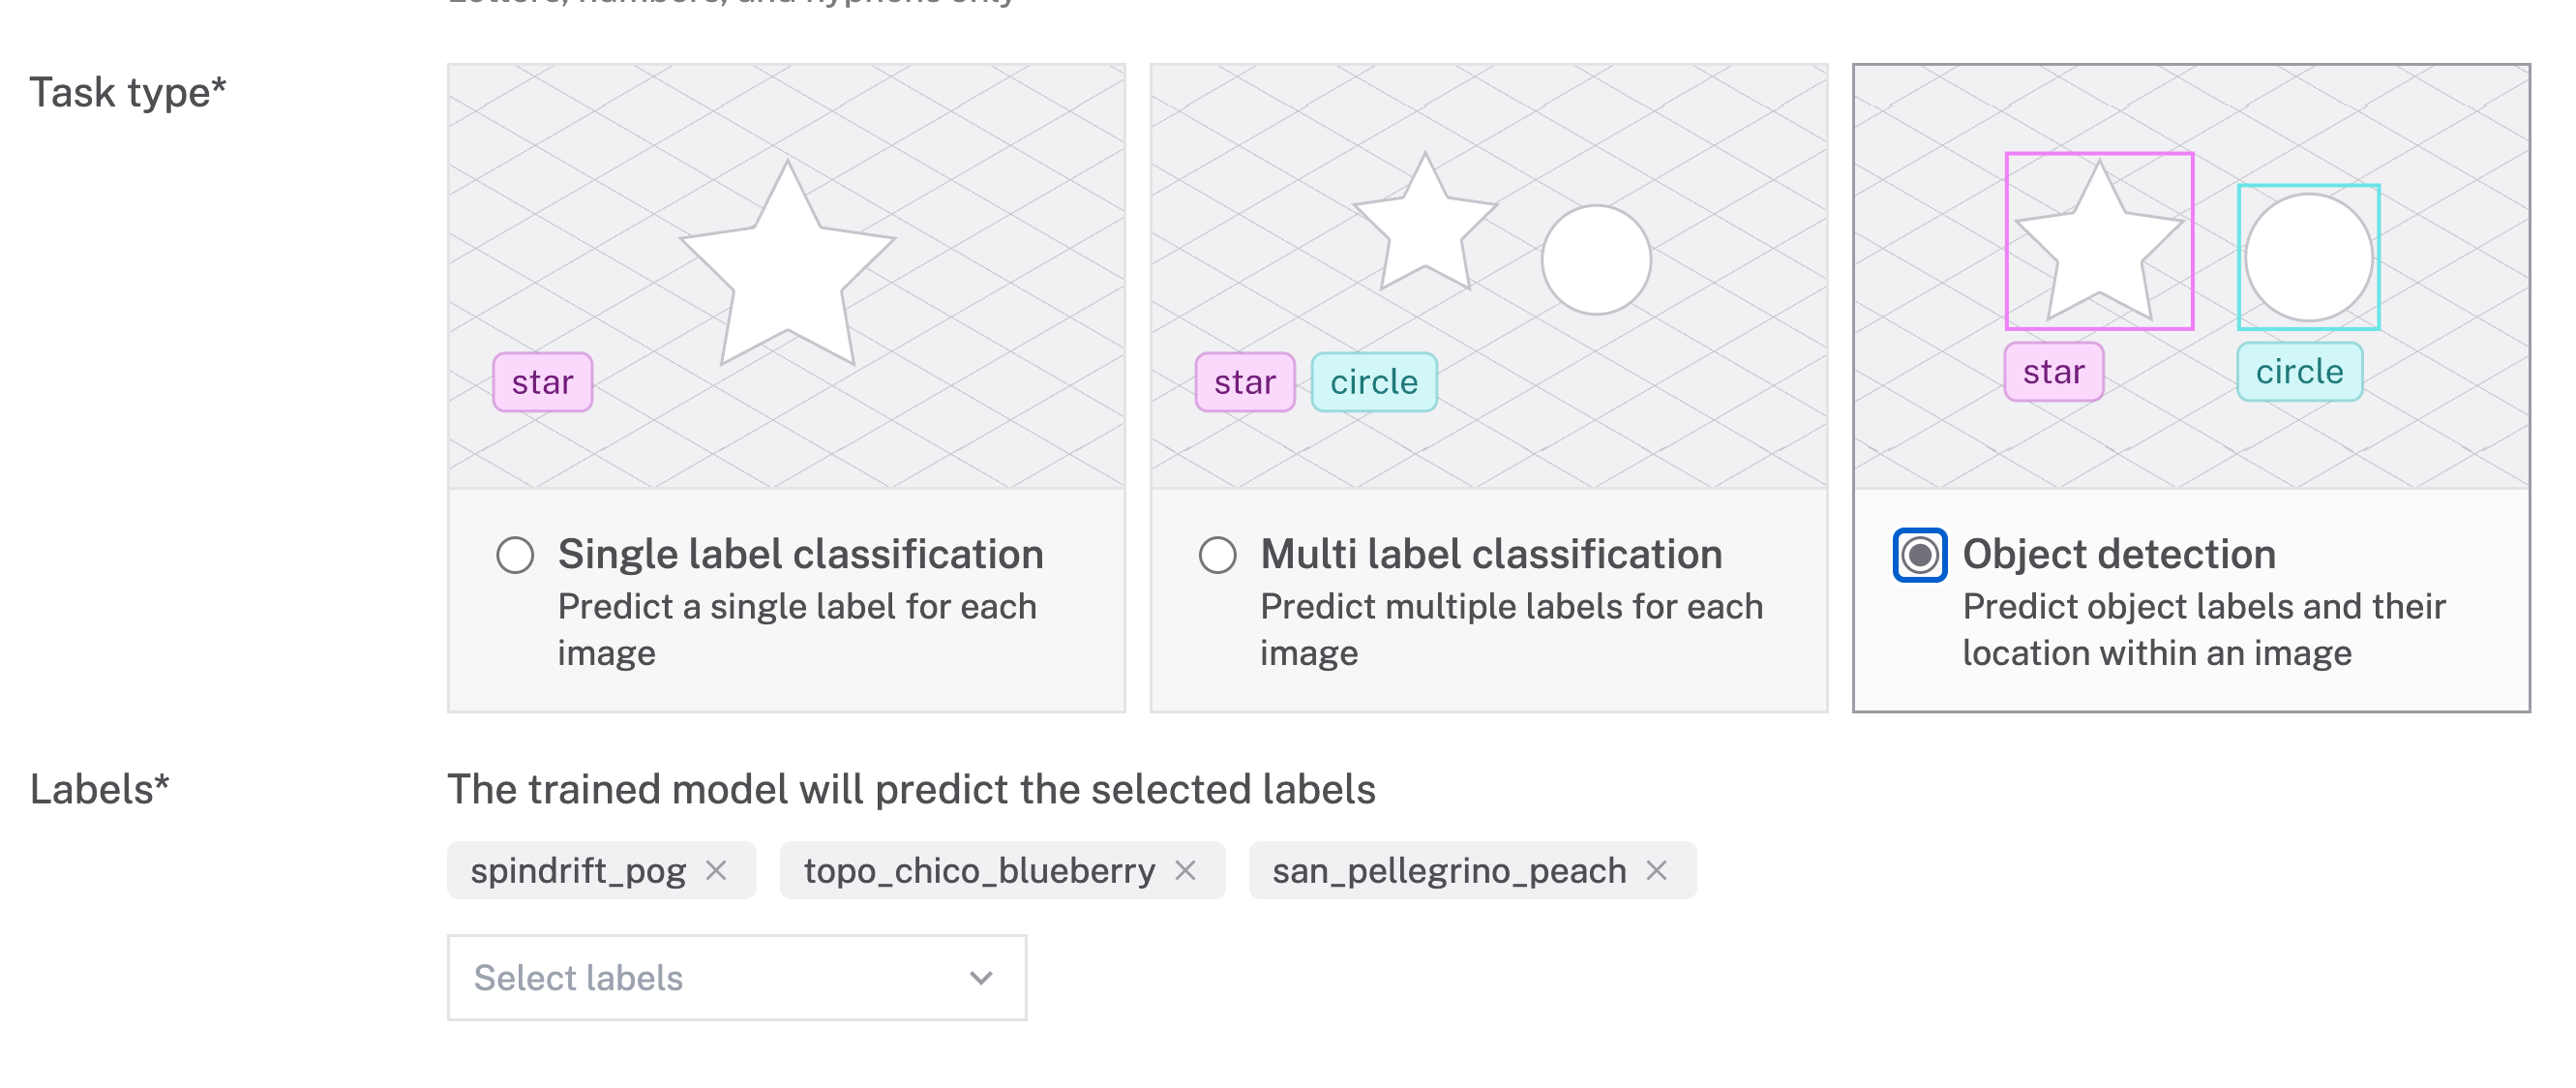
- Click Train model. This will kick off the training job for your custom model.

- If you click on the ID of your training job, you can view more details on the job's overview. You can view any relevant logs while the job runs.
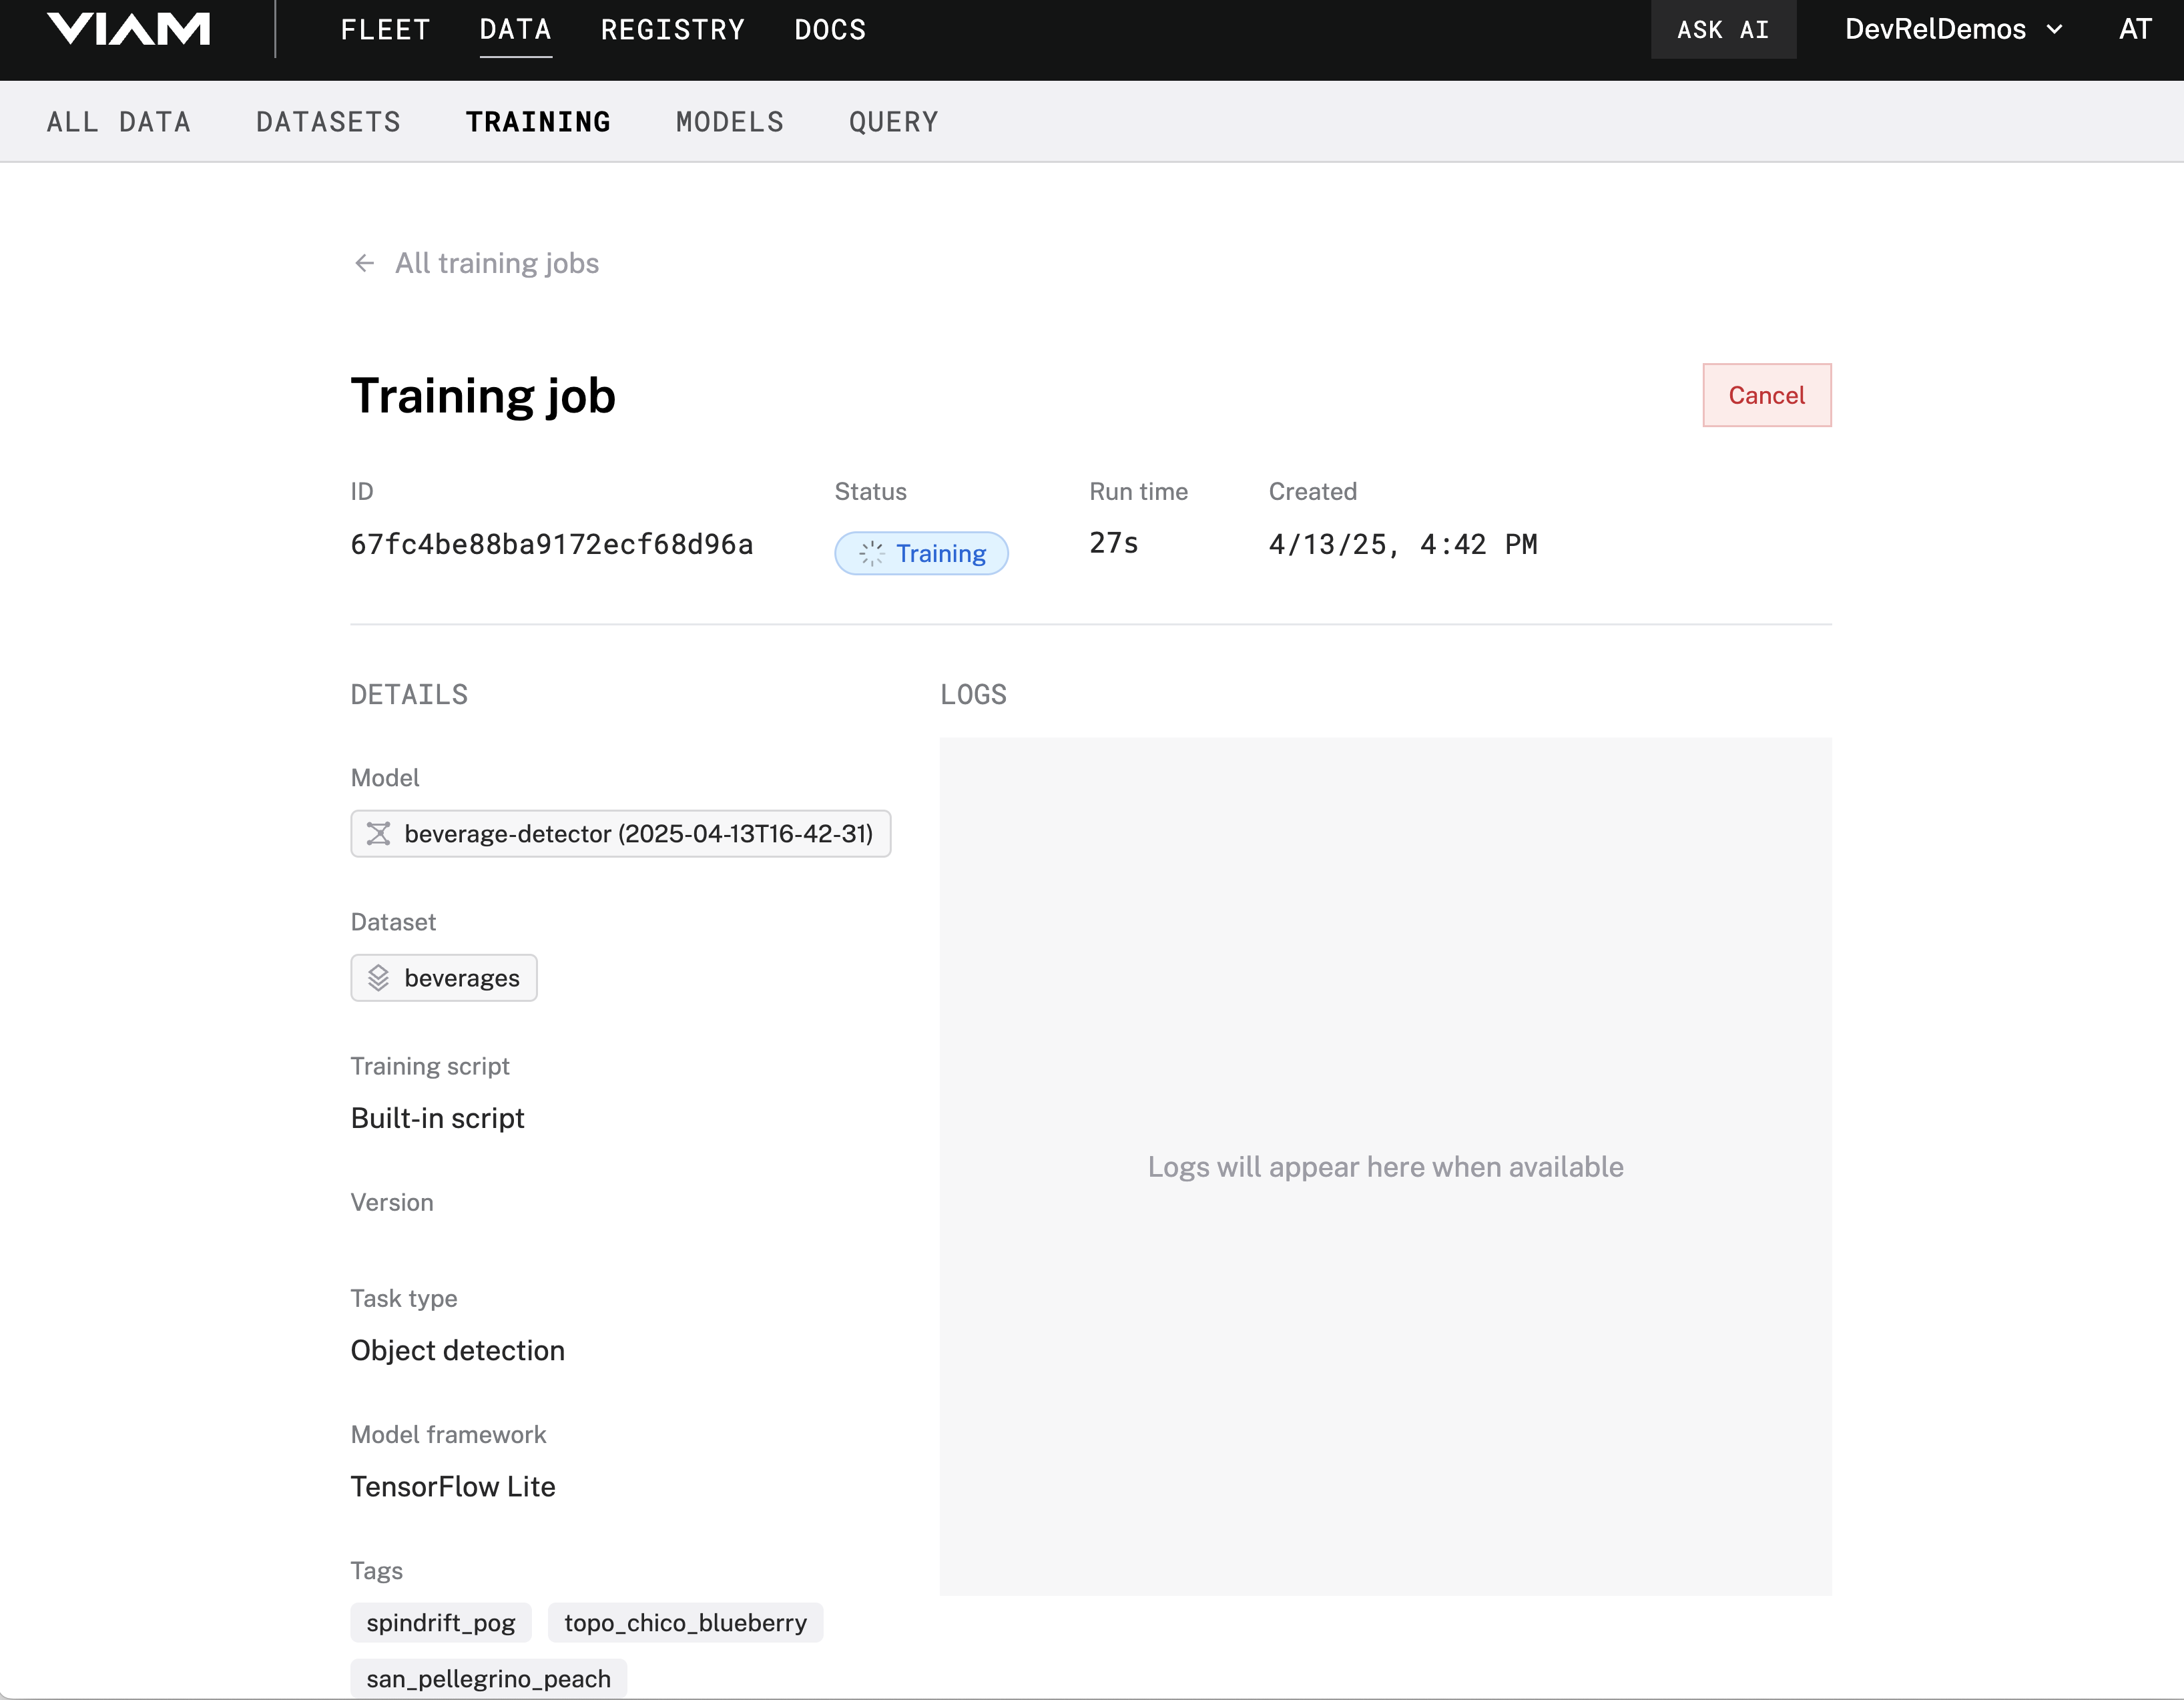
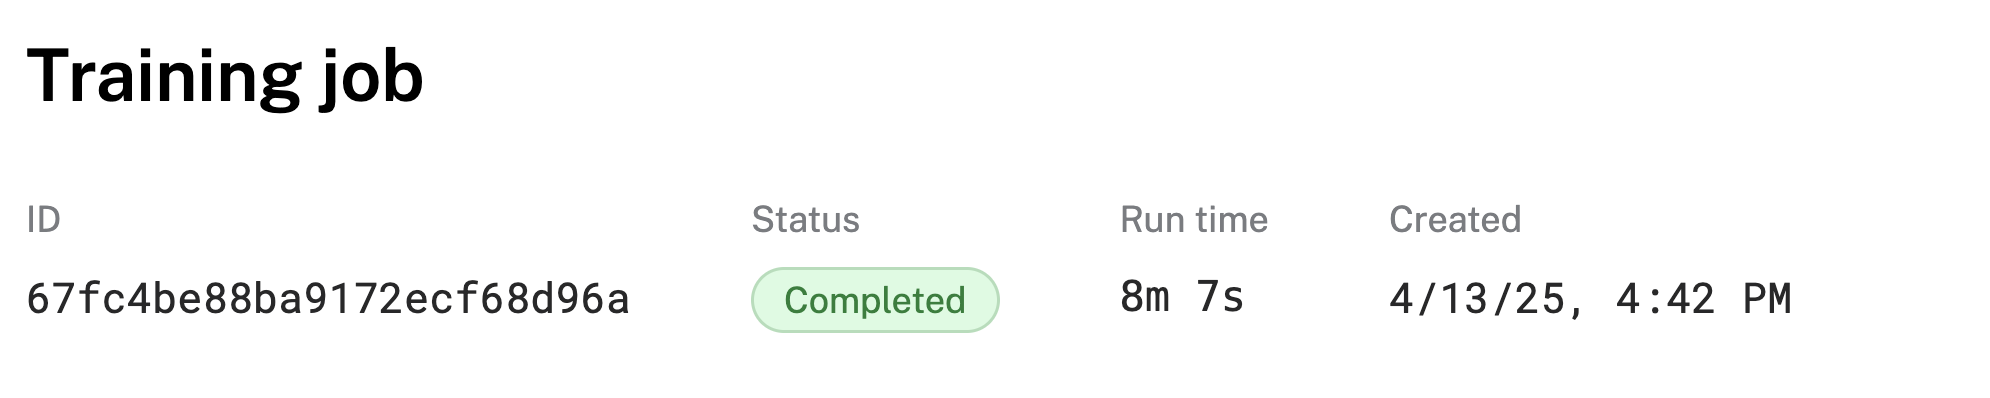
- Wait until your training job is complete. It may take up to 15 minutes, so feel free to open up one of your beverages! Once it is finished, you'll see the status of your job change to Completed
Well done, you've just created your own custom model tailored to your favorite drinks! Let's add it to our machine.
- In the Viam app, find the CONFIGURE tab.
- Click the + icon in the left-hand menu and select Service.
- Select
ML model, and find theTFLite CPUmodule. Click Add module. Leave the default namemlmodel-1for now, then click Create. This adds support for running TensorFlow Lite models on resource-constrained devices.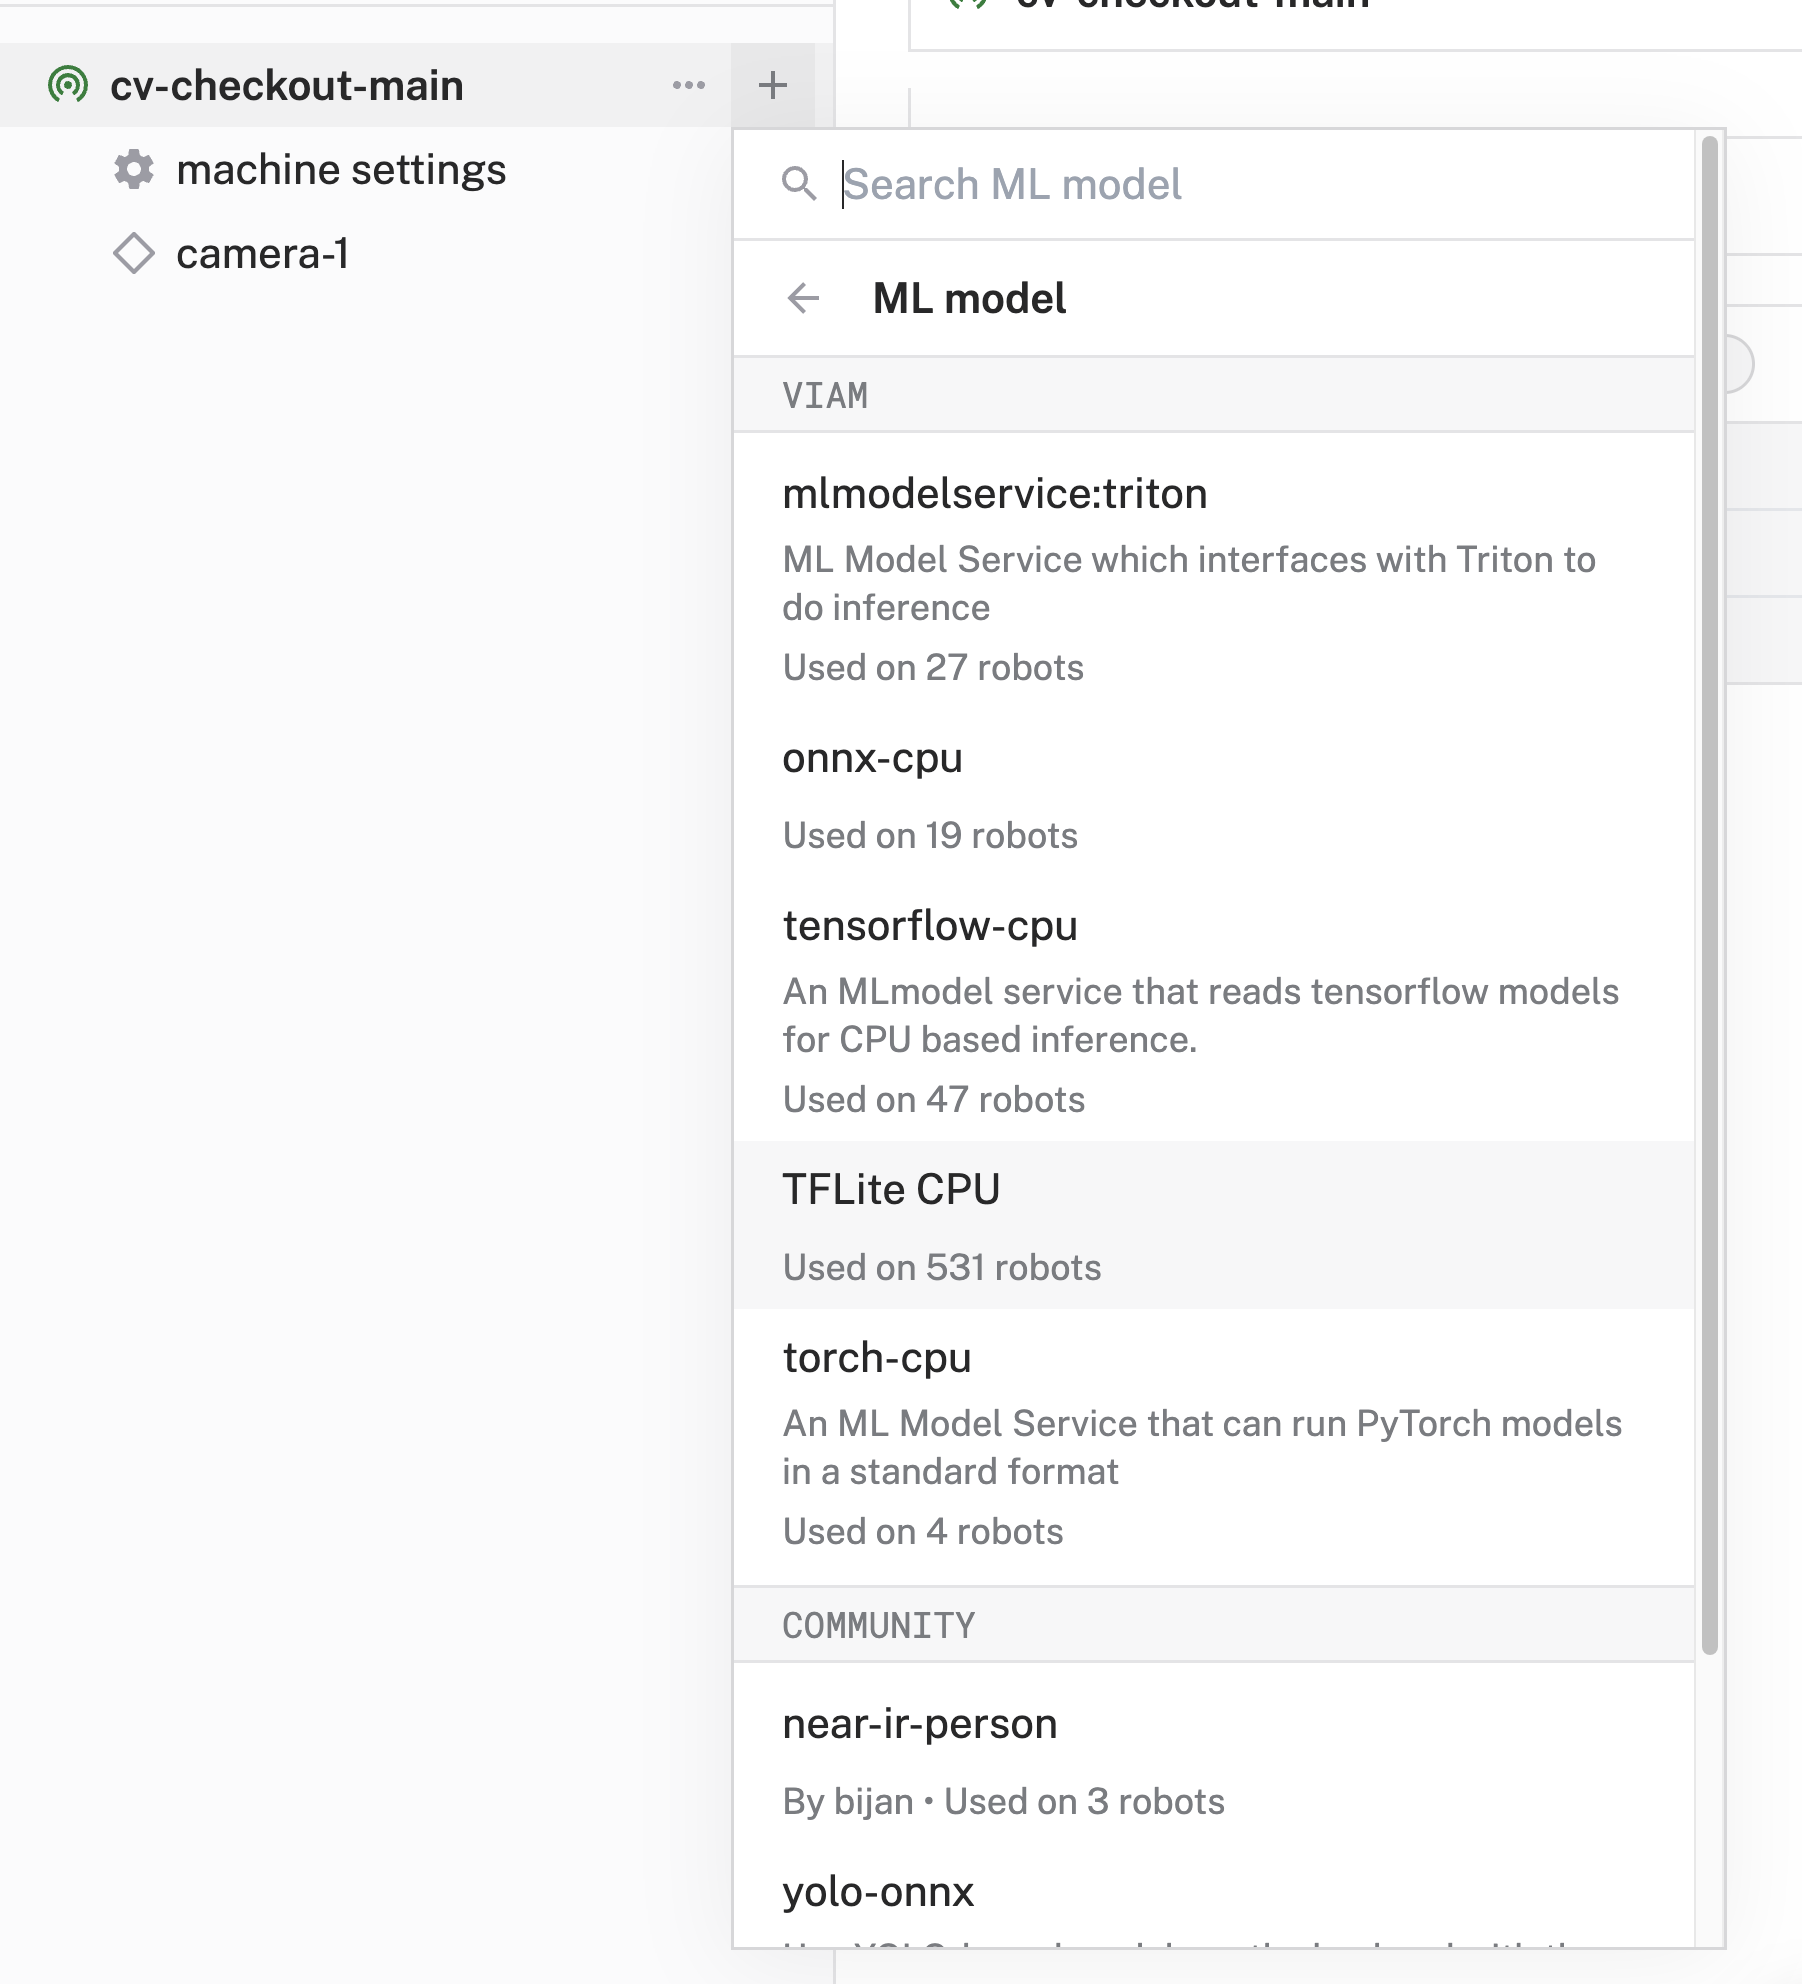
- Notice adding this module adds the ML Model service called
mlmodel-1and thetflite_cpumodule from the Viam registry. You'll see configurable cards on the right and the corresponding parts listed in the left sidebar.
- In the Configure panel of the
mlmodel-1service, leave the default deployment selection of Deploy model on machine. In the Model section, click Select model.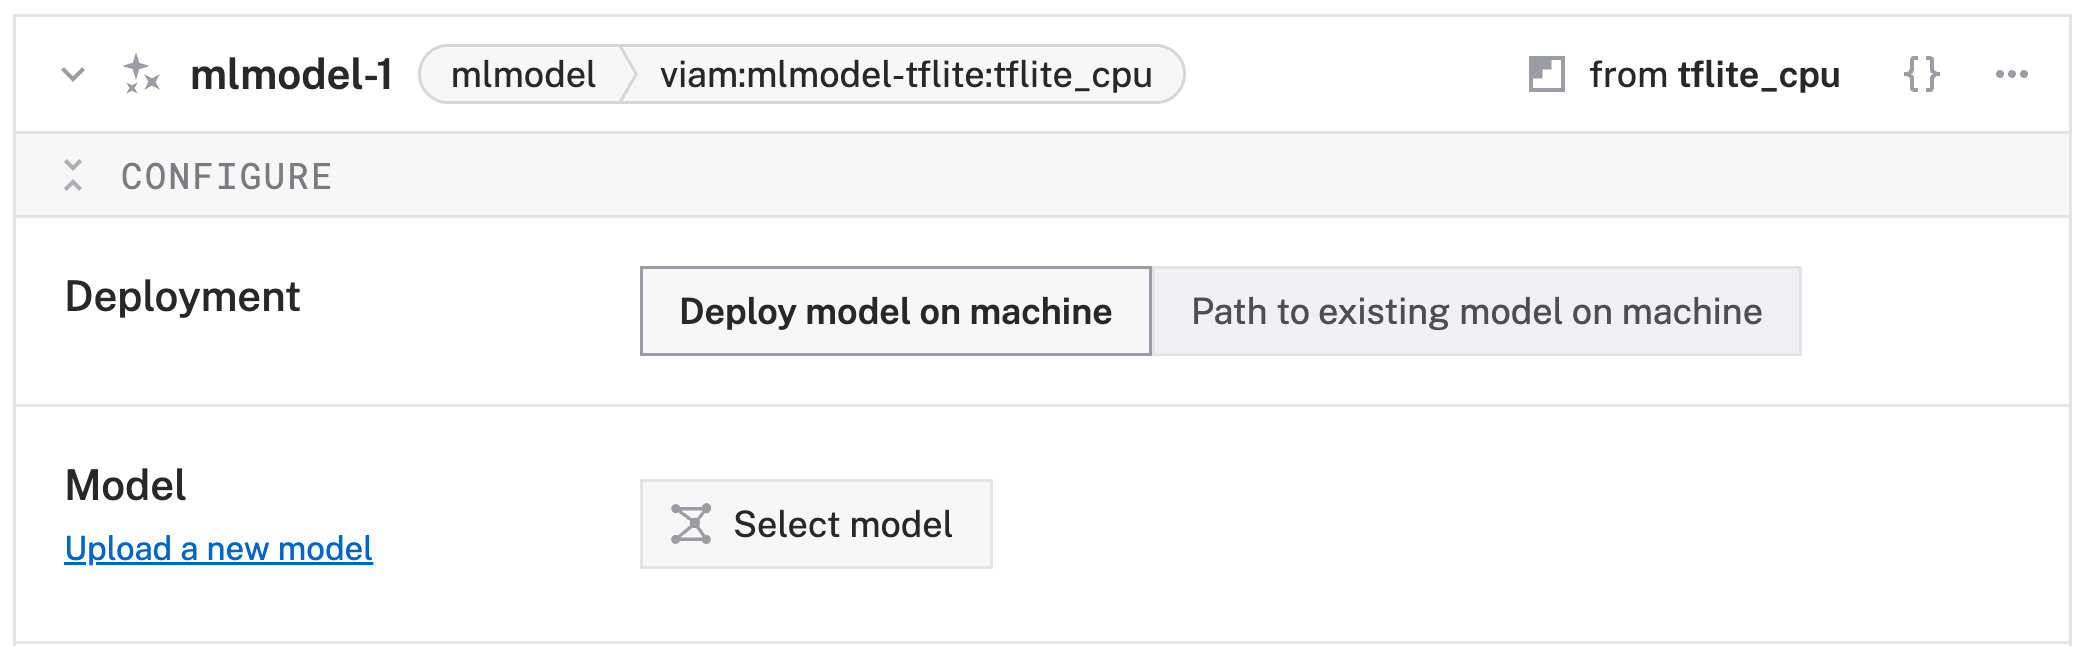
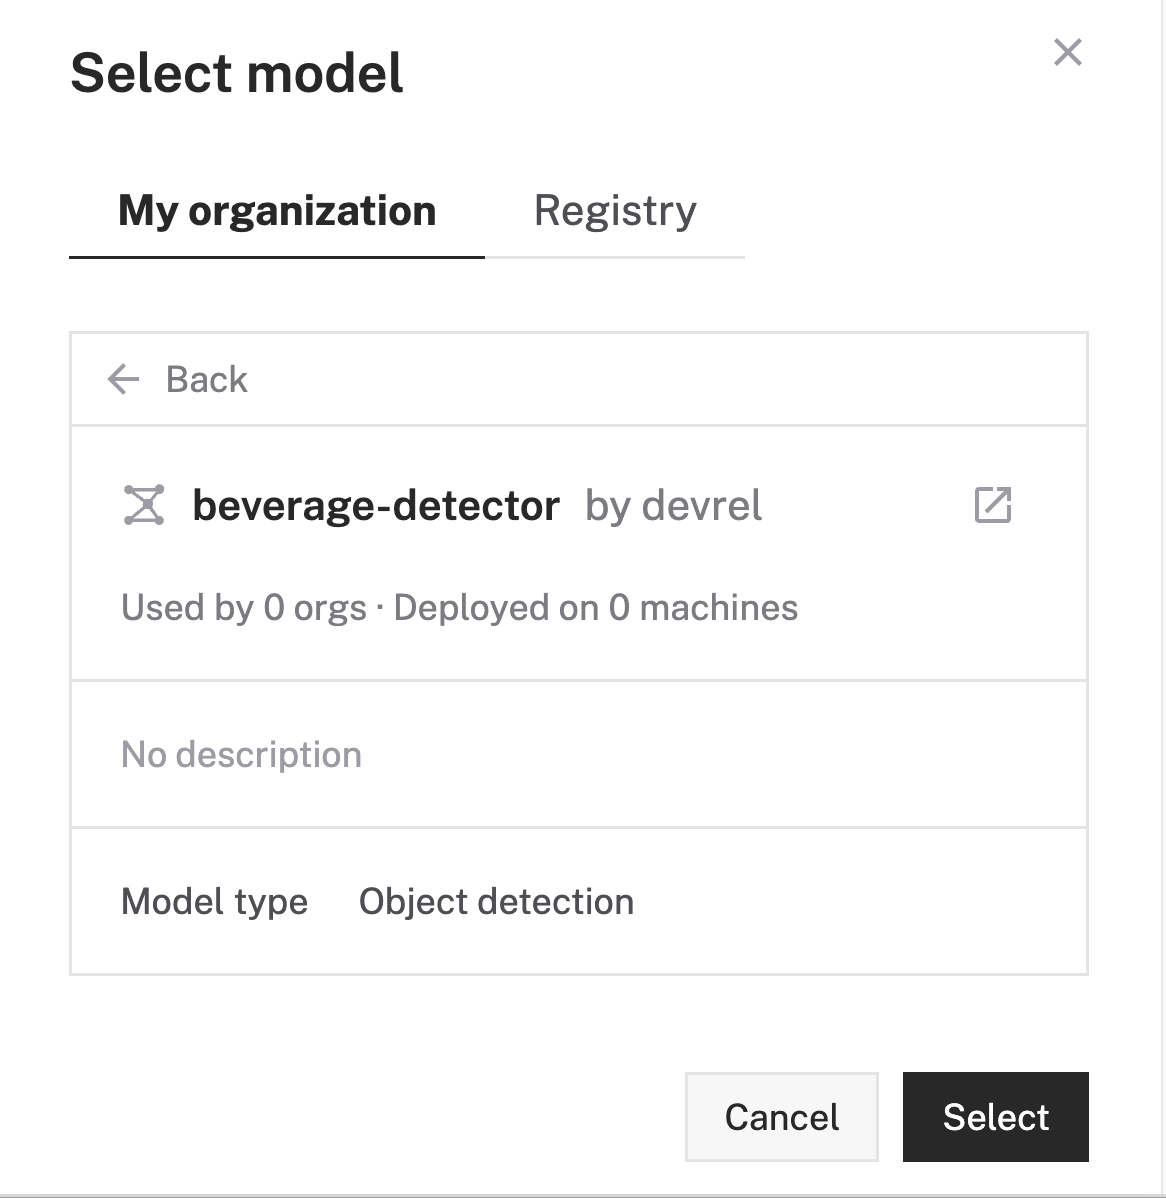
- Find and select the custom model you've just trained, for example
beverage-detector. Notice that you can select from any custom models you create (located within the My Organization tab) or from the Viam registry (located within the Registry tab). Click Select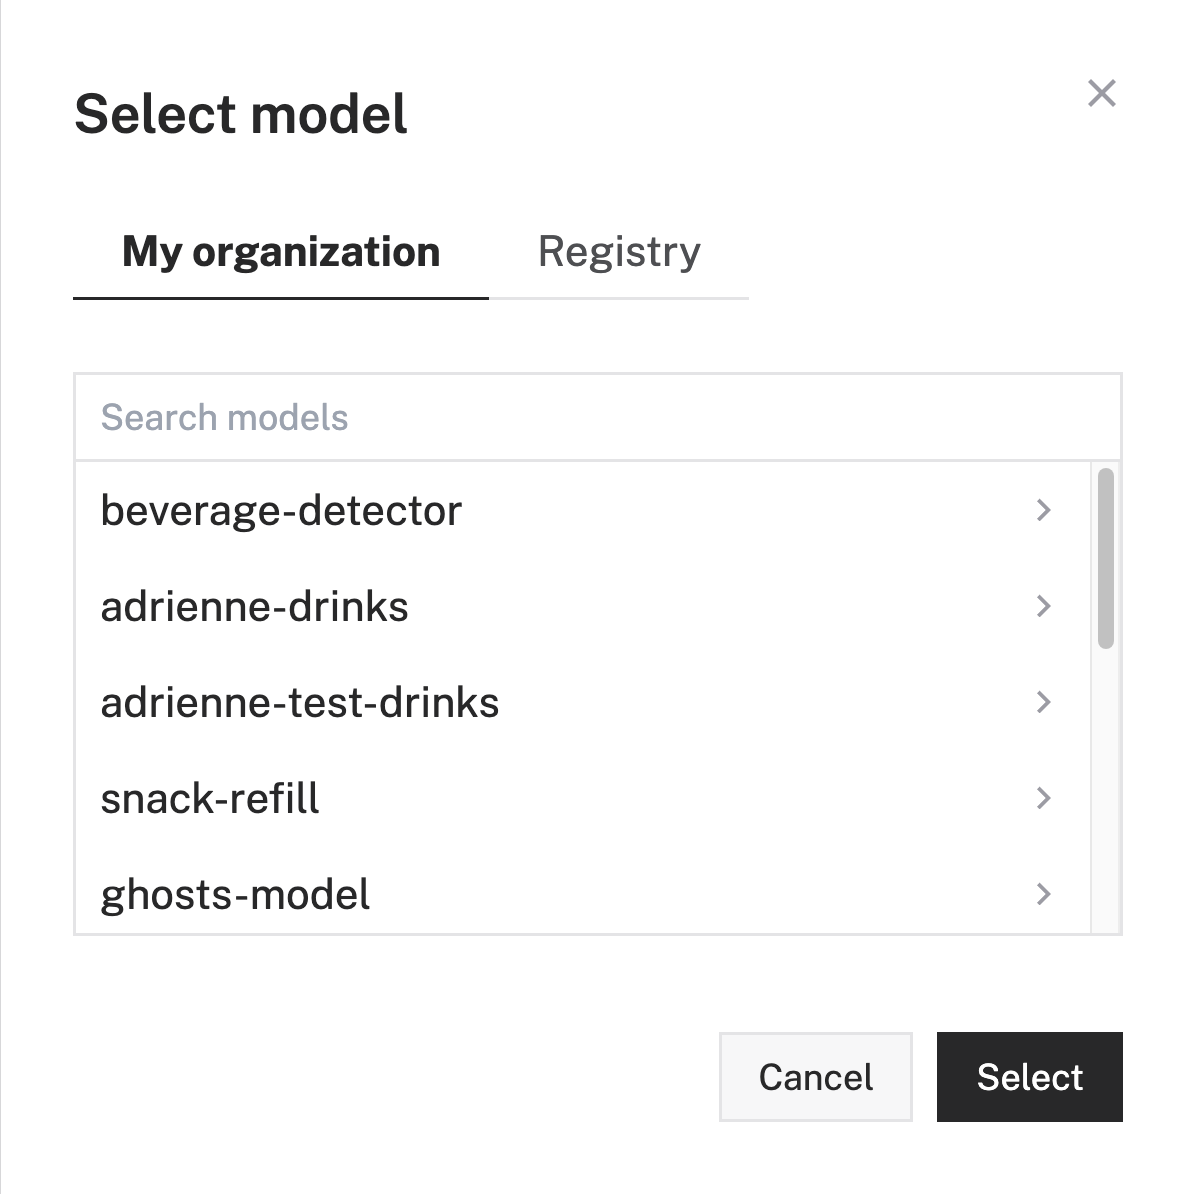
- Confirm that the correct dataset is selected, then click Select
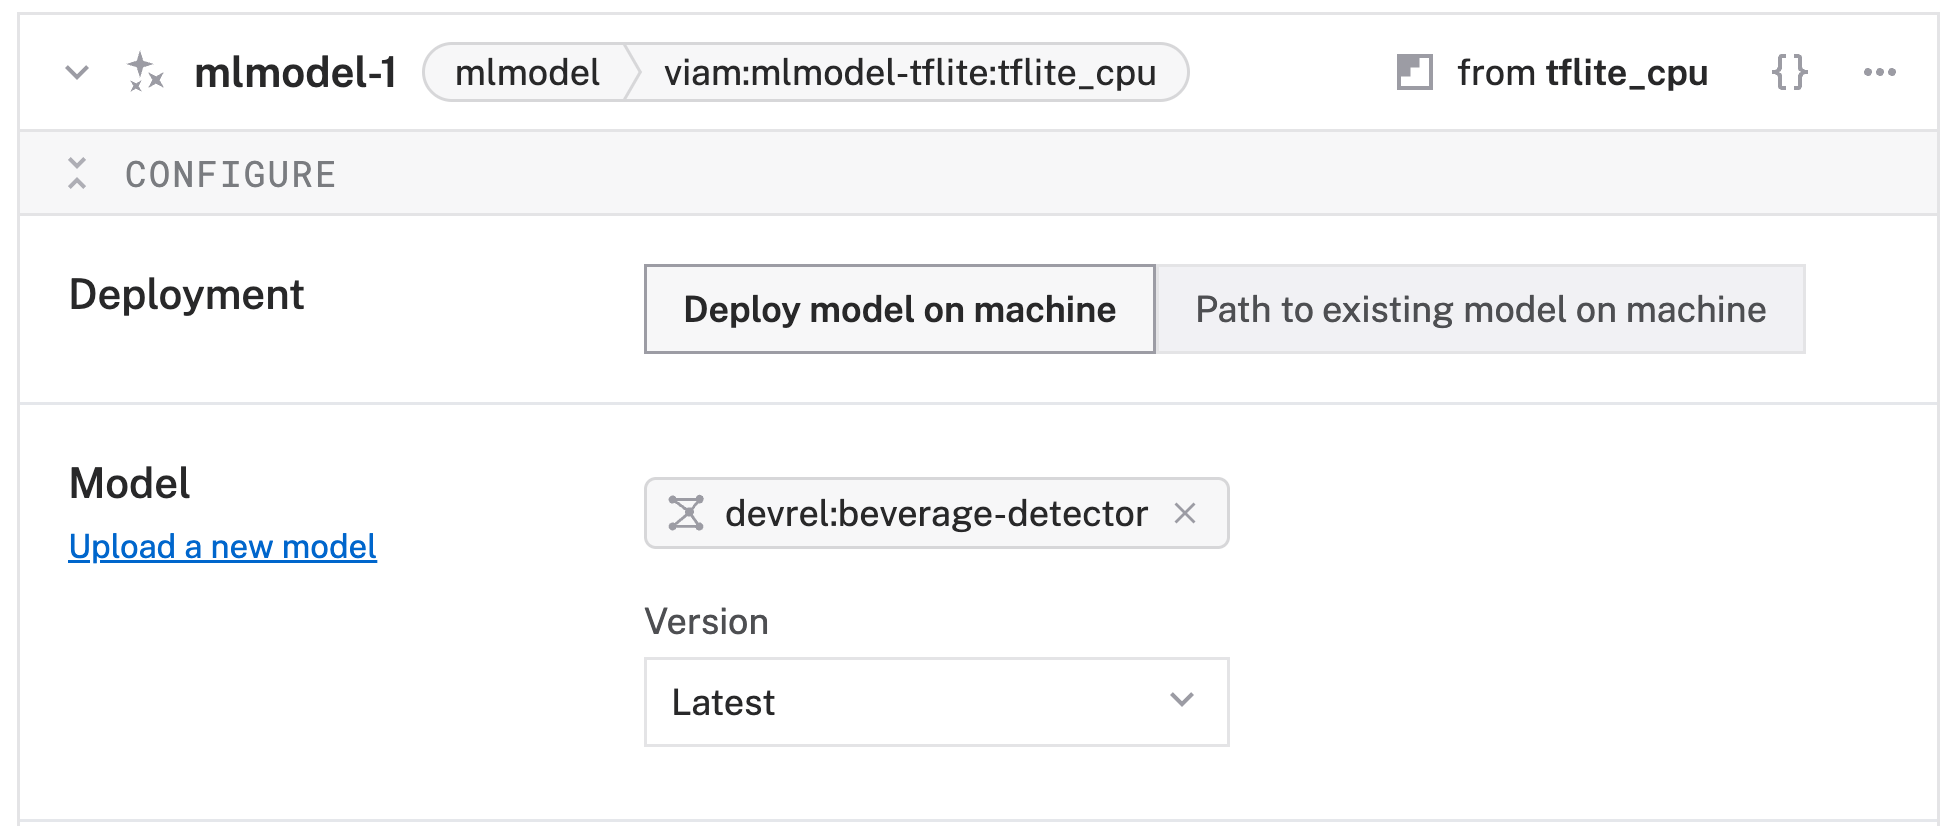
- Click Save in the top right to save and apply your configuration changes.
- Your custom model is now configured and will be used by the ML model service. Notice that a Version option is also configurable. If you decide to train new versions of your beverages model, you have the ability to set specific versions based on your needs.
- In the Viam app, find the CONFIGURE tab.
- Click the + icon in the left-hand menu and select Service.
- Select
vision, and find theML Modelmodule. Give your vision service a more descriptive name, for examplebeverage-vision-service. Click Create. While the camera component lets you access what your machine sees, the vision service interprets the image data.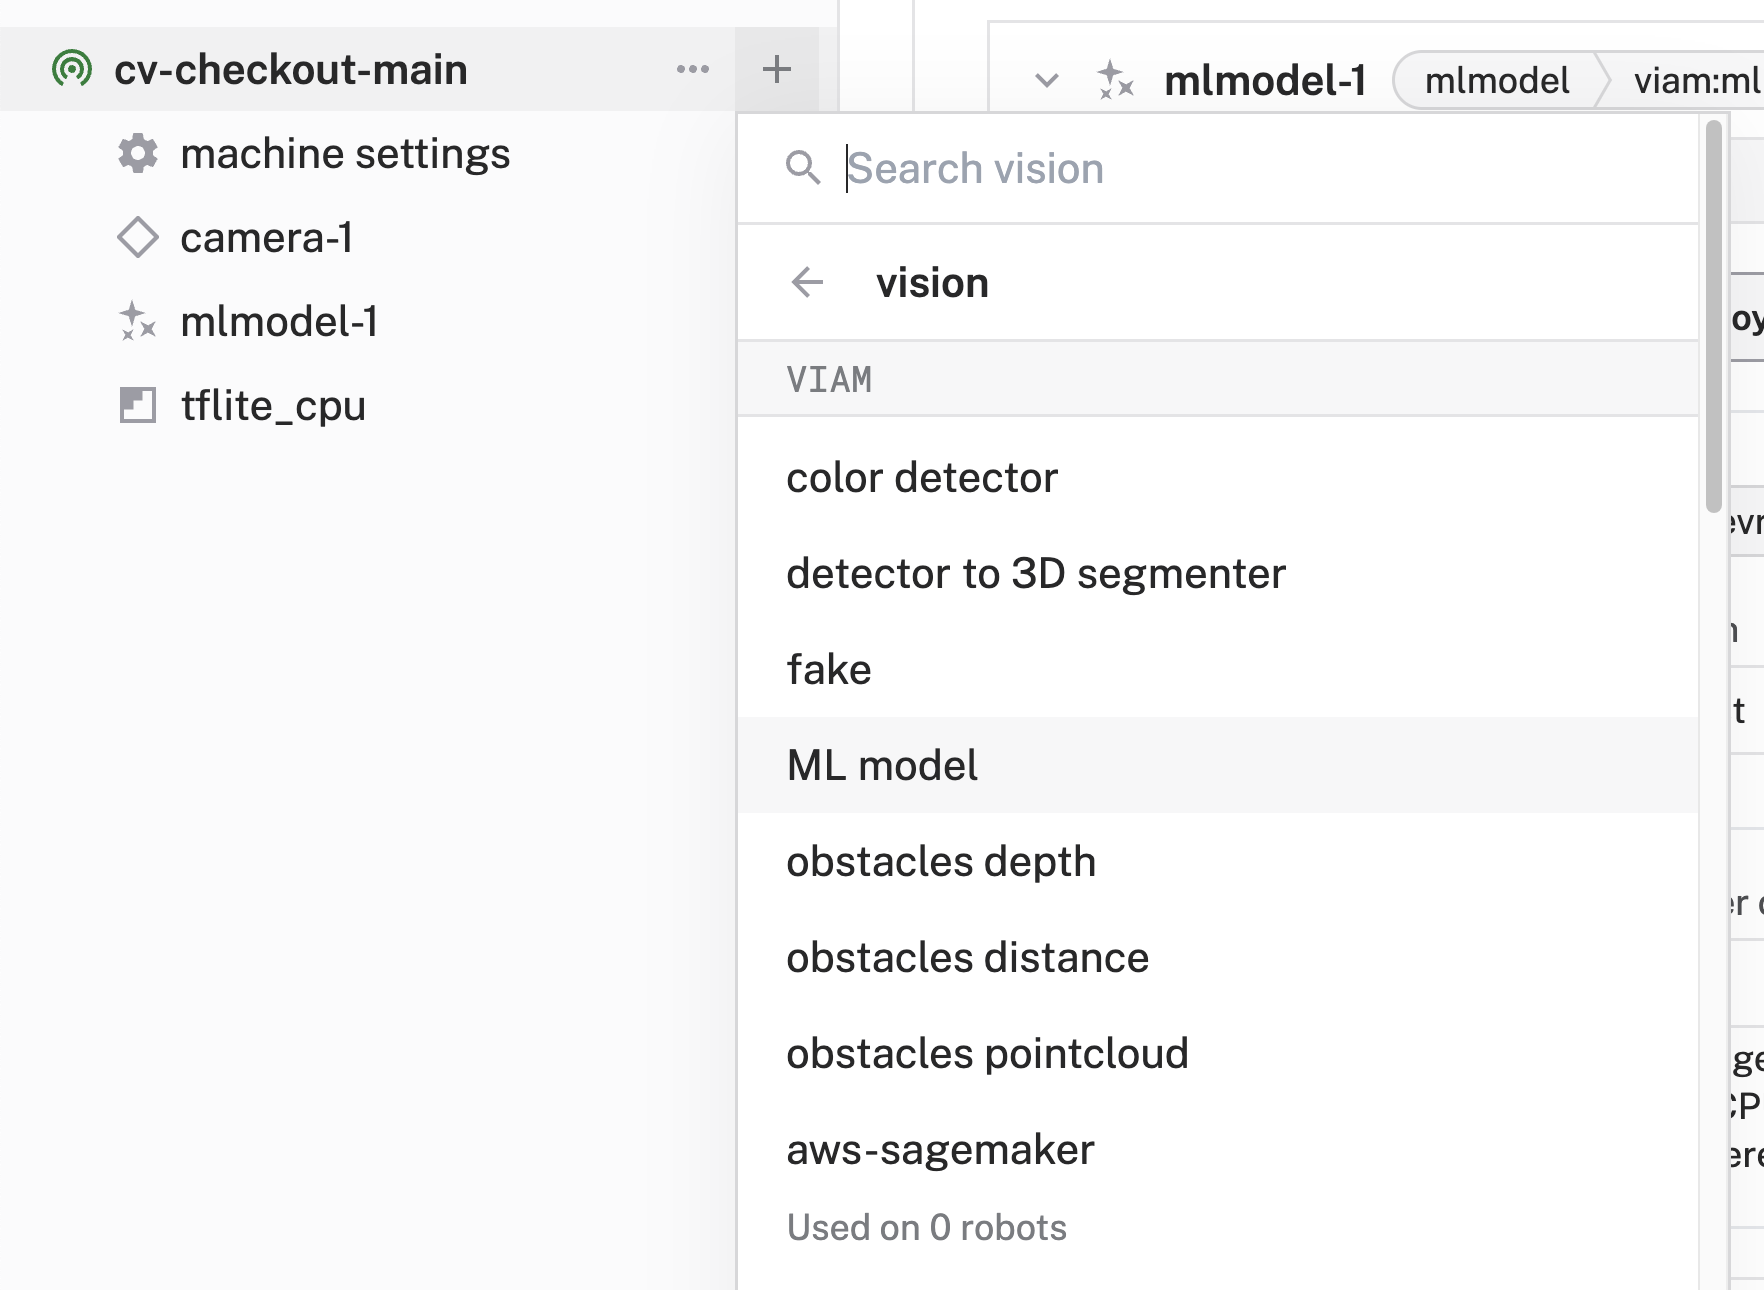
- Notice that your service is now listed in the left sidebar and a corresponding configuration card is added on the right.
- In the Configure panel of your vision service, set the ML Model to your ML Model service, for example
mlmodel-1
- Move the Minimum confidence threshold slider to
0.5. This sets the vision service to only show results where its beverage detection confidence level is at least 50% or higher.
- Find and select your camera component in the Depends on section, for example
camera-1.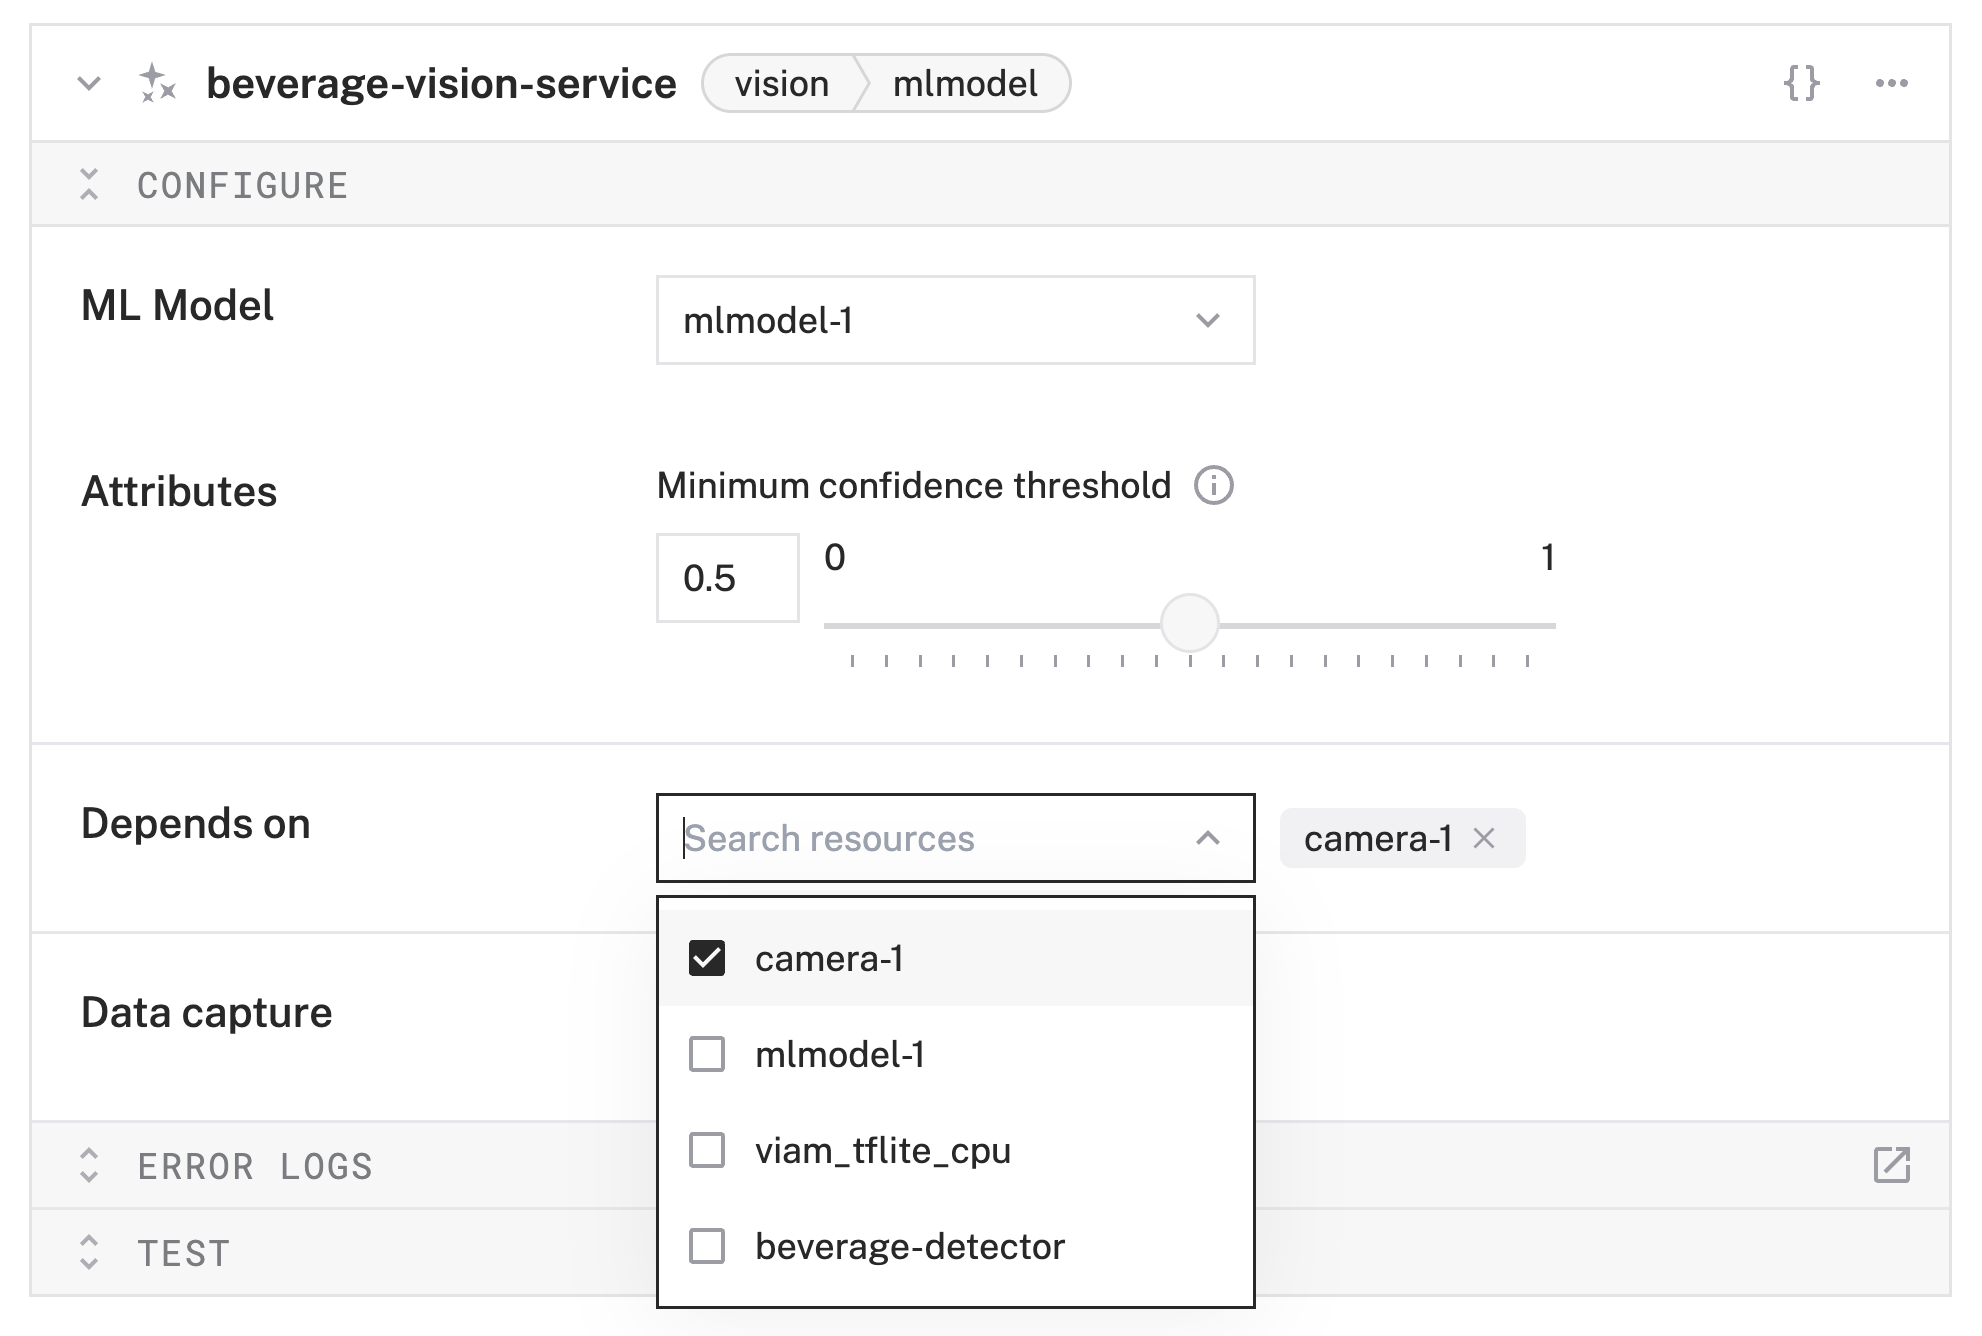
- Click Save in the top right to save and apply your configuration changes. This might take a few moments.
- Expand the TEST panel of your vision service. You'll see a live feed of your configured webcam and a section Labels. Test out your CV-powered checkout! Try showing your beverages to your webcam. When detected, an item will appear with the object the vision service thinks it is seeing and its confidence level. You can also try showing multiple beverages and see how well your model detects them!
Congratulations! You've just built a working beverage detector using a custom model trained on your favorite beverages! Let's integrate our vision service into a simple kiosk web app next.
Review the web app code
We can easily integrate the output of our vision service into a web app. In this codelab, we'll walk through the source code of a kiosk built with Viam's TypeScript SDK. In it, we implemented a simple kiosk that shows our camera feed and detections (including bounding boxes and labels!), the beverage detected, and a price. This app can be deployed to any static hosting provider, run locally on your laptop, or packaged as a module to be deployed to your machine running viam-server.
src/main.ts
Let's break down the highlights of the src/main.ts file to see how this app works.
To get the necessary credentials to connect to viam-server, we grab them from a .env file.
const MACHINE_ADDRESS = import.meta.env.VITE_MACHINE_ADDRESS;
const API_KEY = import.meta.env.VITE_API_KEY;
const API_KEY_ID = import.meta.env.VITE_API_KEY_ID;
We initialize a kiosk view canvas where we'll output the vision service's image and detections.
// Sets up the kiosk view by creating a single, reusable canvas. Call on startup.
function initializeKioskView() {
  const imageContainer = document.getElementById('kioskView');
  if (imageContainer) {
    // Create the canvas element
    kioskCanvas = document.createElement('canvas');

    // Get the context for drawing
    kioskCtx = kioskCanvas.getContext('2d');

    // Append the canvas to the container. This is the LAST time
    // we will manipulate the DOM for the canvas.
    imageContainer.innerHTML = ''; // Clear any placeholders
    imageContainer.appendChild(kioskCanvas);
  } else {
    console.error("Kiosk container 'kioskView' not found!");
  }
}
For now, our data store is a simple object. It uses the labels from our custom model as the keys and returns an object of the beverage name and price we want to display as the values.
// For demo purposes only. This would be replaced with a call to your data source.
// Alternatively, if you'd also like to use as-is for a demo with your own custom model and labels,
// you can replace the products object below with your own labels and corresponding data you want returned.
function translateBeverageInfo(label: any) {
  const products = {
    "spindrift_pog": {item: "Spindrift Pog Sparkling Water", price: "1.50"},
    "bottle_coke": {item: "Bottle Coke", price: "2.50"},
    "topo_chico_blueberry":  {item: "Topo Chico Blueberry Sparking Water", price: "1.50"},
    "bottle_fanta_orange": {item: "Bottle Fanta Orange", price: "2.50"},
    "bottle_topo_chico": {item: "Bottle Topo Chico", price: "2.75"},
  };

  return products[label];
}
Here is the main function that renders the vision service data into the kiosk format we've structured. It first checks for the initialized canvas element then clears any existing drawing before creating a new drawing. This drawing renders the image from the vision service and draws the bounding box for any detections within the image. Finally, the name and price of the beverage are also rendered.
async function renderDetectedBeverage(visionServiceData: any) {
  // Use the globally available context and canvas.
  // If they don't exist, we can't draw, so we exit early.
  if (!kioskCanvas || !kioskCtx) {
    console.error("Kiosk canvas is not initialized.");
    return;
  }

  // Reference kioskCtx for all drawing operations.
  const ctx = kioskCtx;

  if (visionServiceData.image) {
    // Create image element to load the base64 data
    const img = new Image();
    const base64string = await convertToBase64String(visionServiceData.image.image);

    img.onload =  () => {
      // Set canvas dimensions to match new image from stream
      if (kioskCanvas) {
        kioskCanvas.width = img.width;
        kioskCanvas.height = img.height;

        // Clear old drawing
        ctx.clearRect(0, 0, kioskCanvas.width, kioskCanvas.height);
      }

      // Draw the original image
      ctx.drawImage(img, 0, 0);

      // Draw bounding boxes and labels for each detection
      visionServiceData.detections.forEach((detection) => {
        // Convert coordinates to numbers explicitly
        const xMin = Number(detection.xMin || 0);
        const yMin = Number(detection.yMin || 0);
        const xMax = Number(detection.xMax || 0);
        const yMax = Number(detection.yMax || 0);
        const width = xMax - xMin;
        const height = yMax - yMin;

        // Draw bounding box
        ctx.strokeStyle = '#0000EA'; // Viam blue accent
        ctx.lineWidth = 2;
        ctx.strokeRect(xMin, yMin, width, height);

        // Draw label background
        const label = `${detection.className} (${(detection.confidence * 100).toFixed(1)}%)`;
        ctx.font = '16px Arial';
        const textMetrics = ctx.measureText(label);
        const textHeight = 20;

        ctx.fillStyle = 'rgb(0, 0, 234)';
        ctx.fillRect(xMin, yMin - textHeight, textMetrics.width + 8, textHeight);

        // Draw label text
        ctx.fillStyle = '#000000';
        ctx.fillText(label, xMin + 4, yMin - 4);

        // Render item name and price
        const beverage = translateBeverageInfo(detection.className);
        const beverageName = document.getElementById('beverageLabel');

        if (beverageName) {
          beverageName.innerText = beverage?.item || 'Unknown';
        }

        const beveragePrice = document.getElementById('priceLabel');
        if (beveragePrice) {
          beveragePrice.innerText = beverage?.price || 'Unknown';
        }
      });
    };

    img.src = `data:image/jpeg;base64,${base64string}`;
  }
}
Finally, we have our main function. Here, we instantiate our connection to our machine in Viam, set up our canvas and vision service dependency, and start the loop that continuously polls for data from our vision service. This polling allows us to render a near real-time feed from our camera. If there is something detected, we call our renderDetectedBeverage() method.
const main = async () => {
  const host = MACHINE_ADDRESS;

  const machine = await VIAM.createRobotClient({
    host,
    credentials: {
      type: "api-key",
      payload: API_KEY,
      authEntity: API_KEY_ID,
    },
    signalingAddress: "https://app.viam.com:443",
  });

  initializeKioskView();

  const vision = new VIAM.VisionClient(machine, 'beverage-vision-service');

  // To get a "stream" of sorts, need to continuously poll for frames from vision service.
  while (true) {
    try {
      const visionServiceData = await getEverythingFromVisionService(vision);
      console.log(visionServiceData)

      await renderDetectedBeverage(visionServiceData);

    } catch (error) {
      console.error('Vision stream error:', error);
    }

    // Artificial delay, used to still get somewhat "real-time" feed of vision service
    // while balancing number of calls being made to grab new vision service data.
    await new Promise<void>((resolve) => setTimeout(() => resolve(), 200));
  }
};

main();
index.html
The structure of our kiosk app is straightforward and is contained within the sole Once you have built your interface and have configured your Viam machine to use it, you'll have fully CV-powered checkout kiosk! If you followed along with our demo app, the kiosk will look like this: Congratulations! You've just built a computer vision-powered checkout! 🥳 Using your own images, favorite drinks, and the built-in TensorFlow Lite framework, you've created a custom model to detect the beverages that make you smile and can be deployed anywhere. And through Viam's modular platform, you combined your custom model with a vision service to enable a CV-powered checkout! Lastly, you used Viam's TypeScript SDK to create a kiosk interface that outputs your vision service's detections and added a clear beverage name and price label. Do let me know if you've built this! This project is a great way to learn about combining different components to produce something useful; it has practical applications as well: Specifically for beverages, some real-world use cases can include: Right now, you can detect your favorite drinks using your custom model. But there are other things you can do! As an example, you could:index.html file. A <!doctype html>
<html>
<head>
<title>CV Checkout</title>
<link rel="icon" href="favicon.ico" />
<link rel="preconnect" href="https://fonts.googleapis.com">
<link rel="preconnect" href="https://fonts.gstatic.com" crossorigin>
<link href="https://fonts.googleapis.com/css2?family=Public+Sans:ital,wght@0,100..900;1,100..900&family=Space+Mono:ital,wght@0,400;0,700;1,400;1,700&display=swap" rel="stylesheet">
<link rel="stylesheet" href="styles.css" />
</head>
<body>
<h1 class="centered">CV Checkout Kiosk Demo</h1>
<div id="main" class="flex-row-center">
<div id="kioskView"></div>
<div id="itemInfo">
<p class="beverage-label">Beverage Detected:</p>
<p id="beverageLabel"></p>
<p class="price-label">Price: $<span id="priceLabel"></span></p>
</div>
</div>
<div class="viam-logo" alt="Viam logo"></div>
<script type="module" src="src/main.ts"></script>
</body>
</html>
What You Learned
Real-world applications for CV-powered checkout
Extend your CV-checkout with Viam
Related Resources