The Raspberry Pi 5 is a very useful and adaptable platform for various embedded and edge computing applications. However, when working with computer vision models, the performance on the single board computer can lack in either accuracy, speed, or both. To address this use case, the Raspberry Pi company released the Raspberry Pi AI Kit and Raspberry Pi AI HAT+ with dedicated neural network accelerators.
This additional hardware enables the Raspberry Pi 5 to run models like YOLO with live camera streams while keeping the computer's compact form factor.
What You'll Build
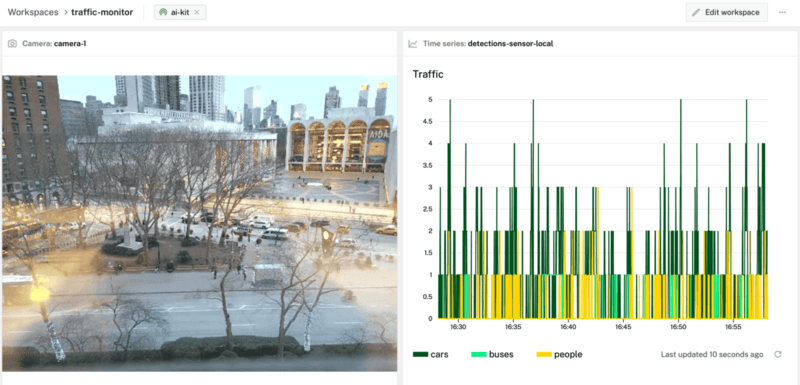
- A live traffic monitoring dashboard
Prerequisites
- A computer with MacOS, Windows, or Linux to flash your Raspberry Pi and configure the device's components using the Viam app
- Hardware and supplies requirements
- 1 - Raspberry Pi 5 w/ active cooler
- 1 - microSD card to use with your Pi
- 1 - power supply for your Pi
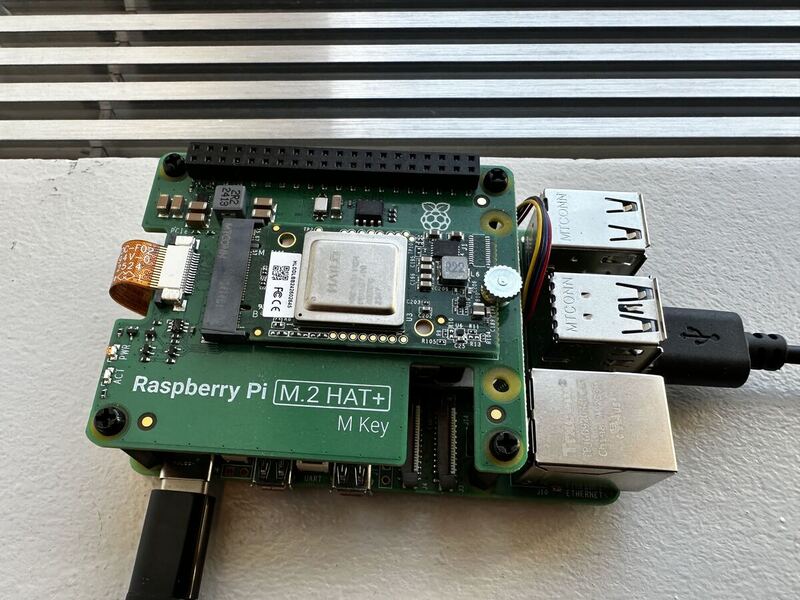
- 1 - Raspberry Pi AI HAT+
- 1 - USB webcam
The active cooler is recommended by Raspberry Pi for the best performance.
The Raspberry Pi AI Kit may still be for sale but it has been replaced by the AI HAT+ going forward, which is why it is recommended here. Either the 13 TOPS or 26 TOPS version will work in this codelab.
Follow the official documentation for instructions about installing the AI HAT+ on the Raspberry Pi 5.
What You'll Need
- All the hardware components listed in prerequisites.
- Sign up for a free Viam account, and then sign in to the Viam app
What You'll Learn
- How to configure and test a device's components using Viam
- How to use modules from the Viam registry
- How to use a vision service for object detection
- How to integrate vision service data into a teleop dashboard
Watch the Video
See a demonstration of the AI HAT+ object detection:
The Raspberry Pi boots from a microSD card. You need to install Raspberry Pi OS on the microSD card that you will use with your Pi. For more details about alternative methods of setting up your Raspberry Pi, refer to the Viam docs.
Install Raspberry Pi OS
- Connect the microSD card to your computer.
- Download the Raspberry Pi Imager and launch it.
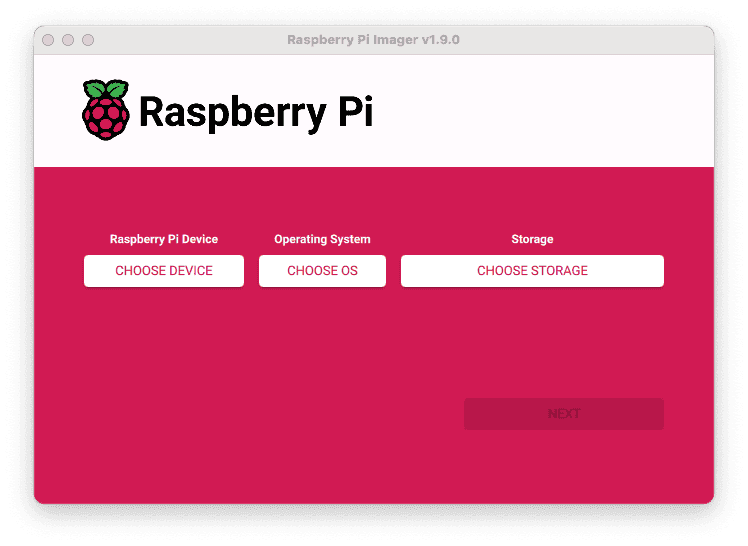
- Click CHOOSE DEVICE. Select your model of Pi, which is Raspberry Pi 5.
- Click CHOOSE OS. Select Raspberry Pi OS (64-bit) from the menu.
- Click CHOOSE STORAGE. From the list of devices, select the microSD card you intend to use in your Raspberry Pi.
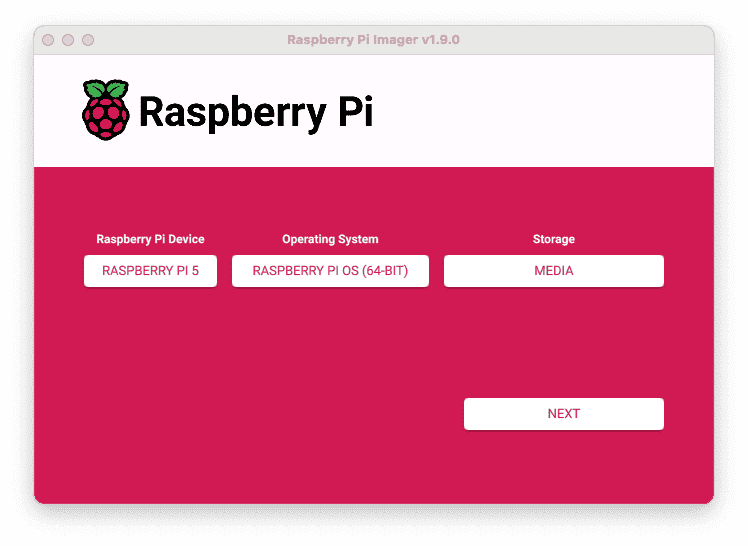
- Configure your Raspberry Pi for remote access. Click Next. When prompted to apply OS customization settings, select EDIT SETTINGS.
- Check Set hostname and enter the name you would like to access the Pi by in that field, for example,
test. - Select the checkbox for Set username and password and set a username (for example, your first name) that you will use to log into the Pi. If you skip this step, the default username will be
pi(not recommended for security reasons). And specify a password. - Connect your Pi to Wi-Fi so that you can run
viam-serverwirelessly. Check Configure wireless LAN and enter your wireless network credentials. SSID (short for Service Set Identifier) is your Wi-Fi network name, and password is the network password. Change the sectionWireless LAN countryto where your router is currently being operated.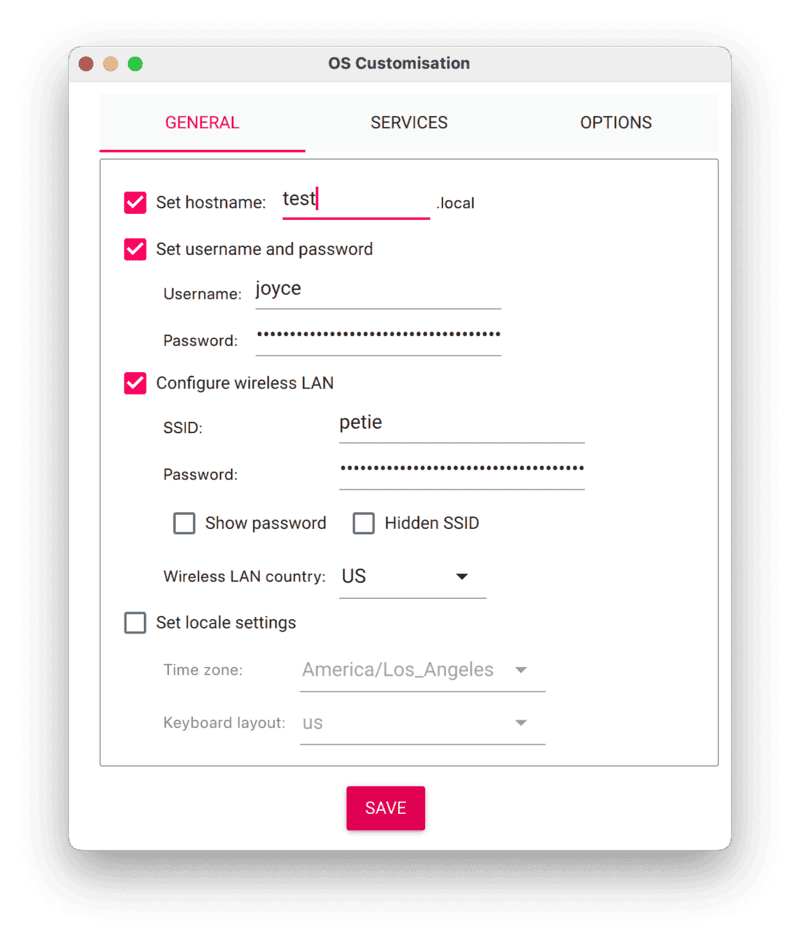
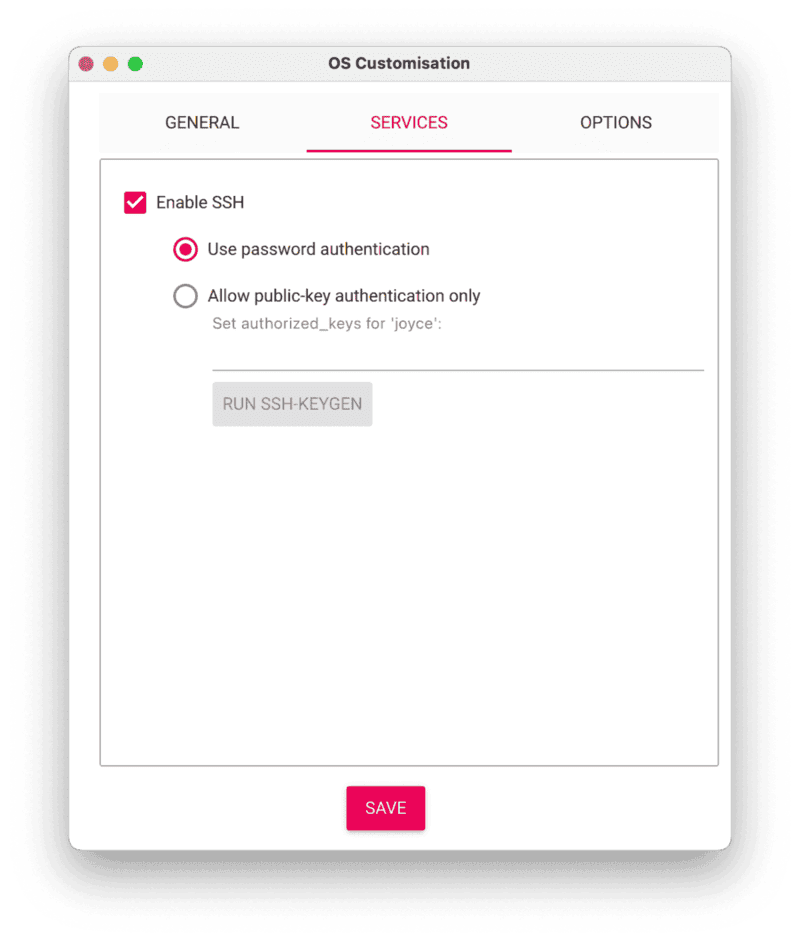
- Select the SERVICES tab, check Enable SSH, and select Use password authentication.
- Save your updates, and confirm
YESto apply OS customization settings. ConfirmYESto erase data on the USB flash drive. You may also be prompted by your operating system to enter an administrator password. After granting permissions to the Imager, it will begin writing and then verifying the Linux installation to the USB flash drive. - Remove the USB flash drive from your computer when the installation is complete.
Connect with SSH
- Place the microSD card into your Raspberry Pi and boot the Pi by plugging it in to an outlet. A red LED will turn on to indicate that the Pi is connected to power.
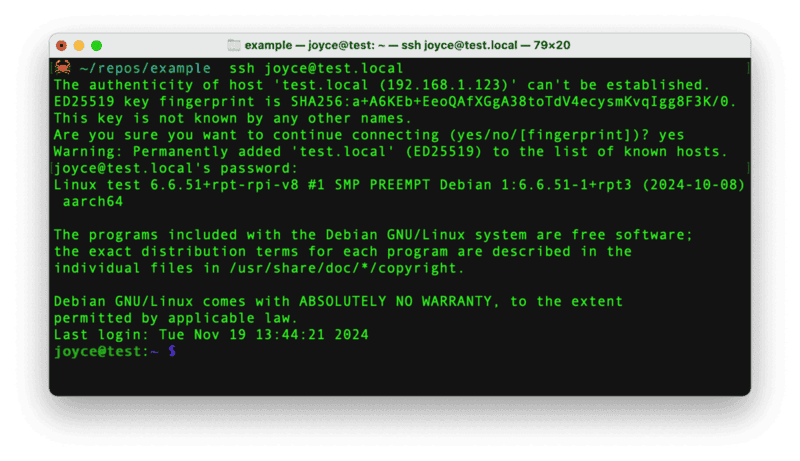
- Once the Pi is started, connect to it with SSH. From a command line terminal window, enter the following command. The text in <> should be replaced (including the < and > symbols themselves) with the user and hostname you configured when you set up your Pi.
ssh <USERNAME>@<HOSTNAME>.local - If you are prompted "Are you sure you want to continue connecting?", type "yes" and hit enter. Then, enter the password for your username. You should be greeted by a login message and a command prompt.
- Update your Raspberry Pi to ensure all the latest packages are installed
sudo apt update
sudo apt upgrade
With the OS installed, it's time to set up the system packages for the AI HAT+.
Connect to the Pi with SSH, if you're not still connected from the previous step.
ssh <USERNAME>@<HOSTNAME>.local
Enable PCIe Gen 3.0 speeds for the best performance
- Open the Raspberry Pi Configuration interface:
sudo raspi-config
- Select
Advanced Options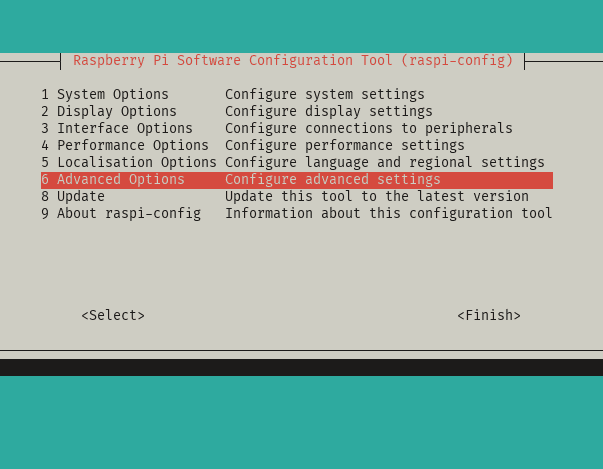
- Select
PCIe Speed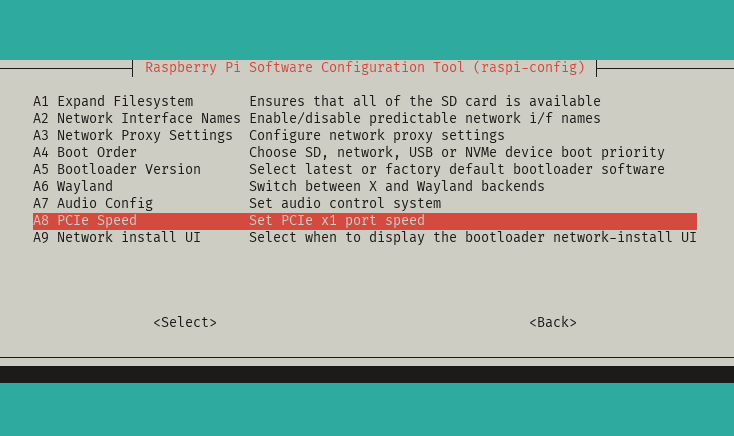
- Choose
Yesto enable PCIe Gen 3 mode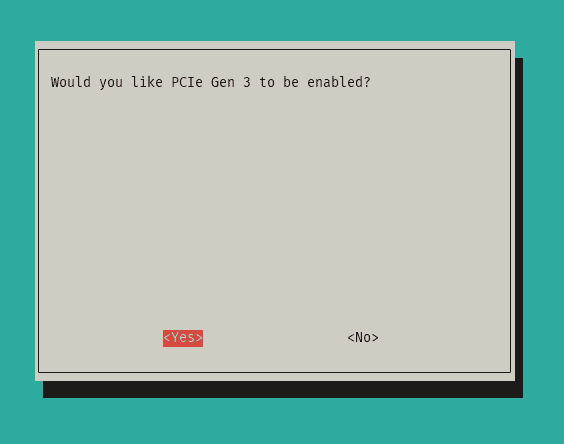
- Select
Finishto exit the configuration interface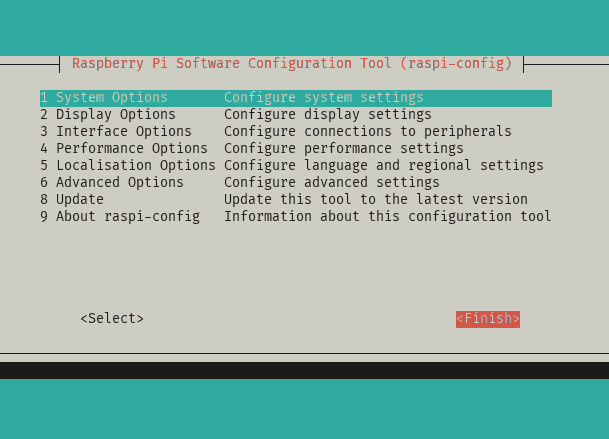
- Reboot the device
sudo reboot
- Reconnect to the Pi with SSH to continue.
Set up system dependencies
- Install the
hailo-allpackage, which contains the firmware, device drivers, and processing libraries for the AI HAT+:sudo apt install -y hailo-all
This may take a few minutes depending on your network speed. - Reboot the device
sudo reboot
- Reconnect to the Pi with SSH
- Verify everything is running correctly:
hailortcli fw-control identify
You should see output similar to the following:
Executing on device: 0000:01:00.0
Identifying board
Control Protocol Version: 2
Firmware Version: 4.17.0 (release,app,extended context switch buffer)
Logger Version: 0
Board Name: Hailo-8
Device Architecture: HAILO8L
Serial Number: HLDDLBB234500054
Part Number: HM21LB1C2LAE
Product Name: HAILO-8L AI ACC M.2 B+M KEY MODULE EXT TMP
Add your webcam
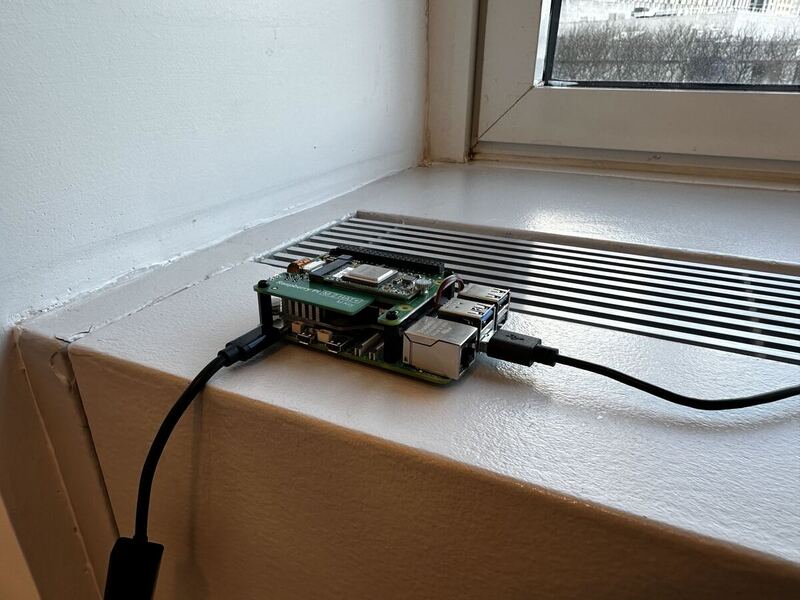
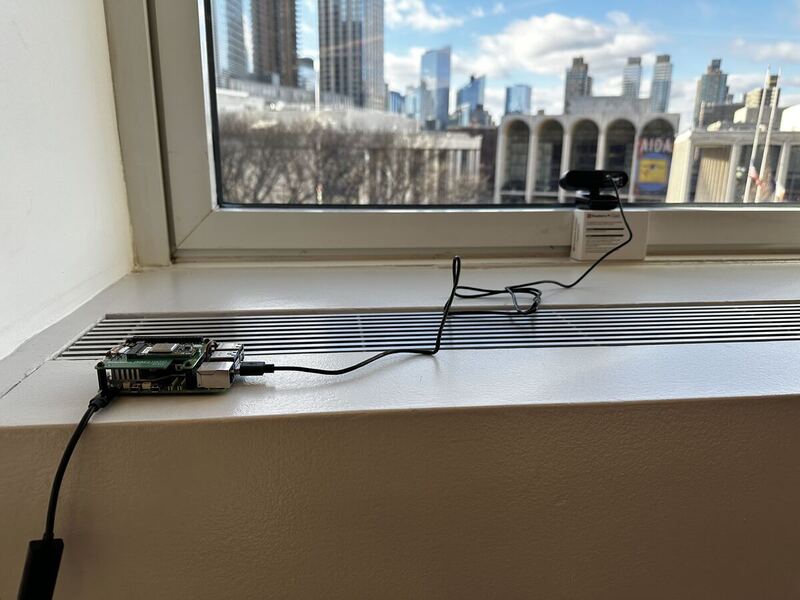
- Connect the webcam's USB lead to any USB port on your Pi. The webcam transmits video data to the Raspberry Pi through the USB interface.
Now that we have physically connected our hardware components, place them in a spot with a good view of the traffic. In the next section, we'll configure our machine.
Configure your machine
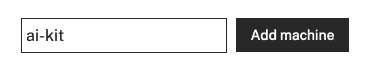
- In the Viam app under the LOCATIONS tab, create a machine by typing in a name and clicking Add machine.
- Click View setup instructions.
- To install
viam-serveron the Raspberry Pi device that you want to use, select theLinux / Aarch64platform for the Raspberry Pi, and leave your installation method asviam-agent.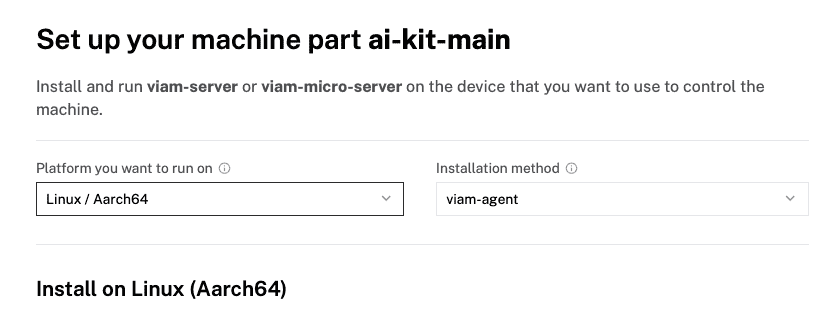
- Use the
viam-agentto download and installviam-serveron your Raspberry Pi. Follow the instructions to run the command provided in the setup instructions from the SSH prompt of your Raspberry Pi.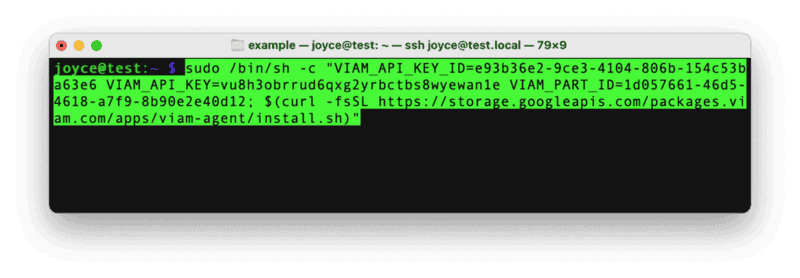
- The setup page will indicate when the machine is successfully connected.

Configure your webcam
- In the Viam app under the CONFIGURE tab, click the + icon in the left-hand menu and select Component.
- Select
camera, and find thewebcammodule. This adds the module for working with a USB webcam. Leave the default namecamera-1for now. - Notice adding this component adds the webcam hardware component called
camera-1. From the Attributes section of the panel, select avideo_path.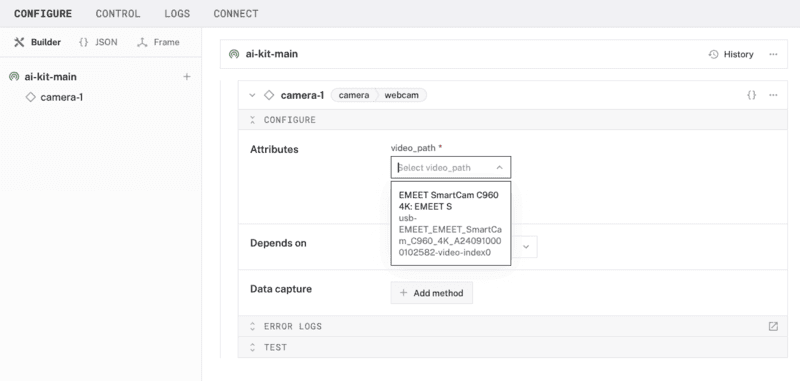
- Click Save in the top right. This may take a moment to apply your configuration changes.
- At the bottom of the
camera-1panel, expand the TEST section to ensure you have configured the camera properly and see a video feed.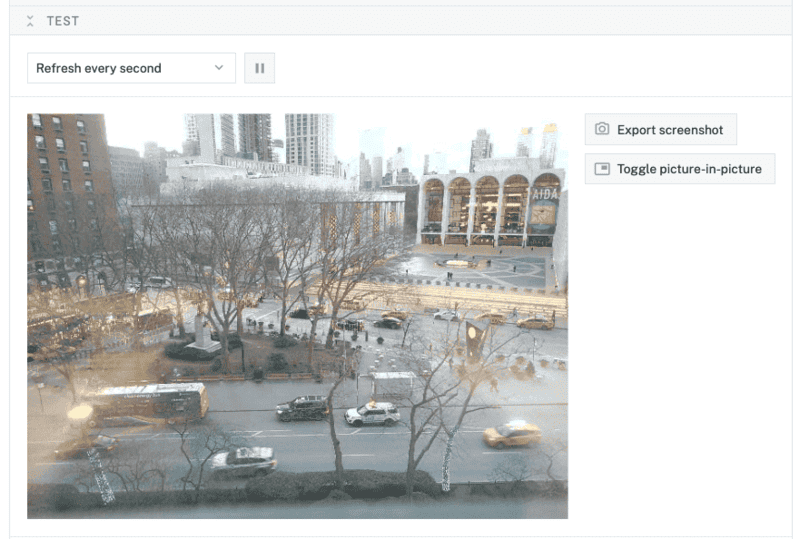
Configure your vision service
- In the Viam app under the CONFIGURE tab, click the + icon in the left-hand menu and select Service.
- Select
vision, and find thehailo-rtmodule. This adds the module for working with Hailo Runtime used by the AI HAT+. Select "Add module". Leave the default namevision-1for now. - Notice adding this service adds the computer vision software service called
vision-1. From the Depends on section of the panel, selectcamera-1from the "Search resources" dropdown.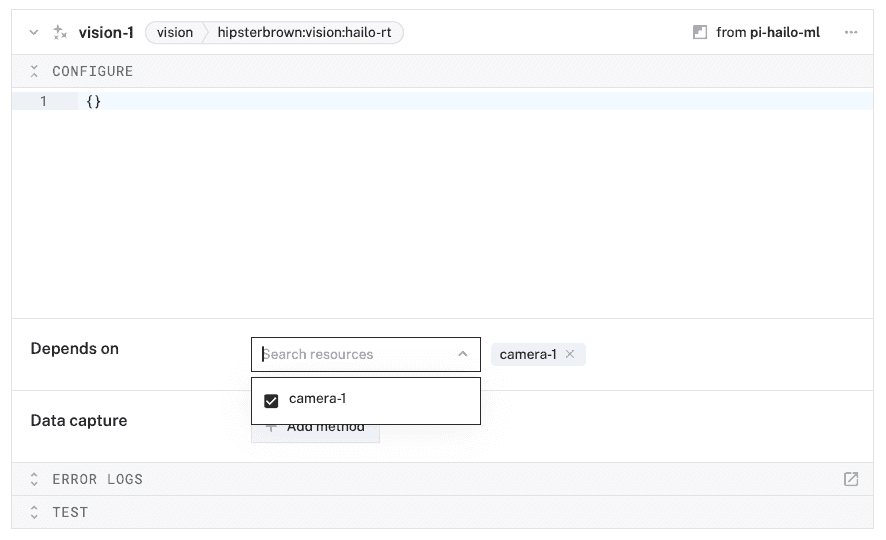
- Click Save in the top right. This may take a moment to apply your configuration changes.
- At the bottom of the
vision-1panel, expand the TEST section to ensure you have configured the service properly and see images fromcamera-1with object detection boxes on top.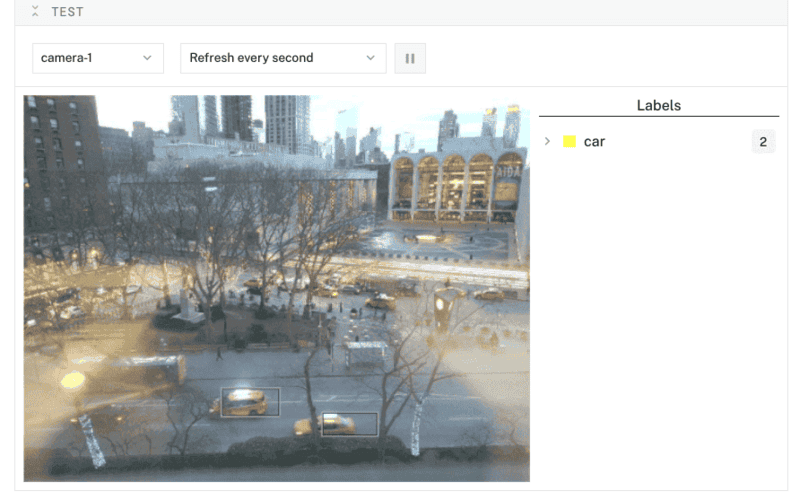
Configure your detections sensor
- In the Viam app under the CONFIGURE tab, click the + icon in the left-hand menu and select Component.
- Select
sensor, and find thedetectionsmodule. This adds a module for capturing object detection data from a vision service. Leave the default namesensor-1for now. - Notice adding this component adds the sensor component called
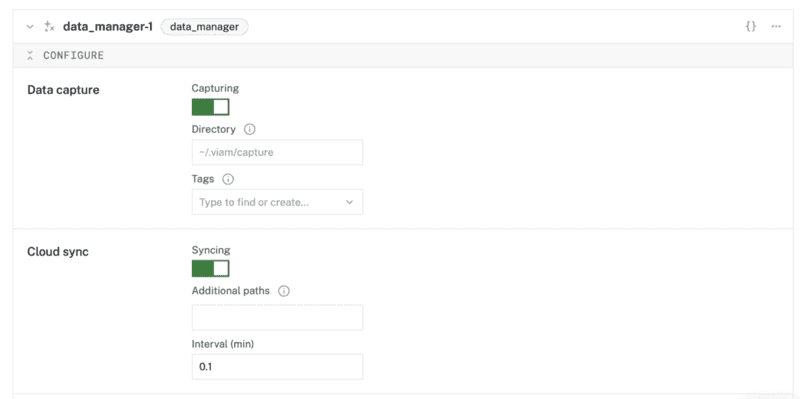
sensor-1. From the Attributes section of the panel, add the following JSON configuration.{ "camera": "camera-1", "detector": "vision-1", "labels": ["car", "bus", "person"] } - From the Data capture section of the panel, click "+ Add method". Set the "Method" as "Readings", "Frequency (hz)" as 1. Click "Create data management service" in the banner within the panel to automatically create a Data Management Service called
data_manager-1.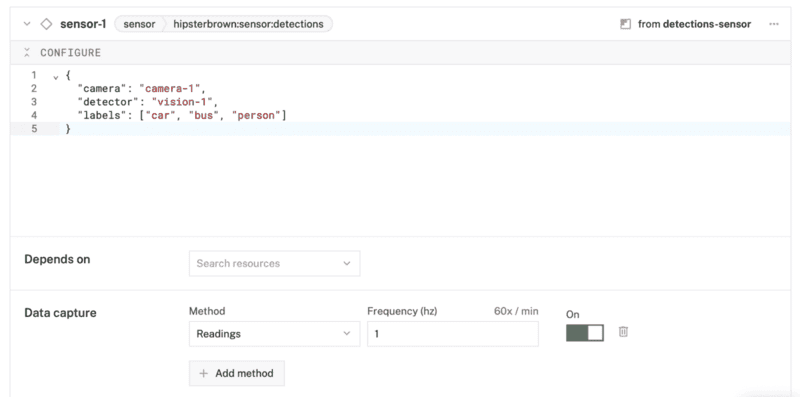
- Click Save in the top right. This may take a moment to apply your configuration changes.
- At the bottom of the
sensor-1panel, expand the TEST section to ensure you have configured the sensor properly and see a list of the configured labels with the number of detections refreshed regularly.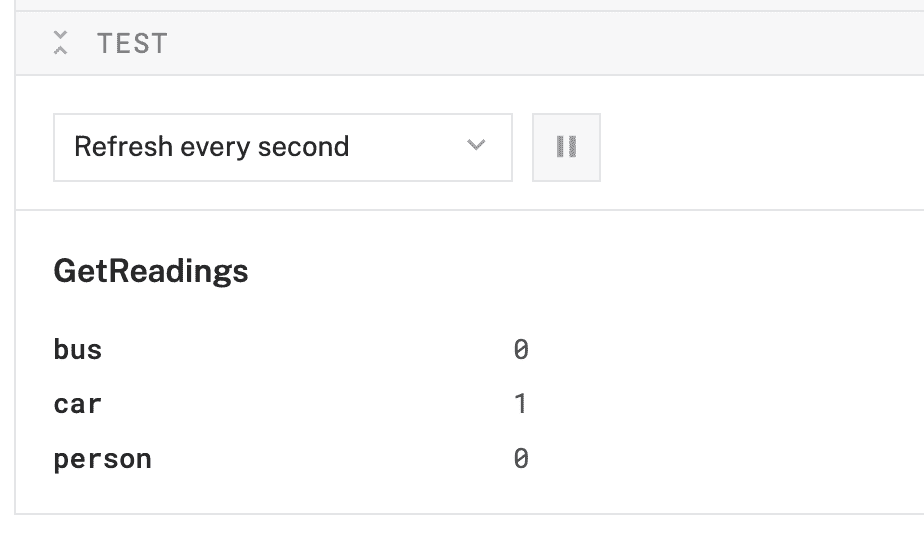
With all the components and services in place, you can move on to creating a live tele-operations dashboard for your machine!
This step walks through how to use the teleop (or tele-operations) feature of the Viam app.
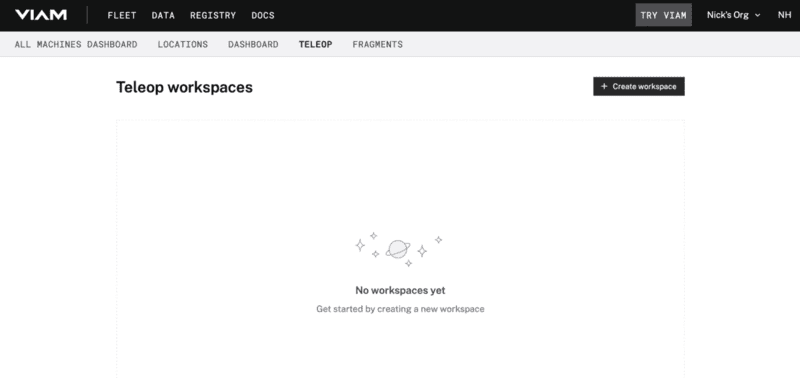
Configure your teleop workspace
- In the Viam app, return to the home page.
- Then under the TELEOP tab, create a new dashboard by clicking Create workspace.
- Click on "untitled-workspace" to set the name of your dashboard.
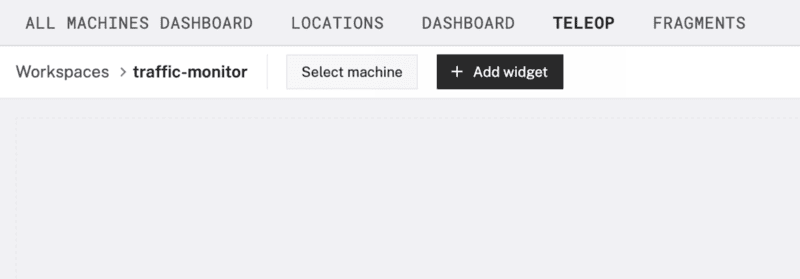
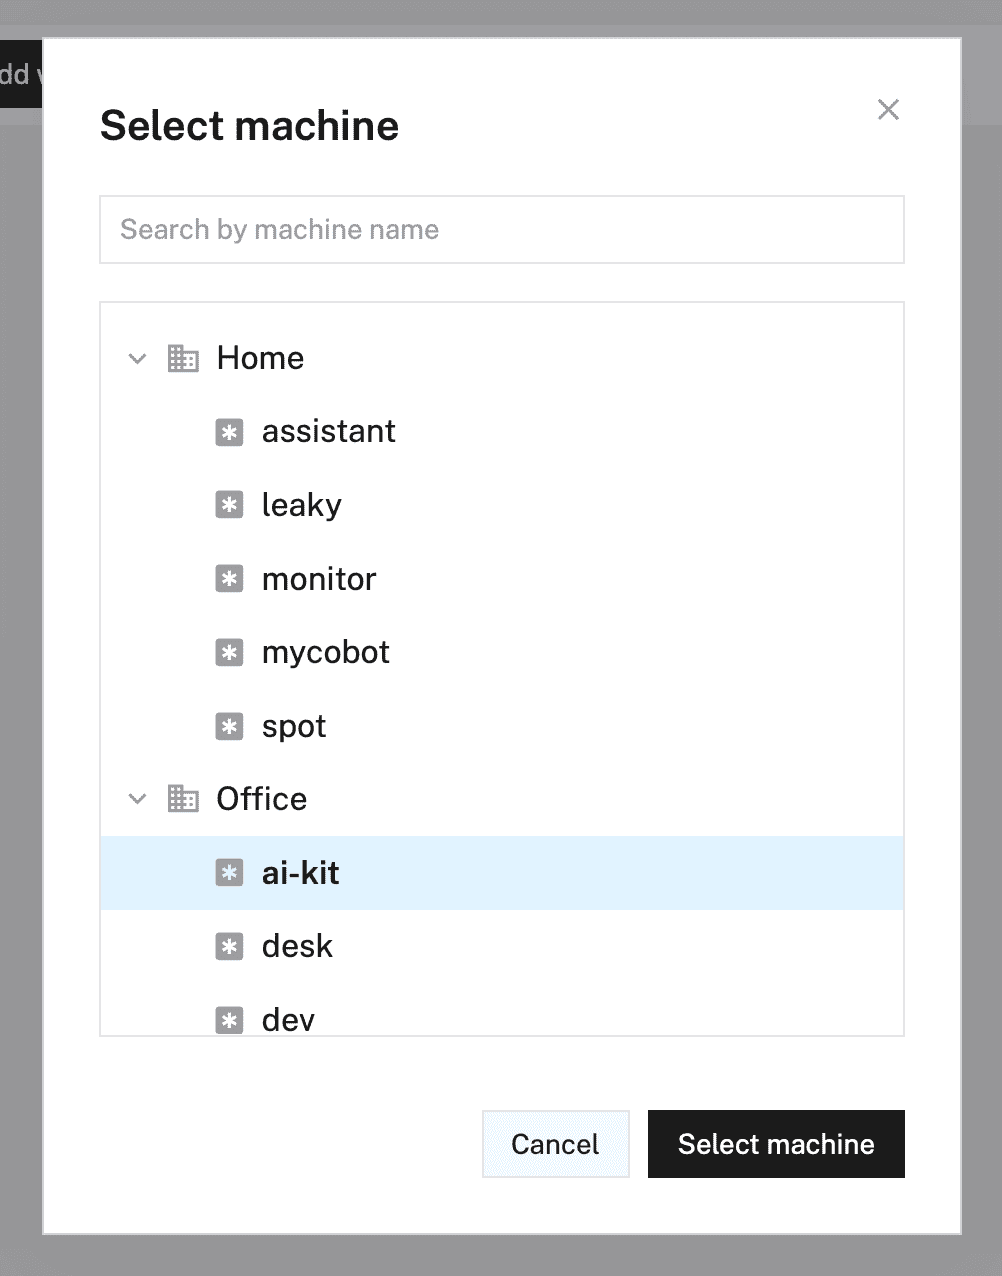
- Click "Select machine" and choose your previously configured machine from the list.
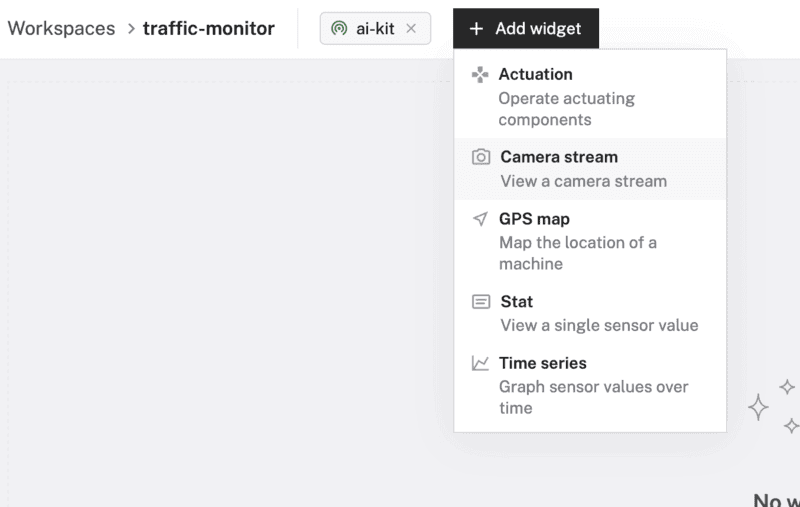
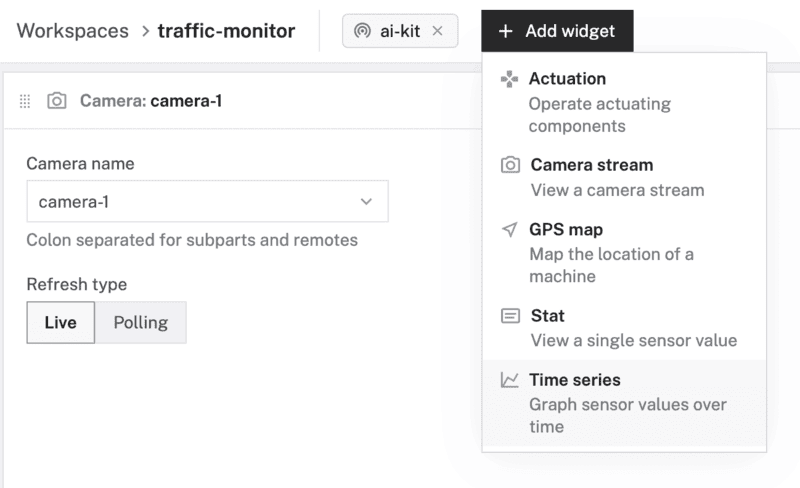
Configure camera stream widget
- Click "+ Add widget" and select "Camera stream".
- Notice adding this widget creates a panel called
Camera. Selectcamera-1from the "Camera name" field, keep the "Refresh type" as "Live".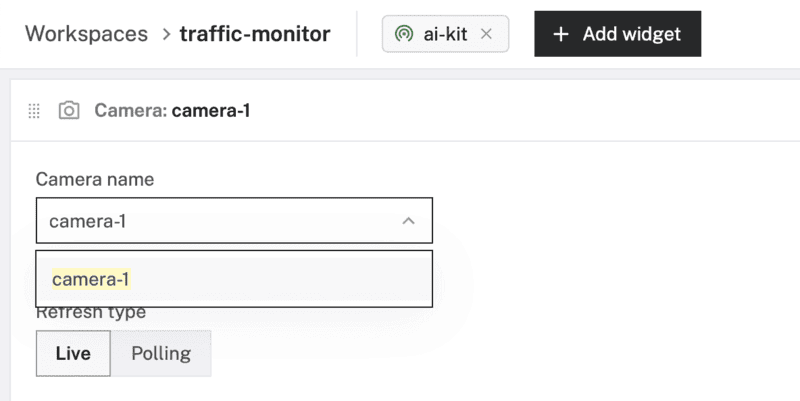
Configure time series graph widget
- Click "+ Add widget" and select "Time series".
- Notice adding this widget creates a new panel called
Time series. Set the "Title" to "Traffic" and "Time range (min)" to 30. - Under the Lines section of the panel, select
sensor-1for the "Resource name",Readingsfor "Capture method",carsfor "Title", andreadings.carfor "Path".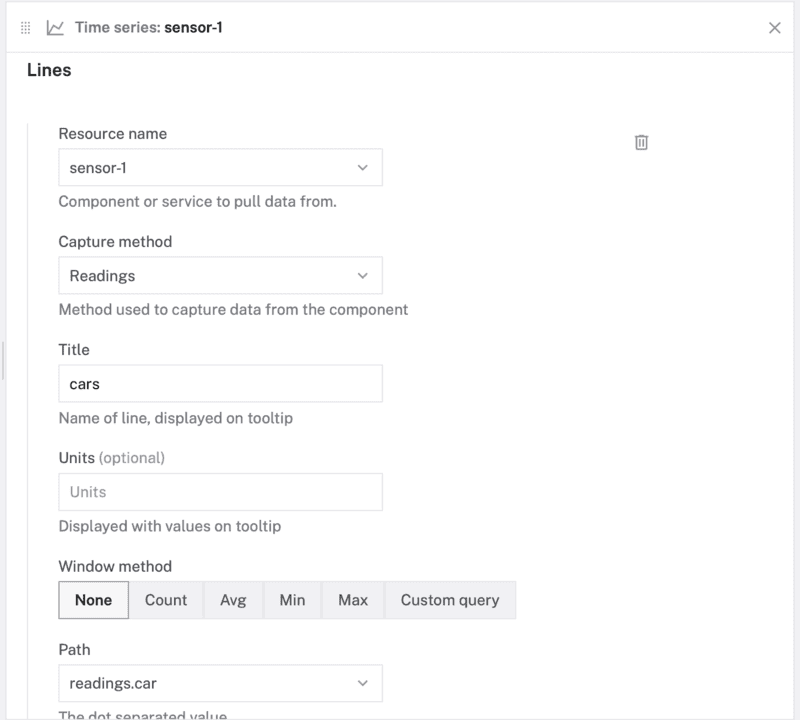
- Add new lines by clicking "+ Add line". Create a line for each remaining label captured by the sensor:
busandperson. - Click "Save changes" to see the camera stream and data updating live.
What you learned
- How to configure and test a device's components using Viam
- How to use modules from the Viam registry
- How to use a vision service for object detection
- How to integrate vision service data into a teleop dashboard
Building advanced scenarios with Viam and the Raspberry Pi AI HAT+
At this point, you have created an edge device that can perform real-time object detection and monitor it remotely from anywhere! You can keep building on this project with additional features:
- Model out a smart city control system by connecting red, yellow, and green LEDs to the Pi for simulated traffic light control.
- Make your smart home even smarter by integrating with Home Assistant
- Put it on a rover and make it mobile
The default YOLO-based models can do more than detect traffic! You can find the full list of identifiable objects included in the module repo: https://github.com/HipsterBrown/viam-pi-hailo-ml/
If none of those items suit your project requirements, you can explore the full suite of model types in the Hailo Model Zoo or retrain a model on a custom dataset.
In addition to the project ideas mentioned above, consider other ways to continue your journey with Viam.
- Browse other modules in the Viam registry similar to the prebuilt module for the AI HAT+.
- Learn how to create your own module with custom functionality for other computer vision runtimes or models.